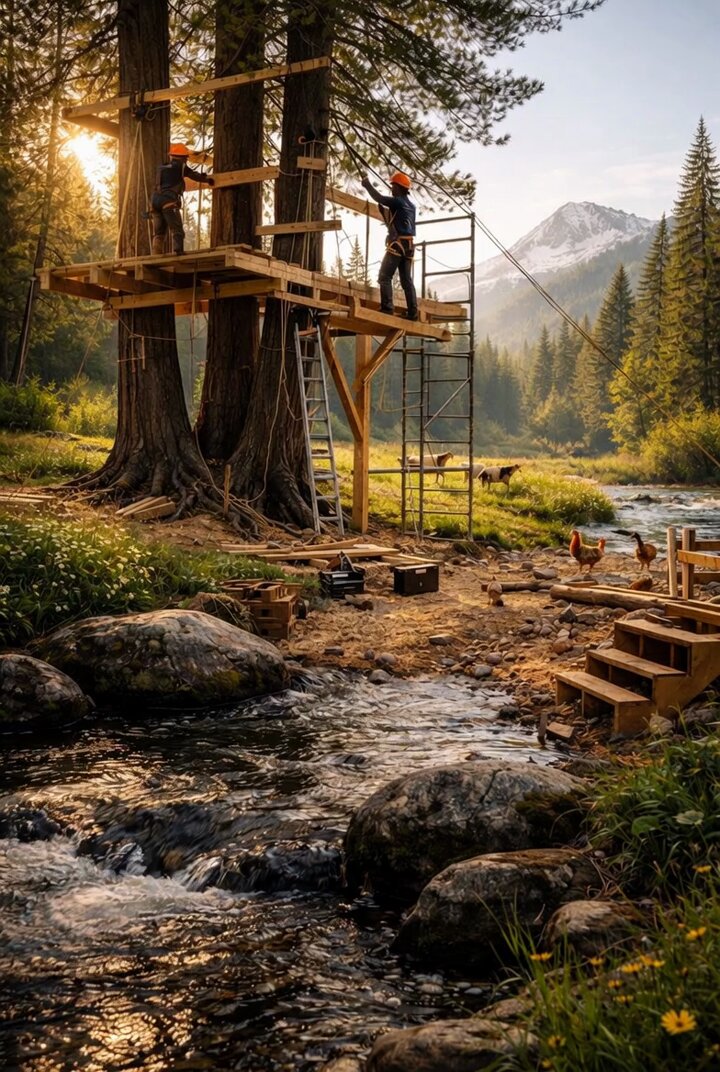
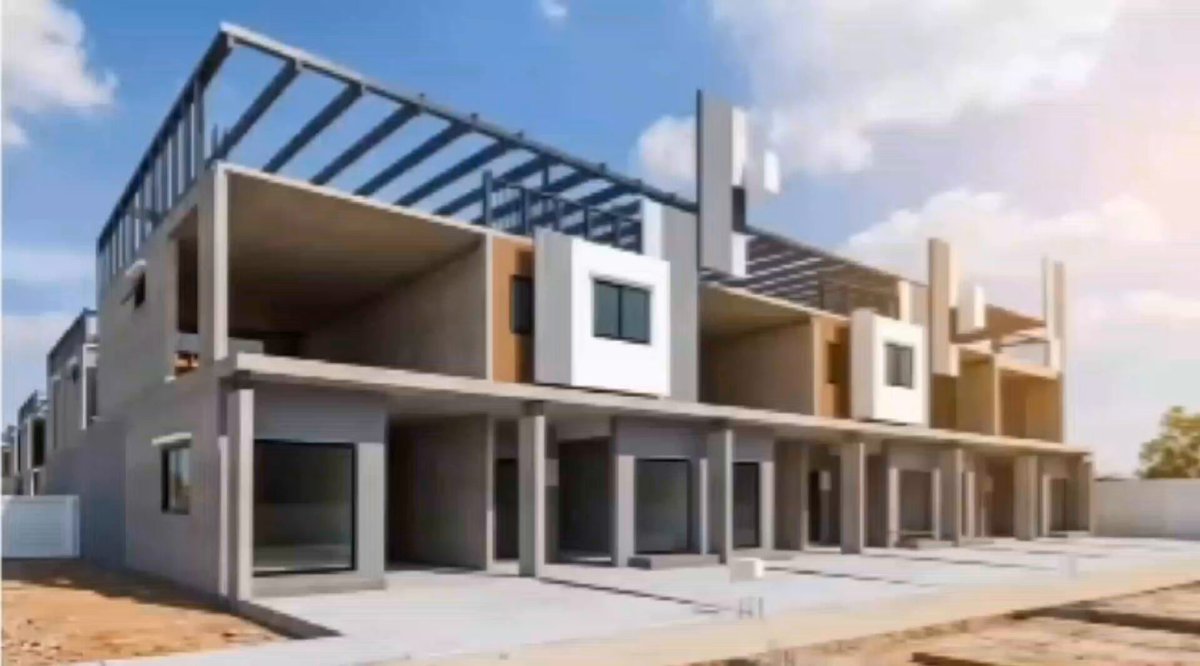
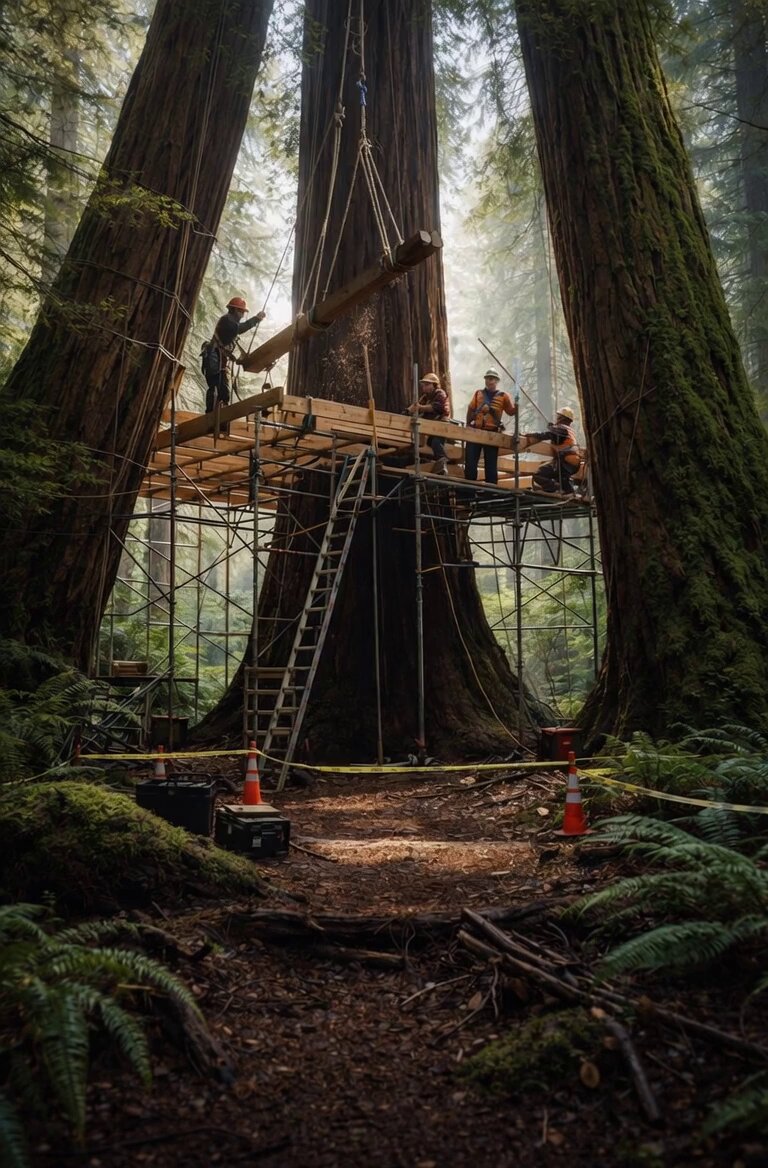
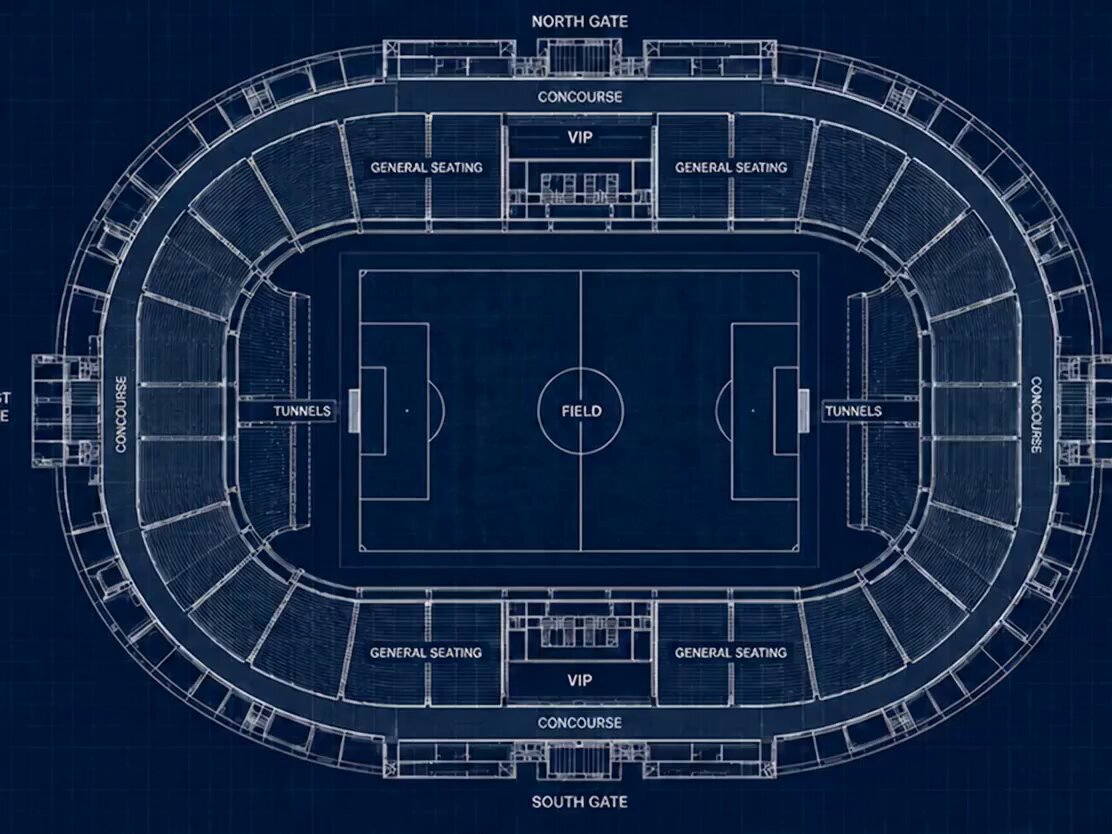
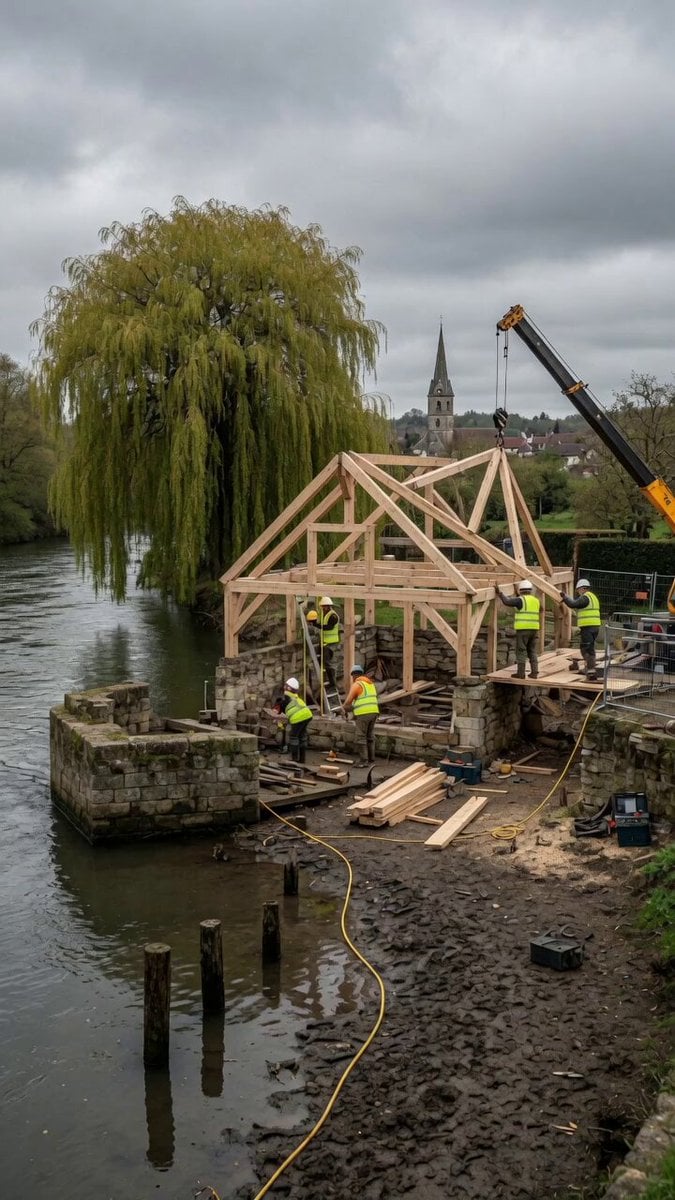
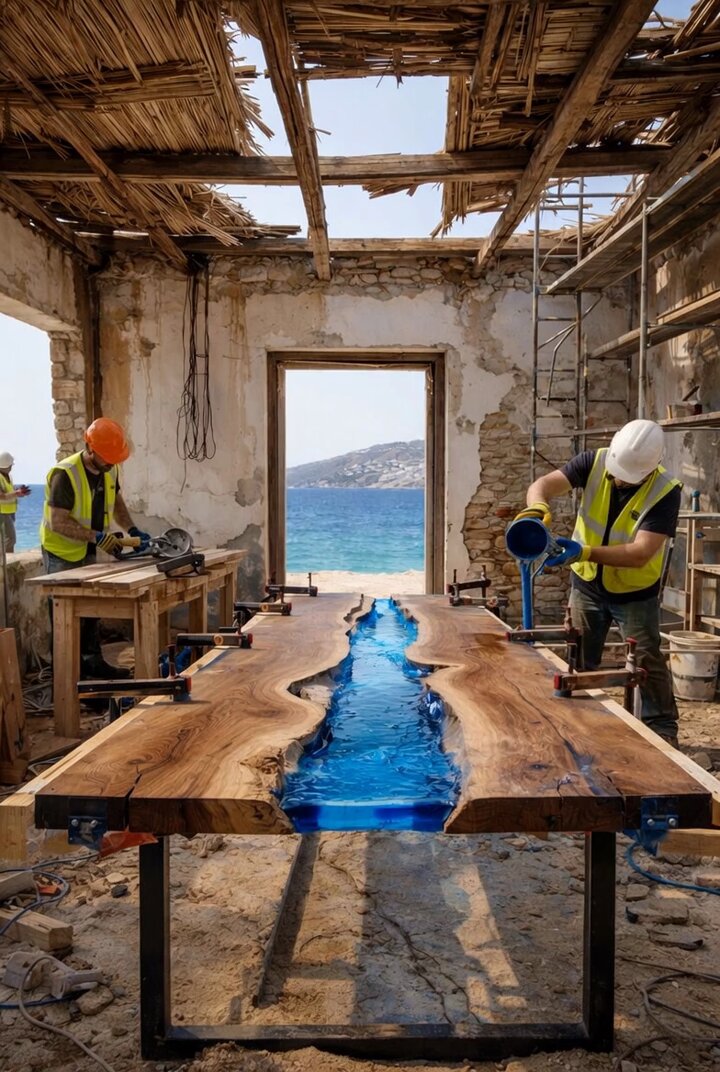
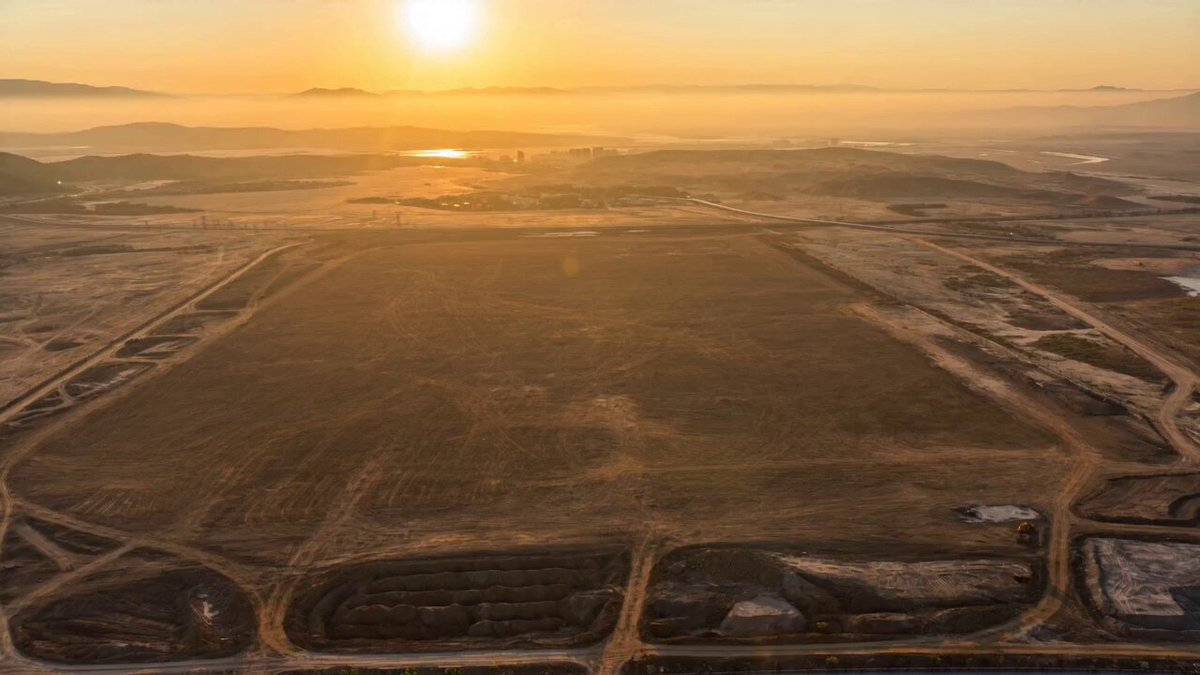
Fixed-position wide-angle time-lapse photography, fully documenting a building's entire process from a bare foundation to completion. The camera remains fixed throughout, using only time compression (10-30x fast-forward) to convey the rhythm of construction, with natural light visibly cycling through the frame (morning → midday → dusk → night). Phase 0 | Blank Starting Point An empty, leveled raw site, survey stakes and layout lines visible on the ground. Construction equipment has not yet arrived; the background environment (mountains/sea/city skyline) is clearly visible and is the only stable, unchanging element throughout the entire film. The still frame holds for 3 seconds. Phase 1 | Site Preparation and Foundation Work Excavators and bulldozers quickly move in, fencing is erected, and safety signage is put in place. Excavators dig the foundation trench, the excavated soil scooped up by loaders, hauled away, and piled to one side of the site. Rebar mesh is rapidly laid out and shaped within the foundation pit, concrete mixer trucks drive in, pour, and level the concrete. The foundation's outline gradually becomes clear in the frame. Phase 2 | The Main Structure Grows Scaffolding rapidly climbs upward from the ground, like a skeleton growing. Concrete columns and floor slabs are poured layer by layer, the building visibly rising with the completion of each floor — following a stepped, rising rhythm (not a continuous ascent). A crane rotates continuously, precisely lifting rebar, formwork, and concrete components up to the working level. A material storage area remains visible beside the building throughout, the piles of materials growing and shrinking with the progress of the work. Phase 3 | Envelope and Exterior Wall Enclosure Once the floor slab structure is complete, exterior wall materials begin to be installed: Brick-and-concrete structure: workers lay bricks layer by layer, the walls rising quickly Glass curtain wall: a crane lifts whole glass units into place, workers align and fix them Wood exterior: workers assemble it piece by piece, wood siding boards applied in sequence Stone façade: pre-cut stone slabs are hoisted, adhered, and pressed into place The building is gradually "filled in" by the exterior walls, its transparent skeleton giving way to an increasingly defined silhouette. Phase 4 | Roof Completion The roof structure is completed with workers' coordinated effort: the waterproof membrane is unrolled, the insulation layer is laid, and the finish material is installed piece by piece (tiles/metal roofing/flat roof covering). The roof's enclosure marks the completion of the building's overall form, its full silhouette appearing complete for the first time. Phase 5 | Doors, Windows, and MEP Installation Door and window frames are precisely installed into their openings, glass slowly guided into place by workers using lifting equipment. At the same time, electrical conduits, water pipes, and ductwork are quickly threaded through the walls, inside and out, like blood vessels extending through the building. Electrical equipment and bathroom fixtures are installed one after another, the interior space rapidly transforming from an empty shell into a functional space. Phase 6 | Interior Finishing and Exterior Wrap-up Interior flooring, wall paint, and ceilings are progressively completed, each space transforming in turn from a raw shell into a finished interior. Exterior work proceeds in parallel: façade detailing is finished, exterior wall paint is rolled on or cladding is applied, window sills are capped, the building's surface texture growing increasingly refined. Phase 7 | Landscaping and Site Completion The fencing is removed, and construction equipment drives away one by one. Landscaping vehicles move in: planting soil is spread, trees are lifted by crane into planting pits, shrubs quickly cover the ground, and turf is laid out in sections. Hard paving (stone/wood/concrete) is pieced together section by section. Lighting fixtures, signage, and amenities are installed in sequence. Phase 8 | Completed State The last construction vehicle drives away, and the site is restored to a clean state. The building stands complete: its façade polished, its landscaping lush and green, its lights turning on. The still frame holds for 5 seconds. The background environment (mountains/sea/skyline) remains exactly as it was at the start, unchanged. The image freezes — from empty lot to building, witnessing the birth of a house. Technical parameters Camera position: fixed wide angle, framing covering the main building + the surrounding material storage area + the vehicle access route Style: construction documentary, 4K ultra-high-definition, an industrial-toned color palette transitioning to warm tones at completion Time compression: 10-30x speed, preserving the readability of mechanical motion Audio: construction sounds (machinery roaring, rebar clanging) sped up → transitioning to ethereal music at completion No watermark, no subtitles, no text overlay
Precision Deconstruction: [reference image building name] orderly deconstruction time-lapse photography, type: precision building-deconstruction time-lapse / fixed-position reverse-order documentation, duration: a high-speed reverse-evolution sequence (a complete, orderly deconstruction cycle), core_principle: no magical transitions allowed — fast-forward must show the genuine process of mechanical and manual orderly deconstruction, material stacking, and removal/cleanup. Uncontrolled shots such as collapse, demolition blasts, or sudden disappearance are absolutely prohibited. All deconstruction must be controlled, step-by-step, orderly engineering work. demolition_methodology: industrial-grade precision deconstruction: manual labor + machinery working together → piece-by-piece removal → sorted stacking → systematic transport → site clearance reference_image_analysis: instruction: thoroughly analyze the [reference image] provided by the user, silently recording all key architectural details, to serve as the 100% precise starting point for the deconstruction's initial state analysis_checklist: [architectural style type (modern/traditional/mixed/tropical/industrial, etc.), number of floors and overall scale (single-story/multi-story/villa/mansion), primary structural system (wood frame/concrete/steel frame/brick-and-concrete), façade materials (wood/stone/glass/concrete/metal/paint), list of deconstructable components (roof/doors and windows/exterior wall panels/floor slabs/columns and beams, etc.), material estimation (how many cubic meters of wood/steel/concrete blocks etc. will need to be stacked), deconstruction difficulty assessment (which parts need a crane / which can be removed manually)] initial_state_lock: Phase 0 must 100% reproduce the reference image's completed state, serving as the starting point for the orderly deconstruction narrative_timeline: [Phase 0: Completed state (pre-deconstruction preparation), Phase 1: Deconstruction preparation and landscape removal, Phase 2: Interior items removed and transported away, Phase 3: First batch of materials transported away (partially clearing the storage area), Phase 4: Doors, windows, and special components removed, Phase 5: Exterior wall materials removed, Phase 6: Second, large-scale batch of materials transported away, Phase 7: Main structure demolished (orderly top-down deconstruction), Phase 8: Foundation removal and final material cleanup] - Each phase contains detailed visual descriptions, motion_style, key_action, material_flow, and importance/emphasis notes. The prompt details the entire process from initial complete building state through systematic deconstruction, material sorting, removal, and final site clearance, with emphasis on controlled demolition methods avoiding magical transitions or collapse scenarios.