How do I use the Madeleine Technical Blueprint template?
Edit the prompt in the box under the preview — the template's model and format are already selected — and press Generate. Your version appears right on this page.
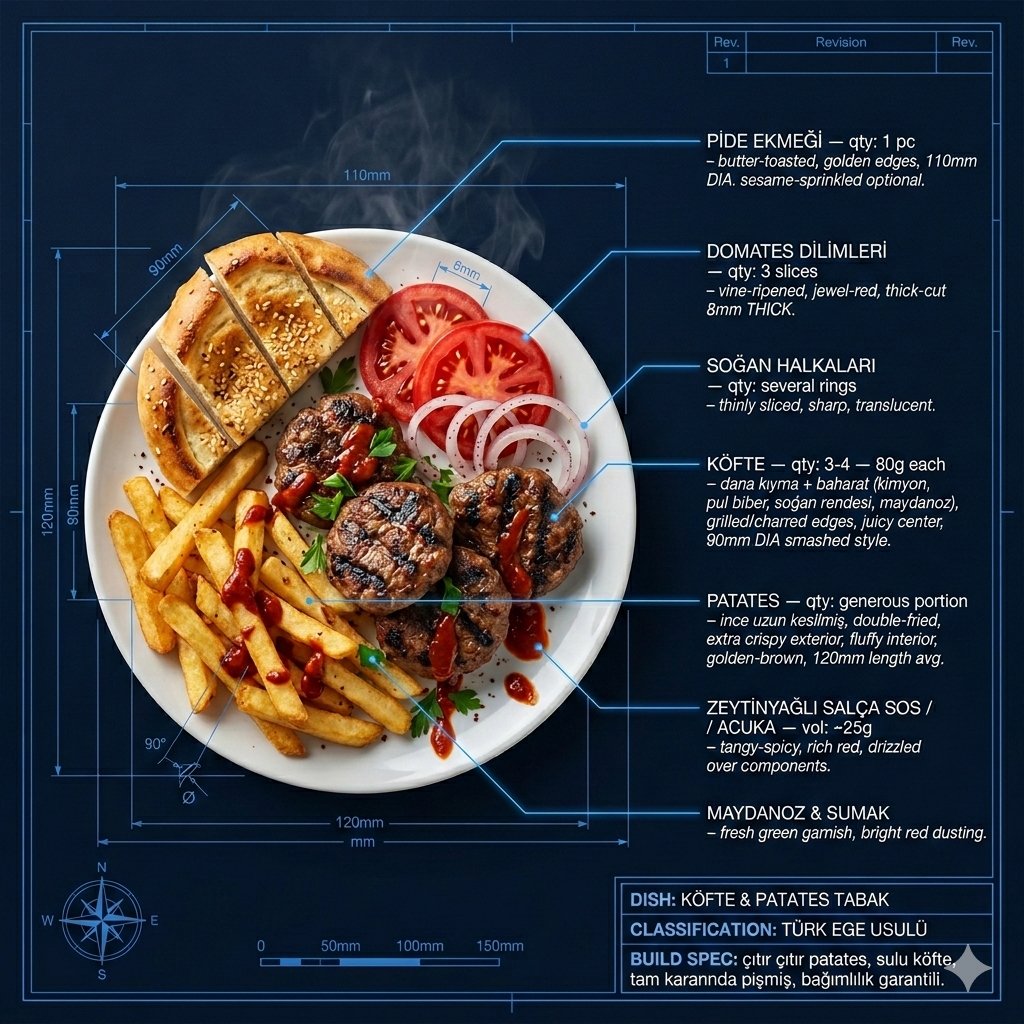
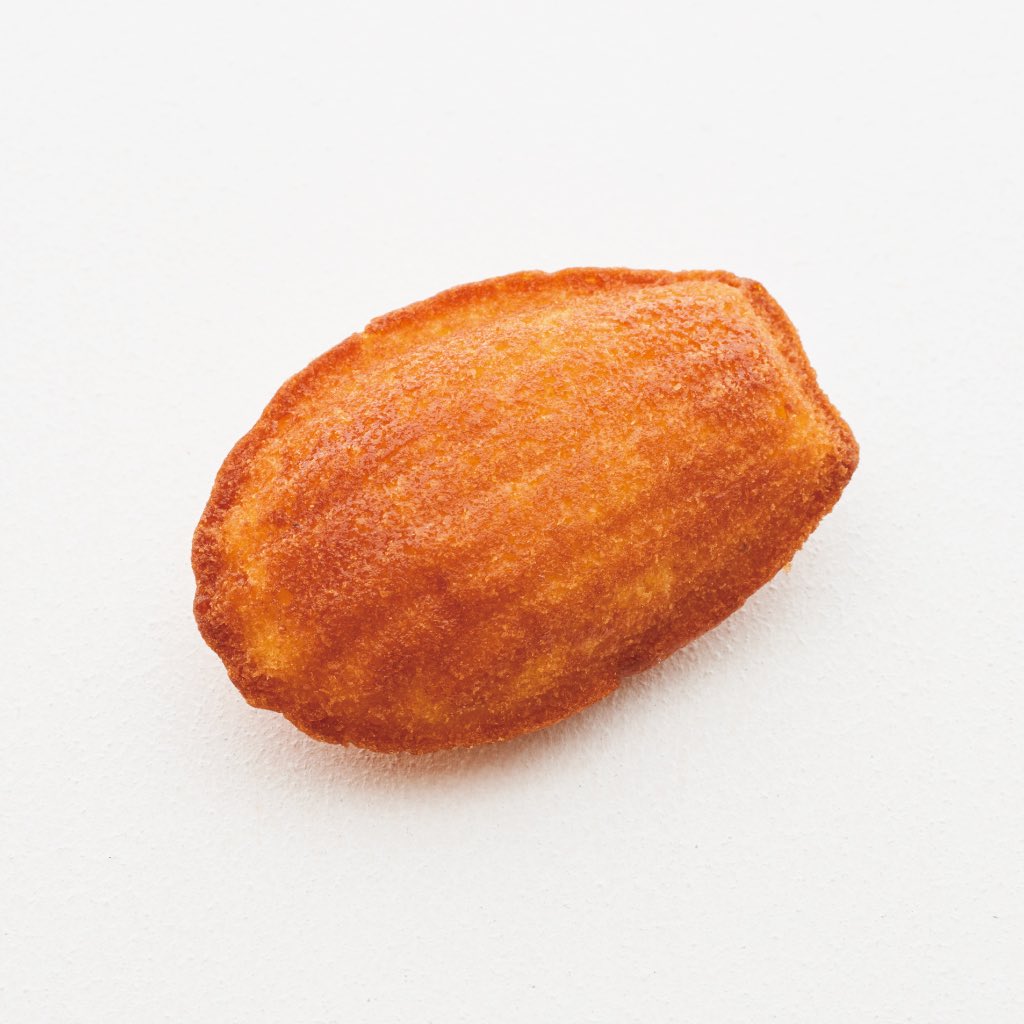
Transforms a reference photo of a madeleine into a white-on-blue engineering blueprint with labeled views, dimensions, scale, and notes.

This template uses your photo — add one with the + button.
Using the provided reference image as the subject, transform the madeleine into a clean technical blueprint drawing rather than a photo. Create a vertical engineering-sheet layout on a dark blue grid background with thin white linework, a double border, measurement arrows, labels, and schematic outlines that preserve the madeleine’s shell-like oval form. Goal: Produce a blueprint titled {argument name="title text" default="MADELEINE"} with the subtitle {argument name="subtitle text" default="TECHNICAL BLUEPRINT"}. Layout: Include exactly 4 technical drawing panels derived from the reference pastry: 1 large top view at the upper right, 1 side view centered below it, 1 front view at the lower left, and 1 boxed detail inset at the lower right showing the shell rib pattern. Use white contour lines and dashed internal rib lines. Technical text: Add a specification block at upper left with exactly 4 rows: TYPE: {argument name="type label" default="Small Shell Cake"}, ORIGIN: {argument name="origin label" default="France"}, SHAPE: Ovoid / Shell, UNITS: Millimeters. Measurements: Add dimension lines and numeric labels matching a blueprint: top view width 75 and height 45, side view height 22, front view width 45 and height 22. Add a bottom-left scale ruler labeled SCALE with marks 0, 10, 20, 30, 40, 50 mm. Additional elements: Add the inset label “DETAIL A” and “SHELL RIB PATTERN”. Add a notes box at the bottom right with exactly 2 notes: “1. All dimensions are approximate.” and “2. Typical madeleine proportions may vary.” Style constraints: Do not render the pastry as a realistic food photo; convert it fully into a white-on-blue technical schematic. Keep the blueprint crisp, precise, lightly hand-drawn at the outline edges, with no extra objects, no shadows, and no watermark.
Using the provided reference image as the subject, transform the madeleine into a clean technical blueprint drawing rather than a photo. Create a vertical engineering-sheet layout on a dark blue grid background with thin white linework, a double border, measurement arrows, labels, and schematic outlines that preserve the madeleine’s shell-like oval form. Goal: Produce a blueprint titled {argument name="title text" default="MADELEINE"} with the subtitle {argument name="subtitle text" default="TECHNICAL BLUEPRINT"}. Layout: Include exactly 4 technical drawing panels derived from the reference pastry: 1 large top view at the upper right, 1 side view centered below it, 1 front view at the lower left, and 1 boxed detail inset at the lower right showing the shell rib pattern. Use white contour lines and dashed internal rib lines. Technical text: Add a specification block at upper left with exactly 4 rows: TYPE: {argument name="type label" default="Small Shell Cake"}, ORIGIN: {argument name="origin label" default="France"}, SHAPE: Ovoid / Shell, UNITS: Millimeters. Measurements: Add dimension lines and numeric labels matching a blueprint: top view width 75 and height 45, side view height 22, front view width 45 and height 22. Add a bottom-left scale ruler labeled SCALE with marks 0, 10, 20, 30, 40, 50 mm. Additional elements: Add the inset label “DETAIL A” and “SHELL RIB PATTERN”. Add a notes box at the bottom right with exactly 2 notes: “1. All dimensions are approximate.” and “2. Typical madeleine proportions may vary.” Style constraints: Do not render the pastry as a realistic food photo; convert it fully into a white-on-blue technical schematic. Keep the blueprint crisp, precise, lightly hand-drawn at the outline edges, with no extra objects, no shadows, and no watermark.
Madeleine Technical Blueprint needs input media to work. Open it in the studio and these load alongside the prompt — pick whichever ones your chosen model can take.
Edit the prompt in the box under the preview — the template's model and format are already selected — and press Generate. Your version appears right on this page.
Yes. You can change the subject, setting, lighting, mood, format, and available model controls before creating your image.
Opening and editing this template is free. Generating uses credits, shown on the Generate button when you are signed in.
Start with GPT Image 2, which is the model associated with this template. You can compare another compatible model for a different finish.
Follow a topic to a crawlable collection of related PicX Studio templates.