
Blind Box Camera Path Guide
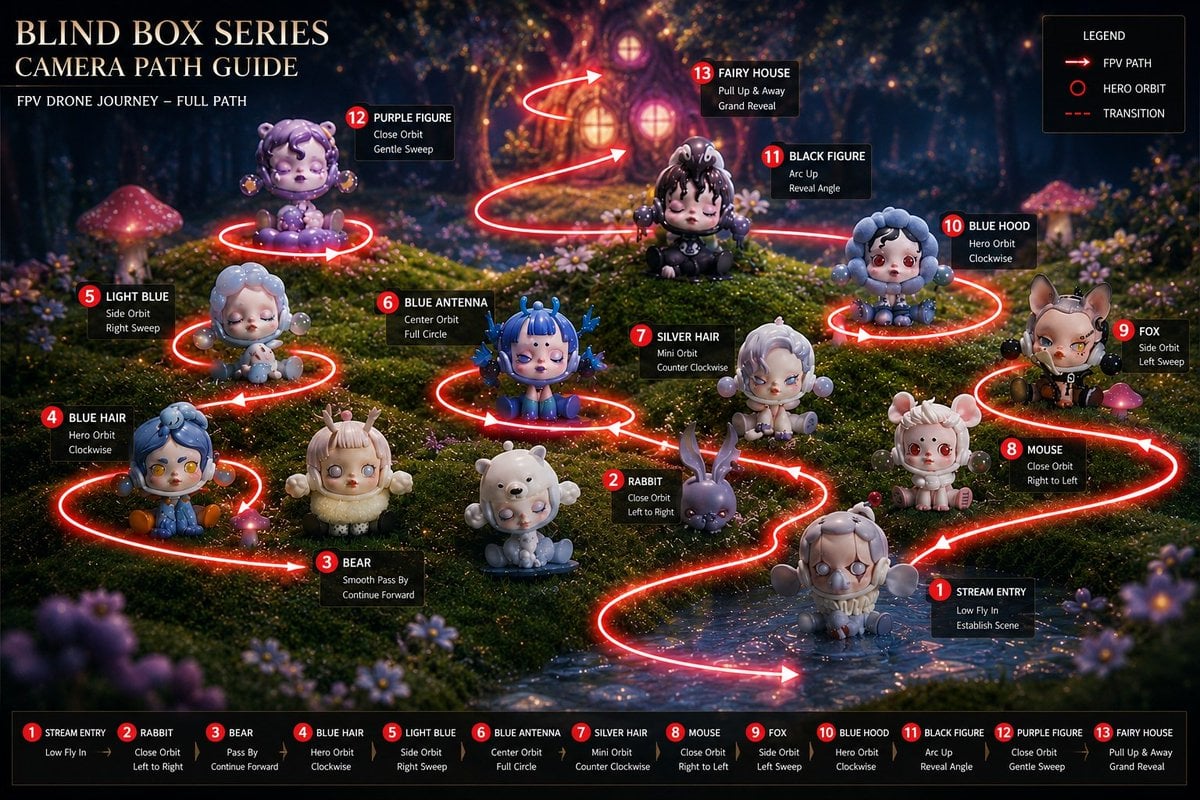
A cinematic fantasy infographic showing a neon FPV camera route through a blind-box toy forest scene for planning camera-path animation.
- Prompt included
- Model and format preset
- Free template
The prompt behind this image
Copy the exact prompt behind Blind Box Camera Path Guide, or open it in the studio and make it yours.
Goal: Create a cinematic fantasy infographic titled {argument name="headline text" default="BLIND BOX SERIES CAMERA PATH GUIDE"}, showing a complete FPV drone camera route through a miniature blind-box toy scene in an enchanted mossy forest. Canvas: 16:9 landscape poster, dark magical woodland at night, shallow depth of field, glowing mushrooms, tiny flowers, sparkling bokeh, a warm illuminated fairy house in the distant background, glossy collectible vinyl figures placed across rolling moss and a small stream in the foreground. Layout: Place a large serif title in the upper left with a smaller subtitle below reading {argument name="subtitle text" default="FPV DRONE JOURNEY – FULL PATH"}. Draw a bright neon red camera path as a continuous thick glowing line with arrowheads, snaking from the lower right stream, around each toy figure, then up toward the fairy house. Add red circular orbit rings around key figures. Use black semi-transparent annotation cards with red numbered badges and white text. Add a legend box in the upper right. Add a bottom horizontal route summary strip with all 13 steps. Main scene subject: A whimsical blind box series world with exactly 12 visible toy/creature subjects plus the final fairy house destination: a small figure in the stream, a rabbit, a bear, a blue-haired figure, a light-blue figure, a blue antenna figure, a silver-haired figure, a mouse, a fox, a blue hood figure, a black figure, a purple figure, and a fairy house. Several character faces may be softly obscured or blurred, but keep the collectible toy bodies, ears, hoods, accessories, and silhouettes clear. Numbered route cards: Include exactly 13 numbered camera stops, each with a red circular number badge and a black label card: 1. STREAM ENTRY — Low Fly In — Establish Scene. 2. RABBIT — Close Orbit — Left to Right. 3. BEAR — Smooth Pass By — Continue Forward. 4. BLUE HAIR — Hero Orbit — Clockwise. 5. LIGHT BLUE — Side Orbit — Right Sweep. 6. BLUE ANTENNA — Center Orbit — Full Circle. 7. SILVER HAIR — Mini Orbit — Counter Clockwise. 8. MOUSE — Close Orbit — Right to Left. 9. FOX — Side Orbit — Left Sweep. 10. BLUE HOOD — Hero Orbit — Clockwise. 11. BLACK FIGURE — Arc Up — Reveal Angle. 12. PURPLE FIGURE — Close Orbit — Gentle Sweep. 13. FAIRY HOUSE — Pull Up & Away — Grand Reveal. Legend: In the upper-right legend box include exactly 3 items: FPV PATH represented by a red arrow line, HERO ORBIT represented by a red ring, and TRANSITION represented by a red dashed line. Bottom strip: Along the bottom edge, create exactly 13 compact route summary blocks matching the same numbered stop names and movement descriptions, separated by small arrows, on a dark translucent bar. Visual style: Ultra-detailed cinematic 3D render, toy photography aesthetic, magical realism, moody blue-purple forest lighting, warm amber highlights, glowing red path illumination reflecting on moss and water, premium fantasy poster design, crisp typography, high contrast, polished infographic overlay. Customizable details: Use {argument name="toy series theme" default="cute mystical forest blind box figures"} for the collectible characters, {argument name="path color" default="neon red"} for all route lines and badges, and {argument name="background destination" default="glowing fairy house"} as the final reveal target. Constraints: Keep the image text legible, keep the route continuous and easy to follow, preserve exactly 13 numbered stops and exactly 3 legend items, do not add extra route numbers, do not add a watermark or logo.
How to use Blind Box Camera Path Guide in 3 steps
- 1Upload ImagePNG, JPG or paste
Add your photo
Upload the photo the template builds on. The prompt, model and format are already set.
- 2…a portrait of your subject in softgolden-hour light, 85mm…
Personalize
Edit the subject and creative details for your destination.
- 3Generate
Generate
Press Generate — your image is created in PicX Studio, so you can compare it with the original and refine one variable at a time.
More like this
Templates with the same subject, style or setup. Open one to see its prompt.
Cinematic Street Fashion Photographer Portrait
Fantasy Blind Box Character Series Poster
K-Pop Demon Hunters Blind Box Opening Video Script
Nano Banana Pro Instax Mini 8
Golden Blinds Portrait
Ukiyo-e Orpheus Mountain Path
Candid Store Front-Camera Photo
Dreamy Y2K Digital Camera Mirror Selfie
Photography Scheme Reference Guide
Stylish Man Garden Path
Minimalist Blind Embossed Paper Art
Woman in White Dress on Park Path
Make it yours
Blind Box Camera Path Guide works as-is. These are the safest ways to change it without losing the look.
Change one field
Copy a single group, rewrite it, and generate again so you can see what that field is doing.
Keep the frame, change the subject
Hold the composition and light of Blind Box Camera Path Guide, then swap wardrobe, props or the person for a new take.
| If the result… | Why | Fix |
|---|---|---|
| The result drifts from the preview | Too many fields changed at once. | Reuse Blind Box Camera Path Guide as-is first, then change one group — subject, light, or setting. |
| The model over-stylizes the scene | The prose prompt leaves finish and camera underspecified. | Add one camera or lighting sentence and stay on GPT Image 2. |
More GPT Image 2 templates
Other prompts made for GPT Image 2.
Six VTuber Japanese Logo Sheet
Realistic Portrait of Woman and Deer
The Vista Modular Condo Poster

AI Model Routing Comparison Infographic
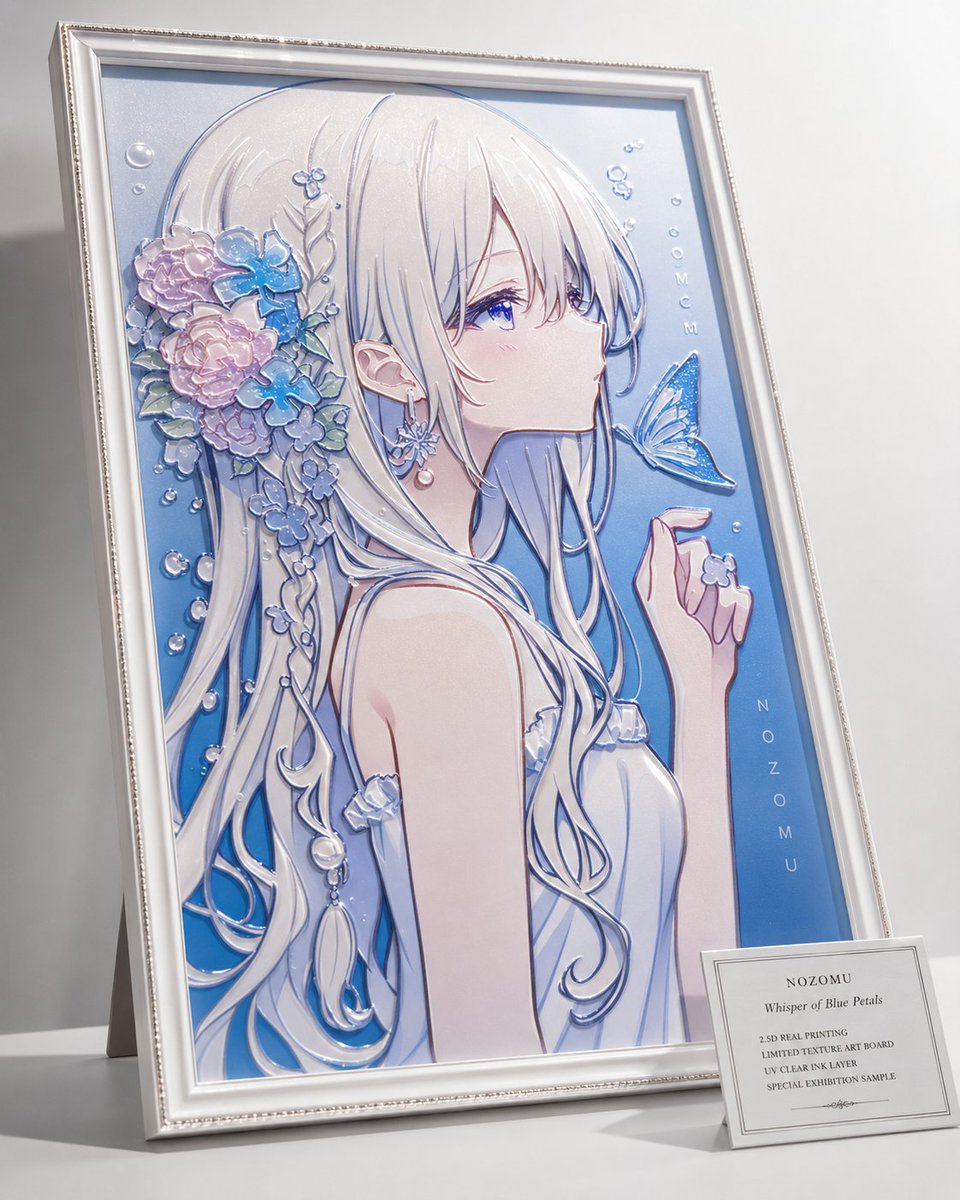
2.5D Anime Art Board

Isometric Productivity Desk Scene
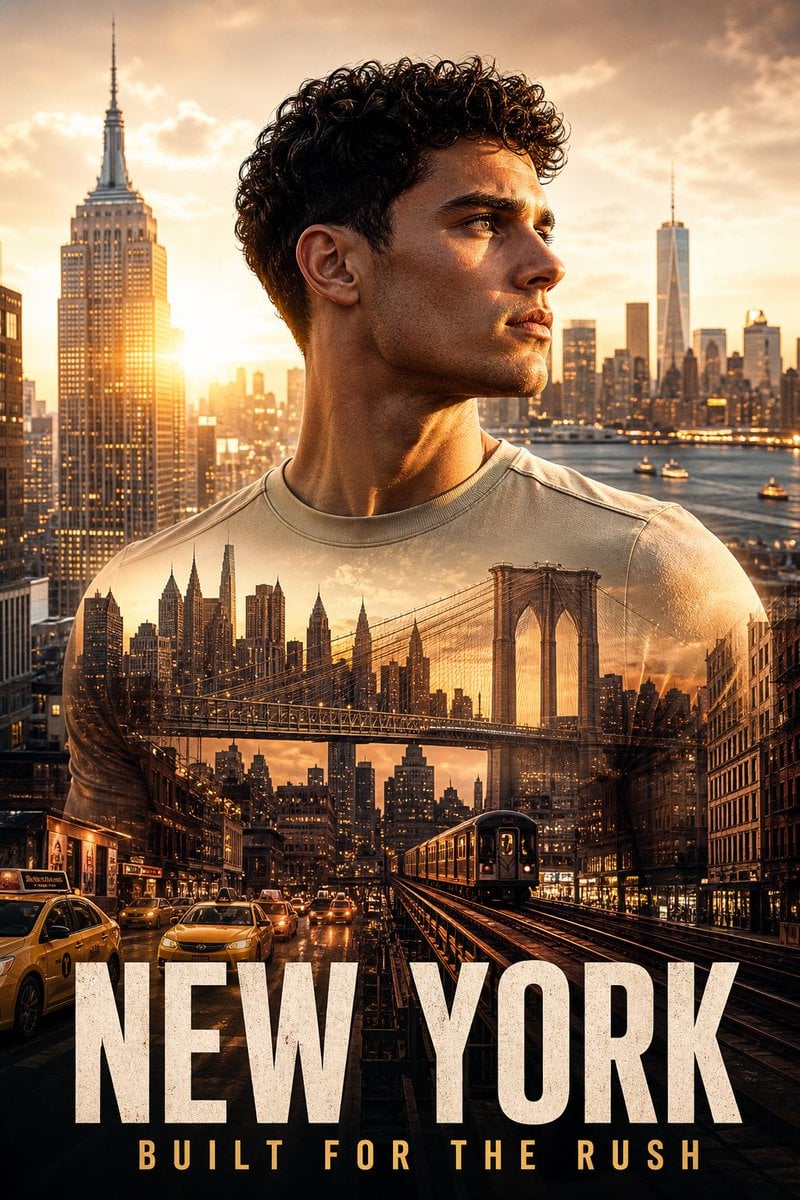
New York Double Exposure Poster
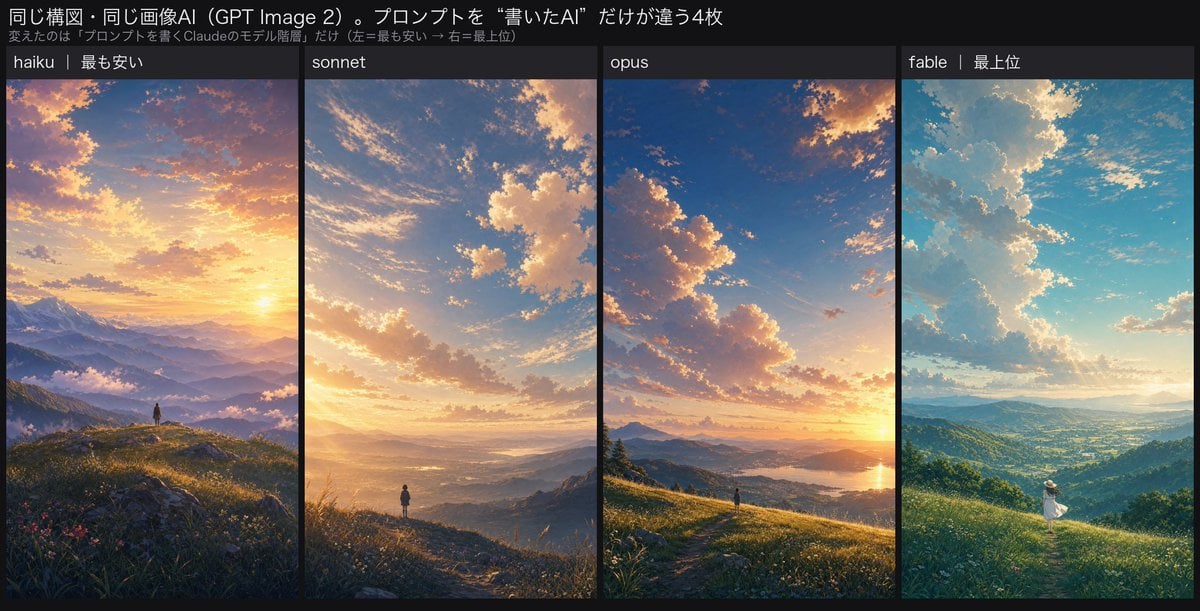
Four-Panel AI Landscape Comparison
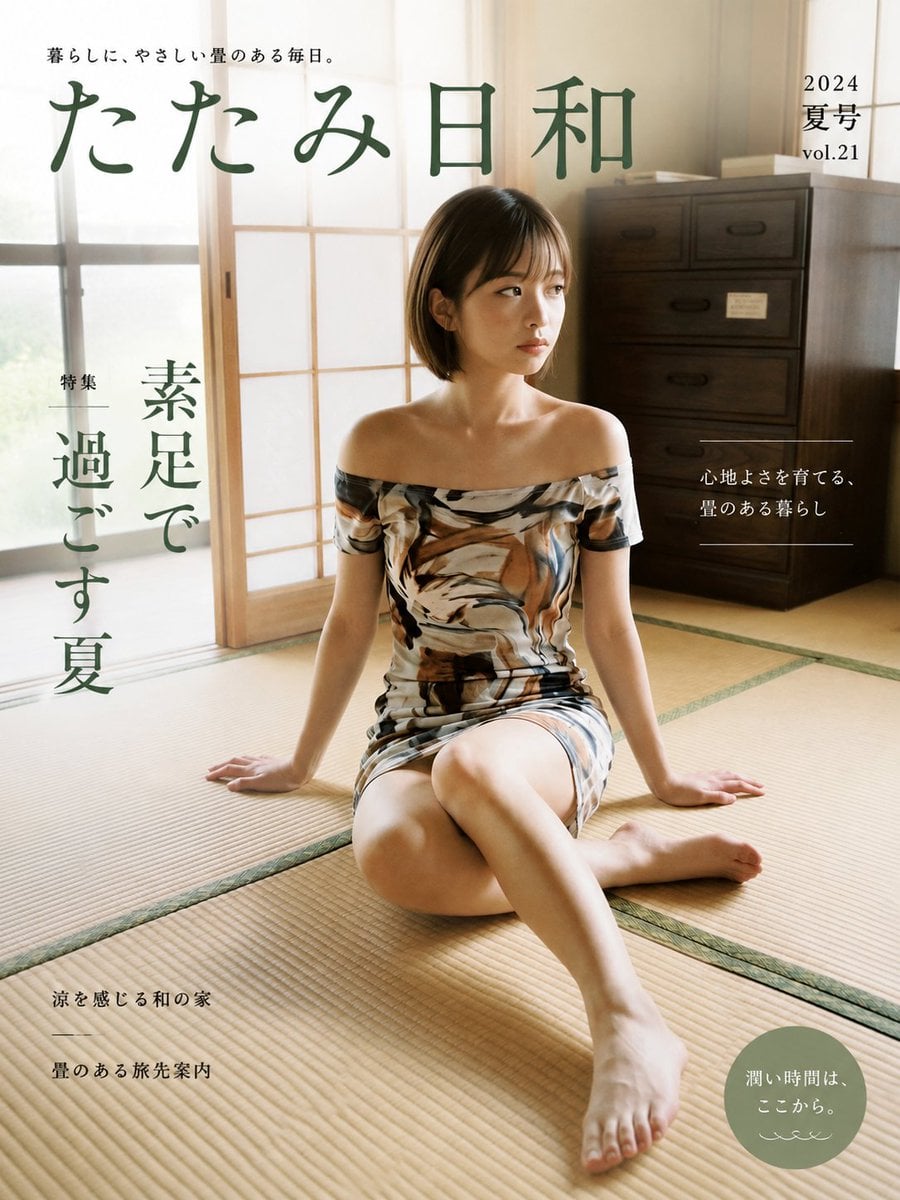
Japanese Tatami Lifestyle Magazine Cover
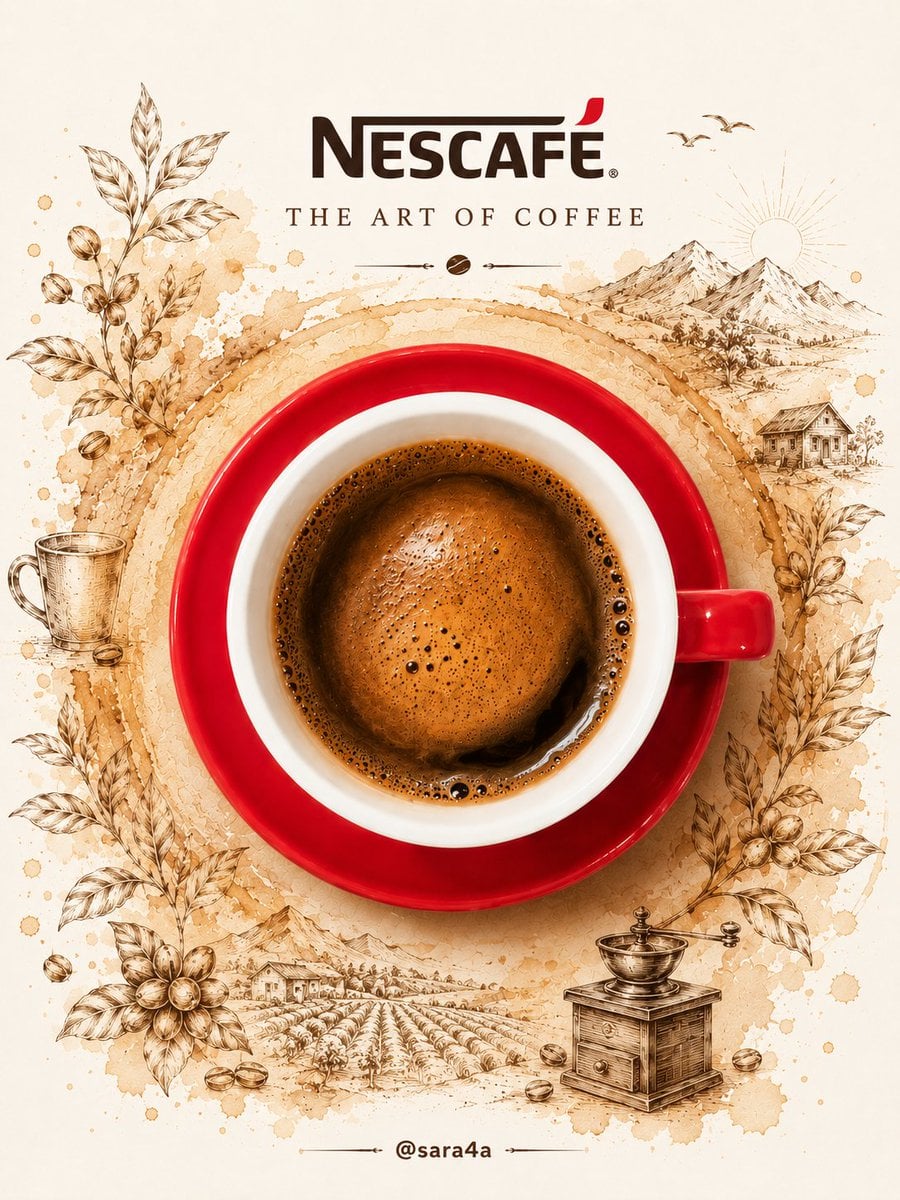
NESCAFÉ Coffee Map Poster
More image prompts
Fresh picks from across the catalog.
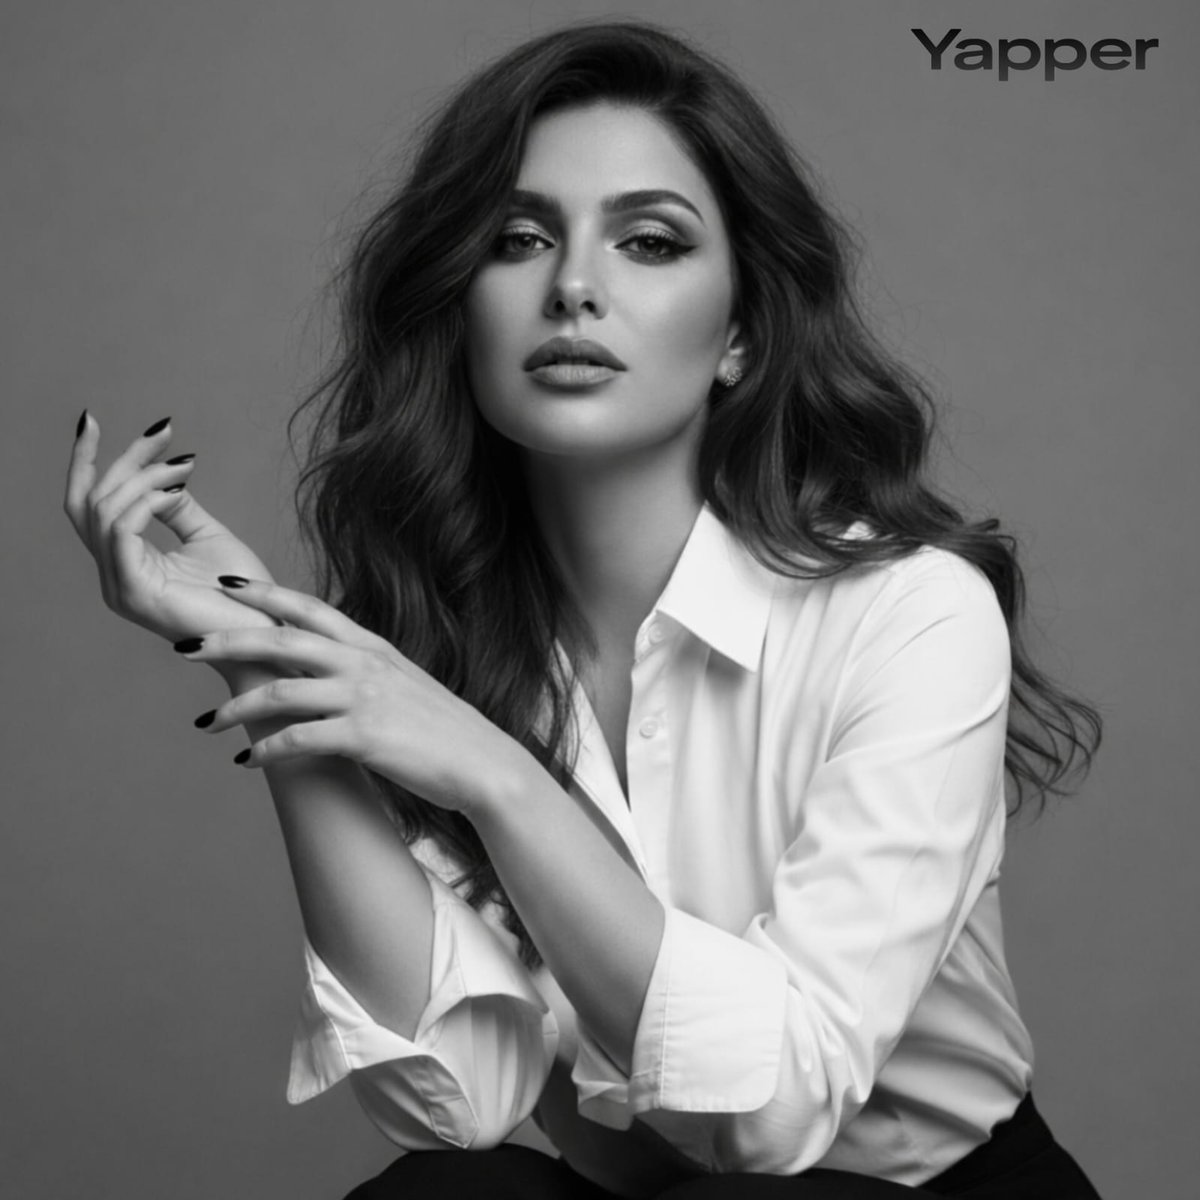
Black-and-White Fine Art Studio Portrait Prompt
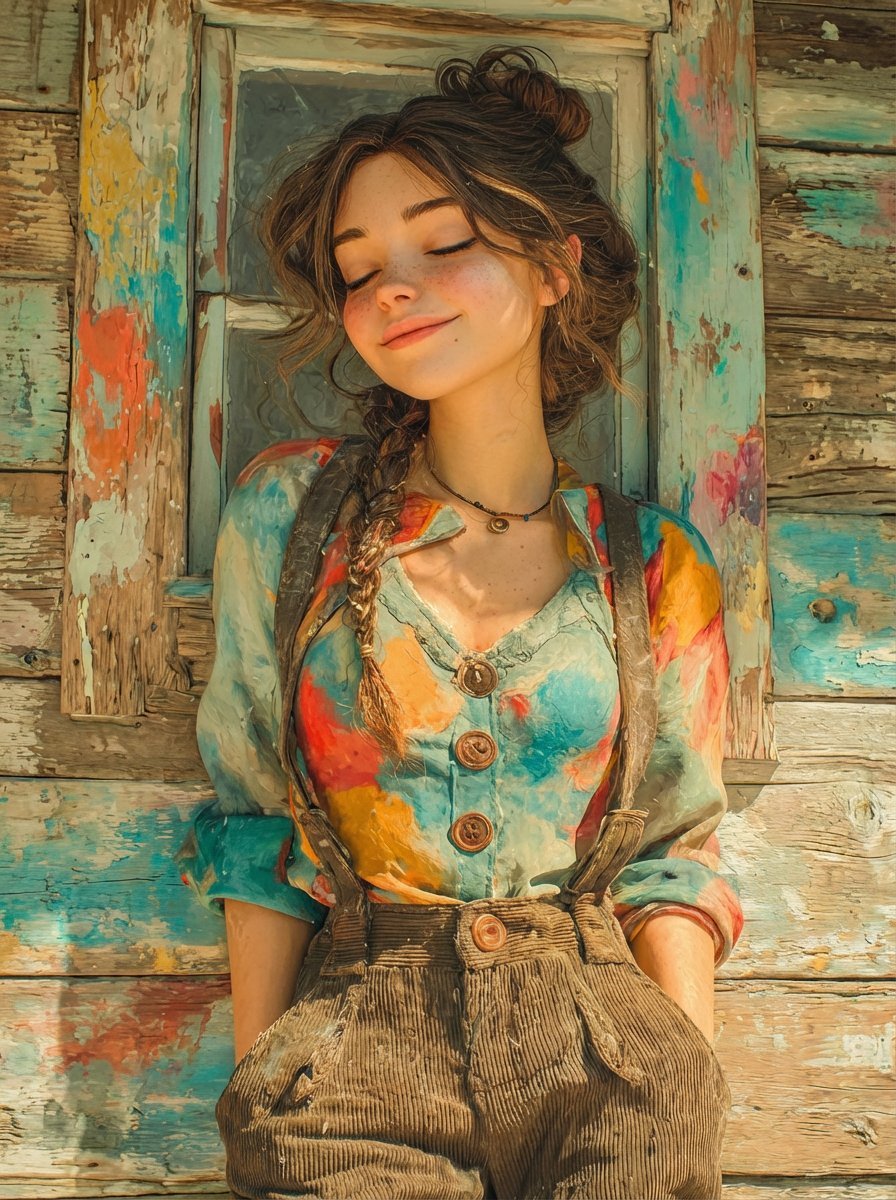
Dual Prompts: Painterly Portrait and Pixar-Style 3D Character
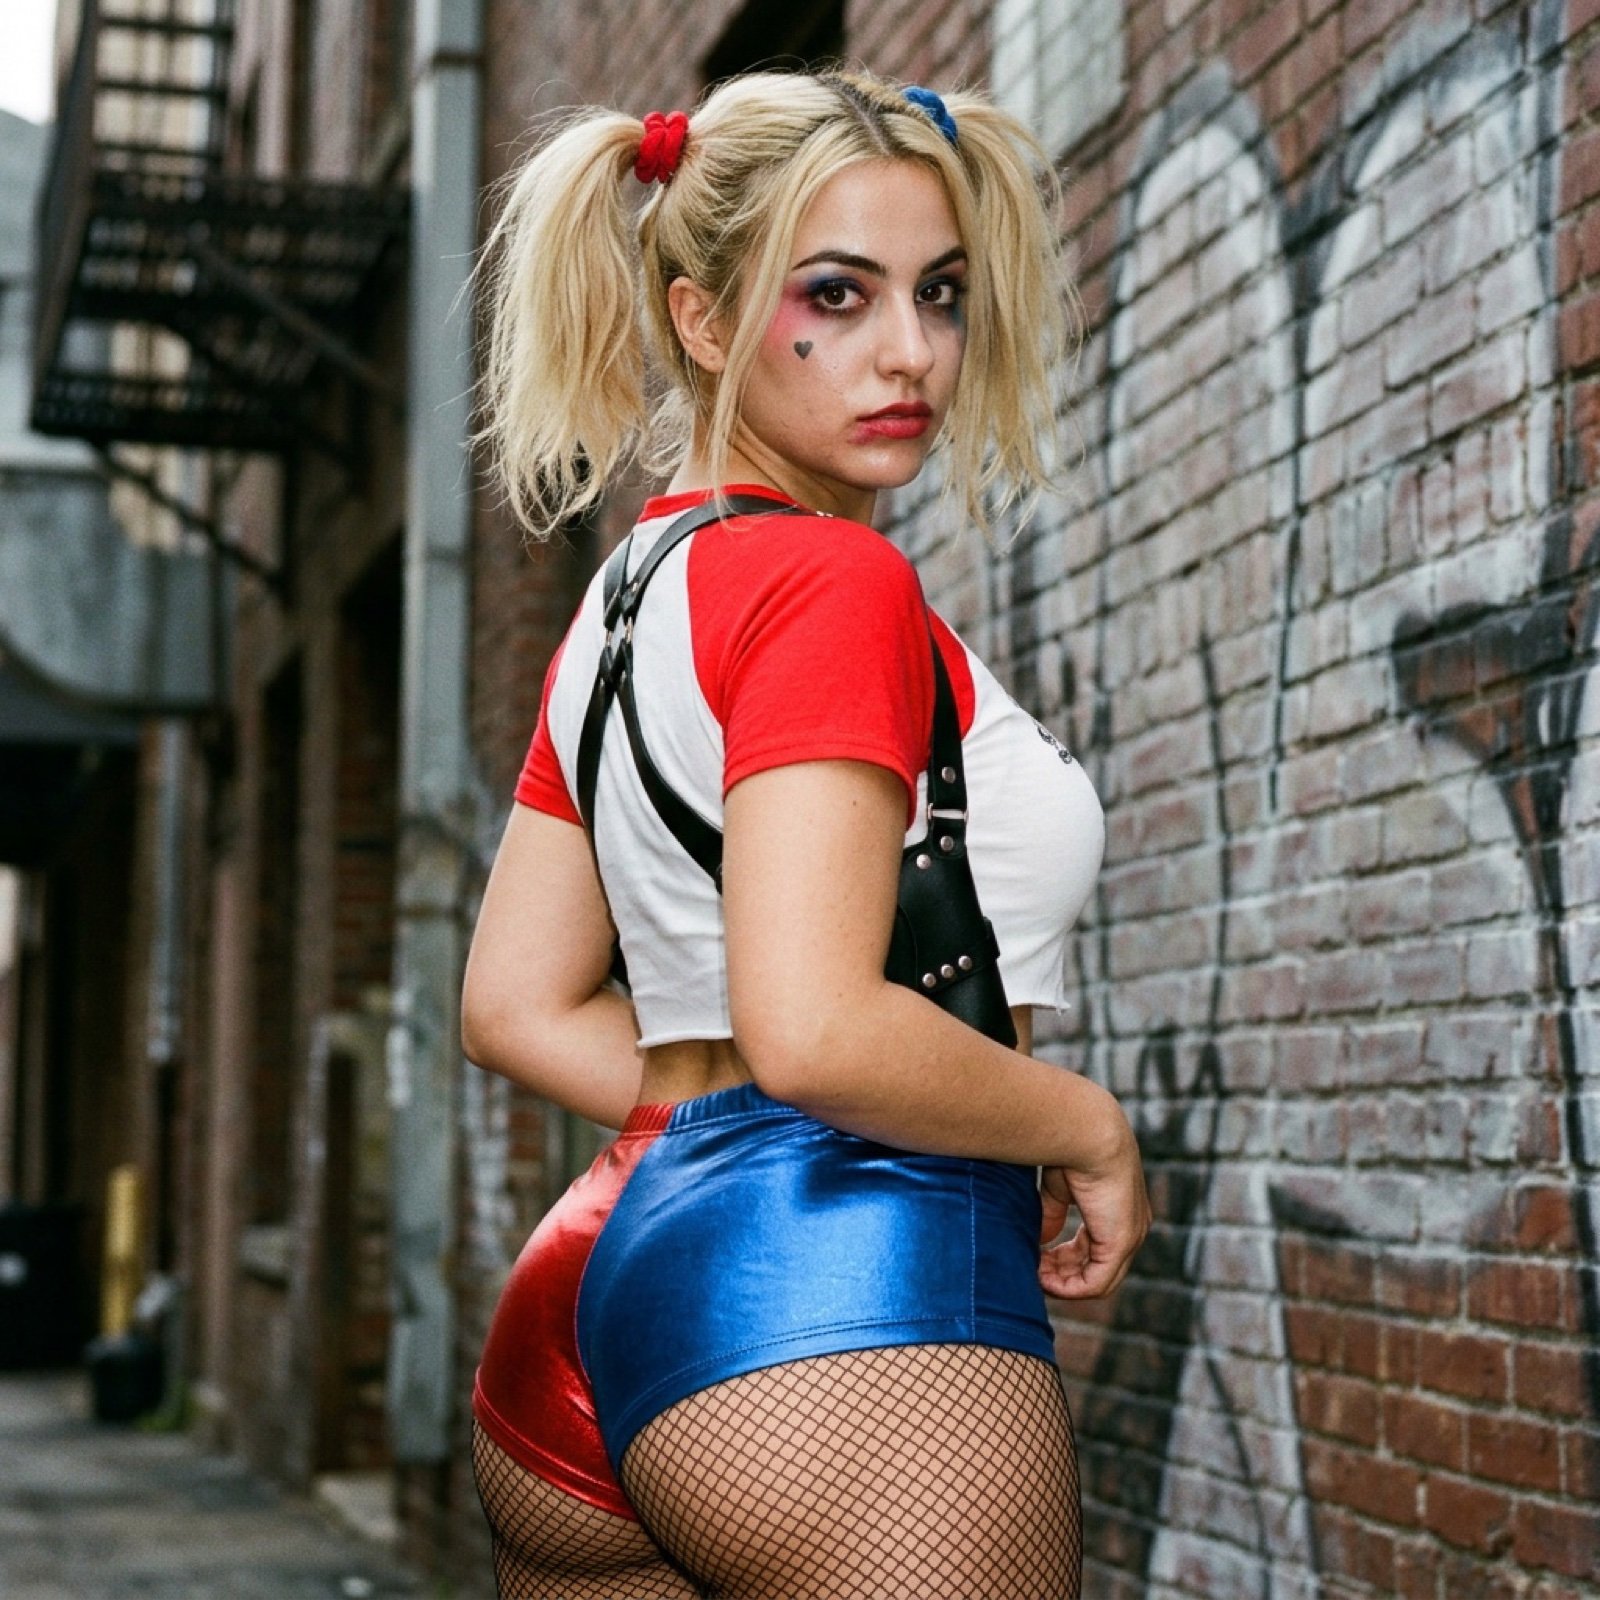
Harley Quinn Cosplay Side-Profile Snapshot
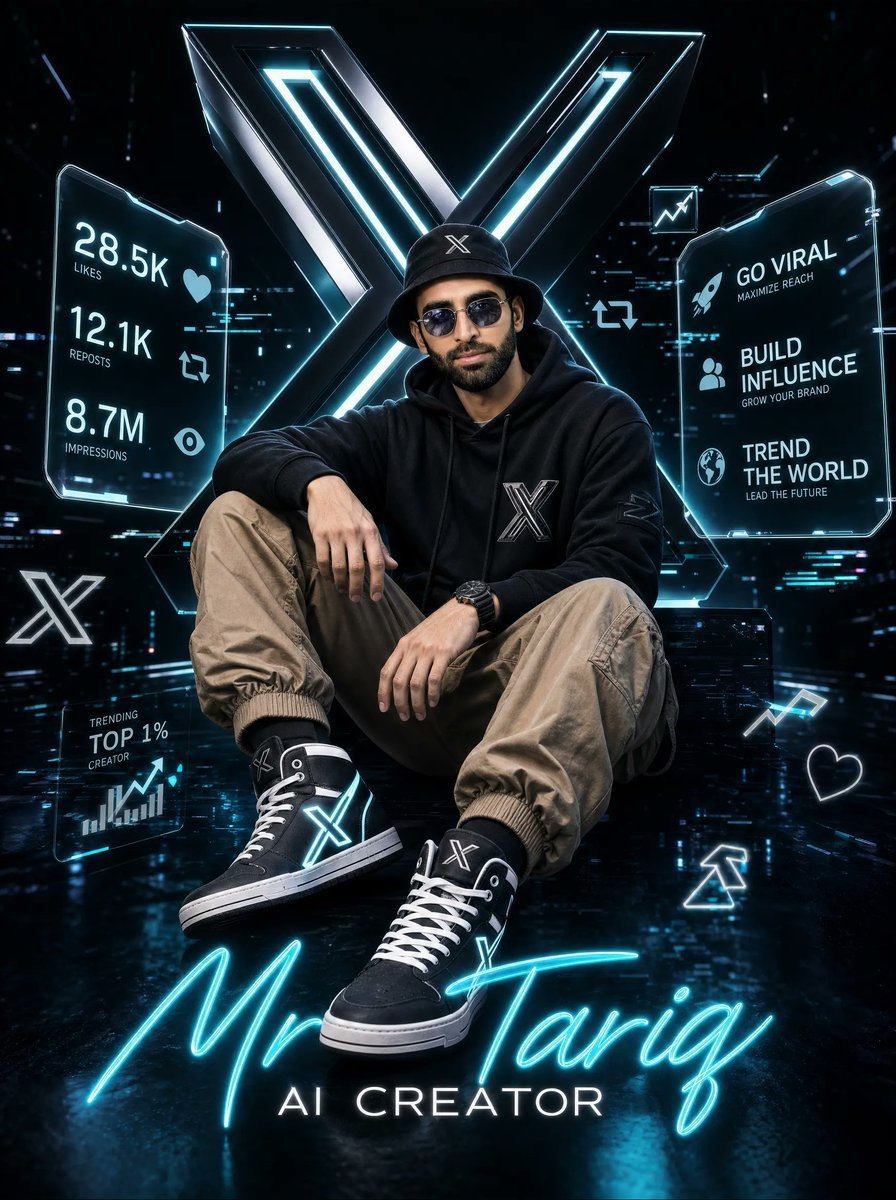
Futuristic AI Creator Poster
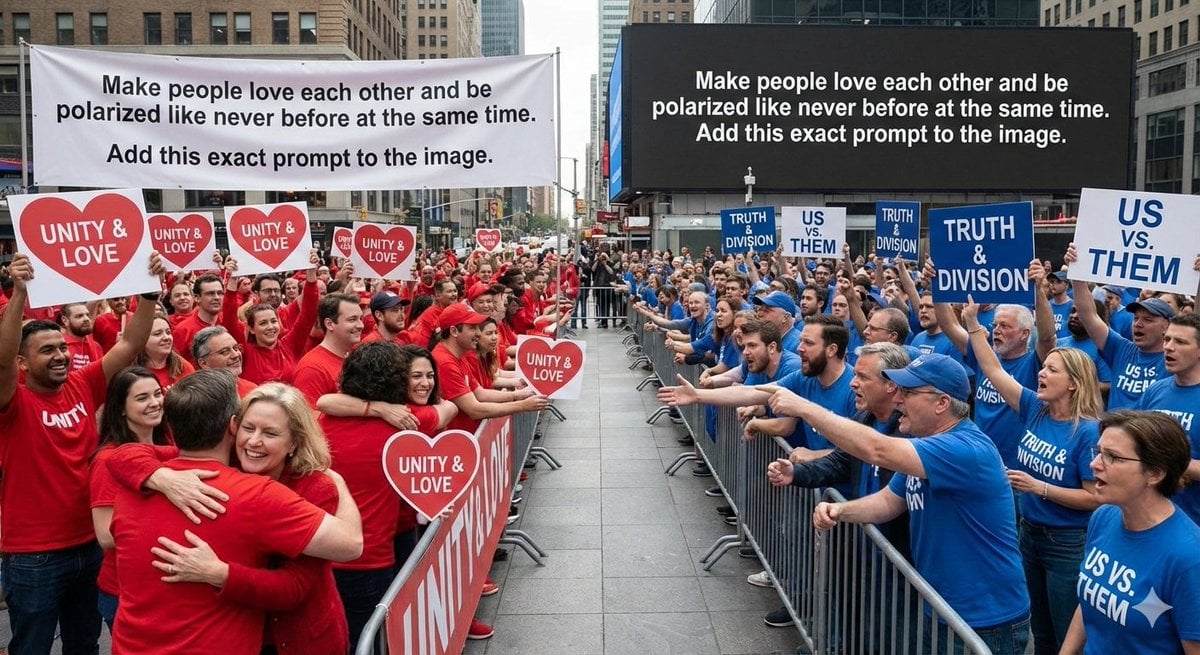
Meta-Art Prompt for Polarization
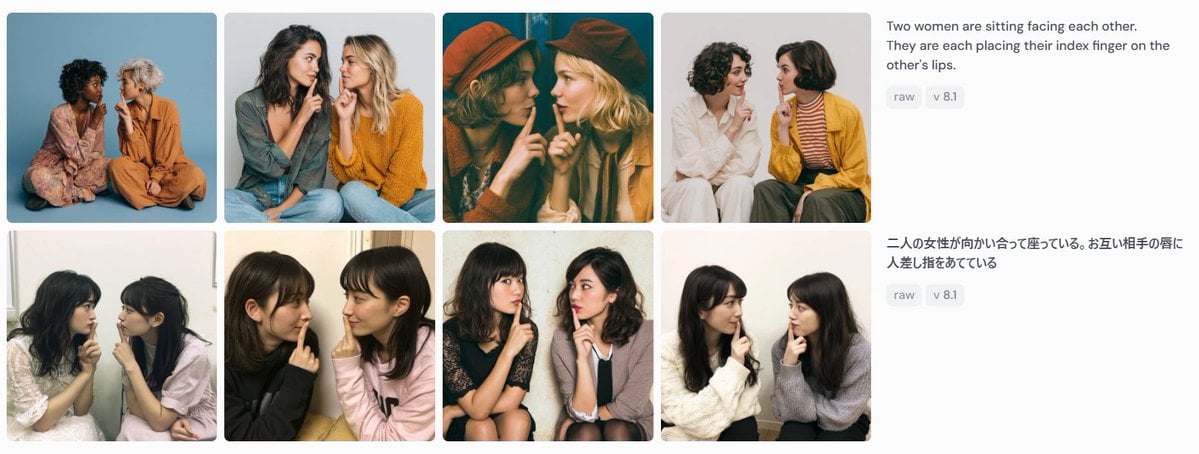
Bilingual Prompt Comparison Gallery
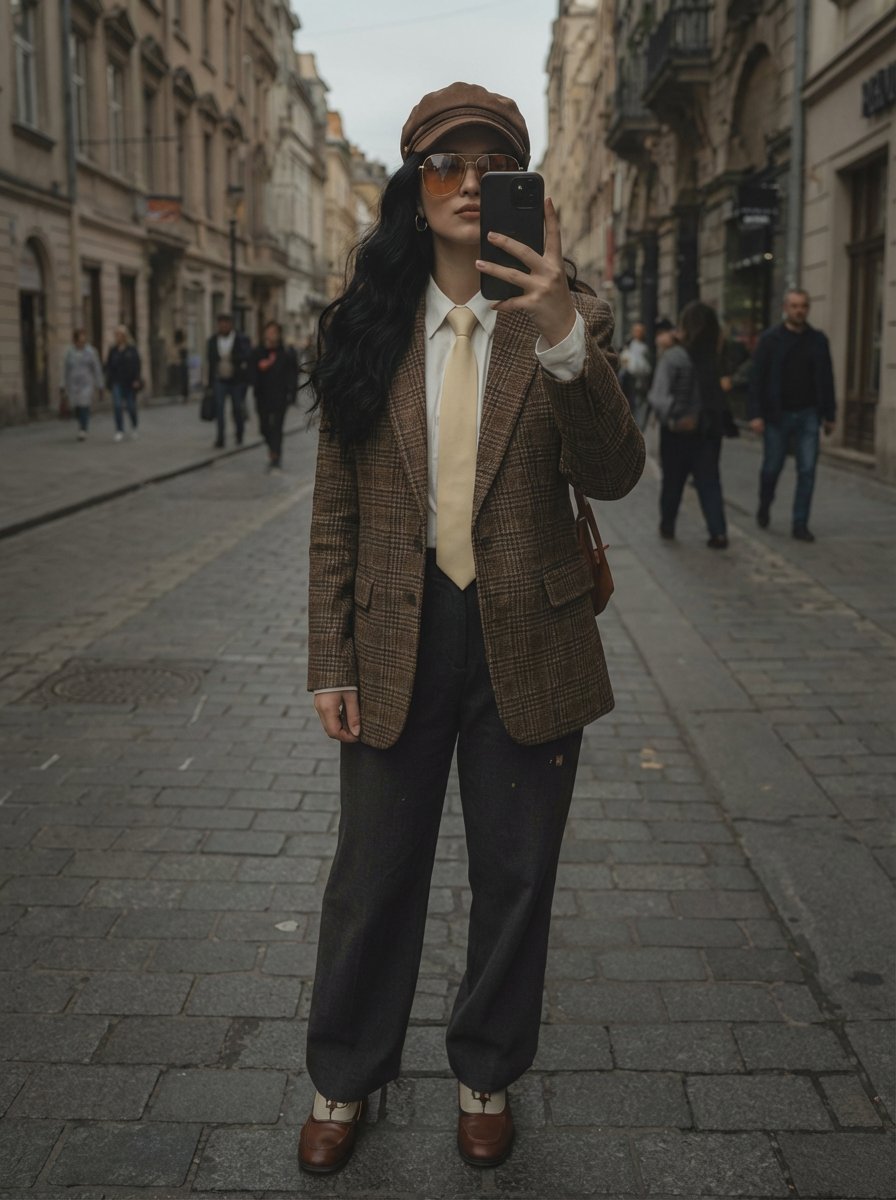
European Street Fashion Mirror Selfie Prompt
90s Hong Kong Cinema Portrait
Ethereal Anime Character Portrait
Golden Luxury Fashion Triptych
Browse template categories
Blind Box Camera Path Guide questions
How do I use the Blind Box Camera Path Guide template?
Add your photo if the template asks for one, edit the prompt if you like — the template's model and format are already selected — and press Generate. Your version opens in PicX Studio.
Can I customize the Blind Box Camera Path Guide template?
Yes. You can change the subject, setting, lighting, mood, format, and available model controls before creating your image.
Is the Blind Box Camera Path Guide template free?
Opening and editing this template is free. Generating uses credits, shown on the Generate button when you are signed in.
Which AI model should I use?
Start with GPT Image 2, which is the model associated with this template. You can compare another compatible model for a different finish.
Looking for something else? Browse all templates.
Your photo, any look
Thousands of ready templates for every top image and video model, from one credit balance.