
Smart Doorbell Enclosure Product Render
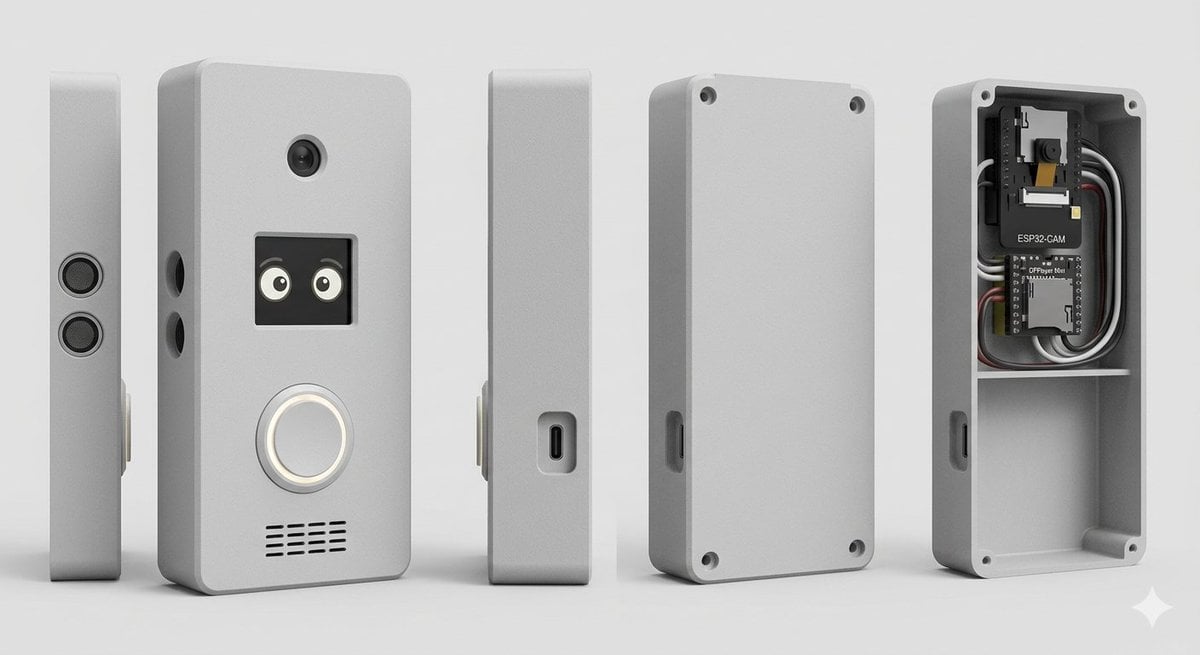
A structured prompt for generating a photorealistic multi-view CAD-style render of a DIY smart doorbell enclosure with visible internal electronics.
- Prompt included
- Model and format preset
- Free template
The prompt behind this image
Copy the exact prompt behind Smart Doorbell Enclosure Product Render, or open it in the studio and make it yours.
Goal: Create a clean studio product render of a custom DIY smart doorbell / intercom enclosure, shown as an exploded multi-view product lineup. Canvas: Wide horizontal 16:9 composition on a light gray seamless studio background, soft floor shadow, orthographic product-render look, no people, no branding watermark. Subject: A compact rectangular electronics enclosure with rounded corners, matte {argument name="enclosure color" default="light gray"} plastic, slightly beveled edges, realistic 3D CAD rendering, subtle rough texture. Layout: Show exactly 5 discrete enclosure views arranged left to right with even spacing: 1) a very thin left side profile standing upright with two stacked circular speaker or sensor grilles; 2) the main front face standing upright, slightly angled, with visible functional details; 3) a narrow side profile with a recessed USB-C port; 4) the rear cover plate standing upright with four corner screw holes and a side cutout; 5) the open back housing/case interior showing electronics installed in the top compartment and an empty lower compartment. Front face details: On the main front view, include exactly 4 visible feature groups: a small round camera lens near the top center; a square black display/window below it showing two cute cartoon eyes; a large circular illuminated doorbell button below the display with a white glowing ring; and a horizontal speaker grille near the bottom made of short black slits in multiple rows. Add two small round side holes on the left edge of the main body. Interior electronics: In the open back housing, include exactly 2 circuit boards and visible wiring: the top board is labeled {argument name="camera module label" default="ESP32-CAM"} with a small camera module, and the lower board is labeled {argument name="controller board label" default="DFPlayer Mini"}. Add neatly routed black, white, gray, and red wires around the boards. The interior should have a horizontal divider shelf separating the electronics bay from a larger empty lower cavity. Add four corner screw posts/holes inside the open case. Style: Photorealistic 3D product visualization, high-detail industrial design concept, soft studio lighting from upper left, gentle ambient occlusion, crisp edges, realistic plastic material, neutral gray palette, shallow but clear shadows, centered composition. Constraints: Use exactly 5 product views, keep all objects upright, no hands, no extra text beyond the two board labels, no logos, no decorative background objects.
How to use Smart Doorbell Enclosure Product Render in 3 steps
- 1Upload ImagePNG, JPG or paste
Add your photo
Upload the photo the template builds on. The prompt, model and format are already set.
- 2…a portrait of your subject in softgolden-hour light, 85mm…
Personalize
Edit the subject and creative details for your destination.
- 3Generate
Generate
Press Generate — your image is created in PicX Studio, so you can compare it with the original and refine one variable at a time.
More like this
Templates with the same subject, style or setup. Open one to see its prompt.
Smart Doorbell Product Visualization Collage Prompt

A k.pop idol on the stage with mic
Trendy Cafe Drink Promo Poster
Minimalist Skincare Product Water Stone Still
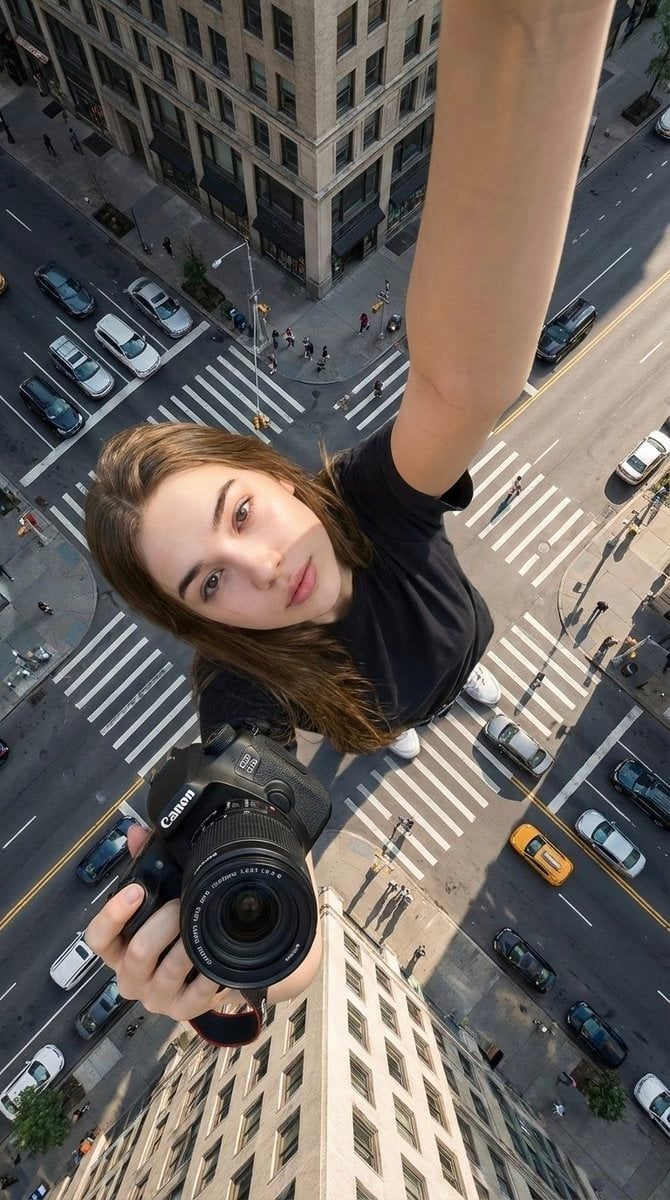
Giant Forced Perspective Street Product Selfie
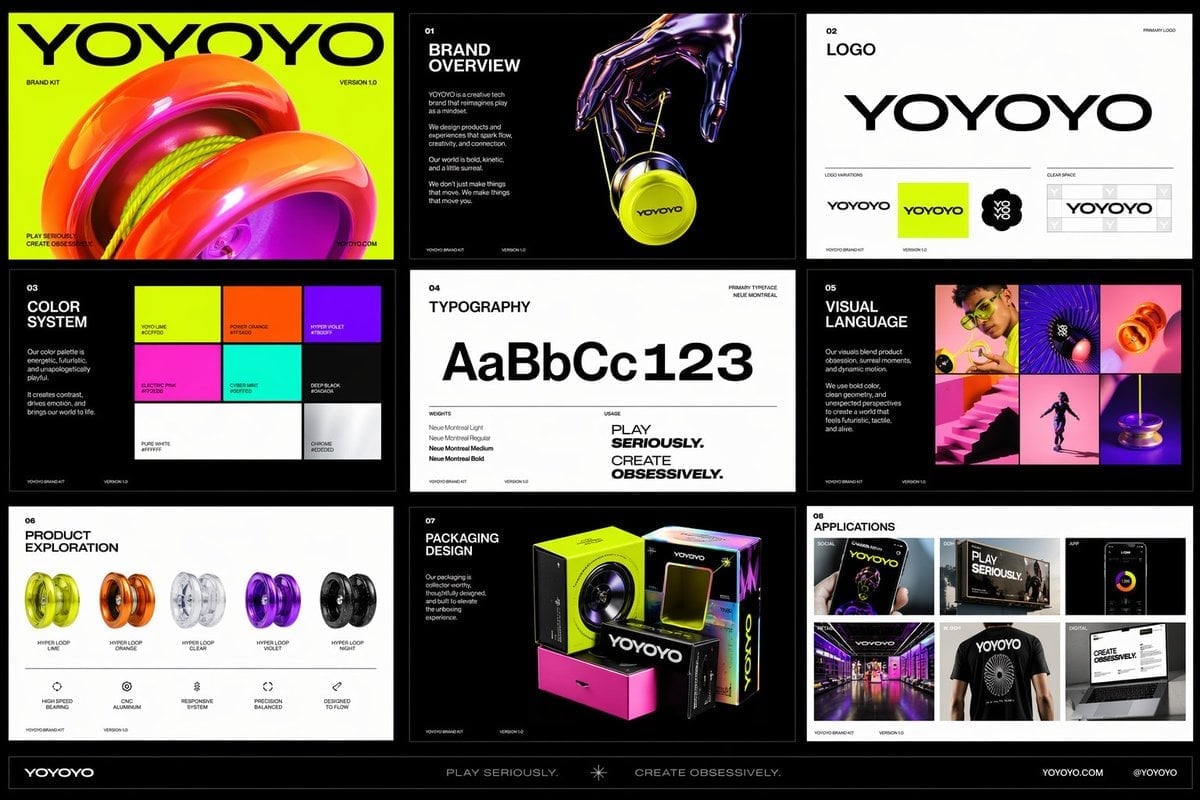
Playful Futuristic Brand Kit Board
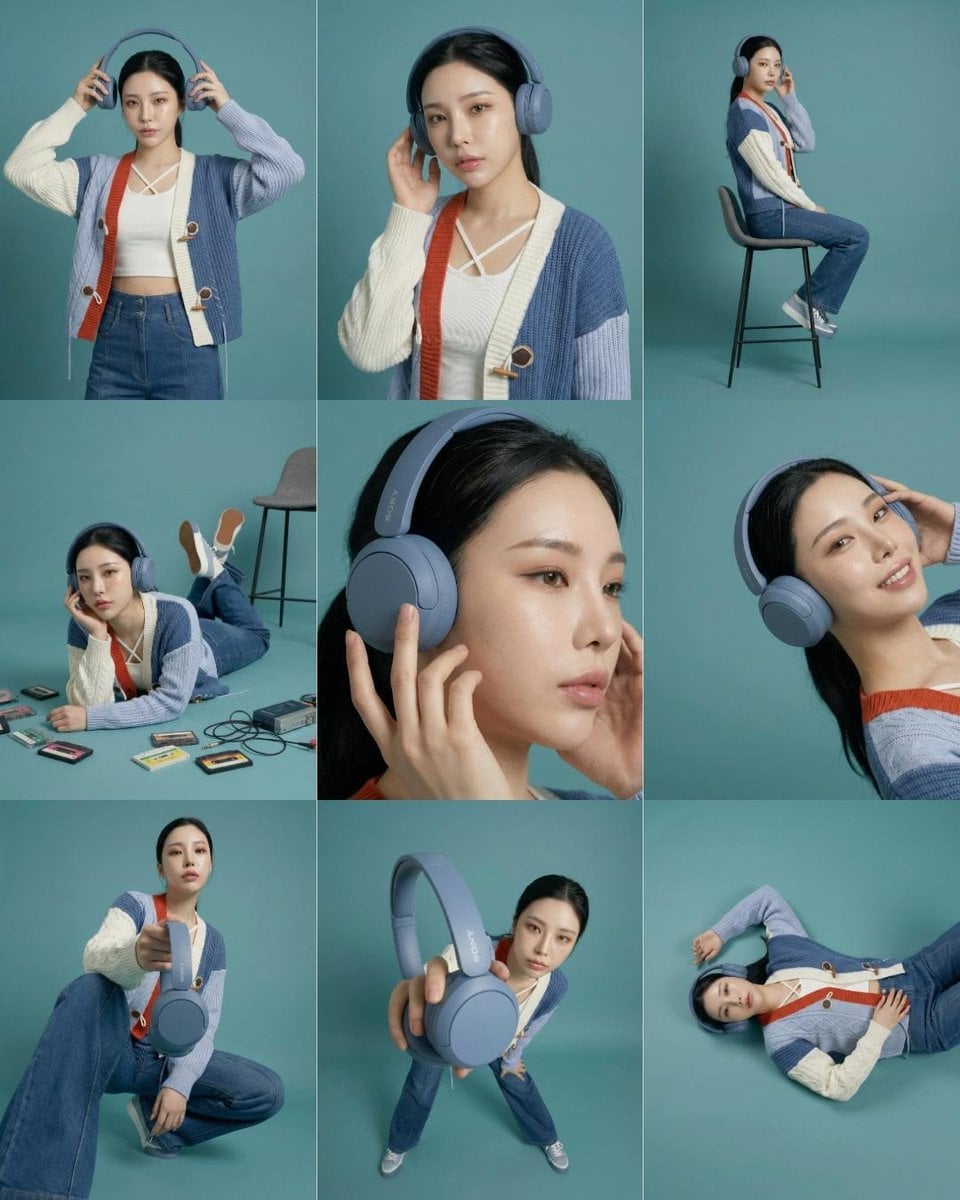
Headphones Lifestyle Nine Panel Grid
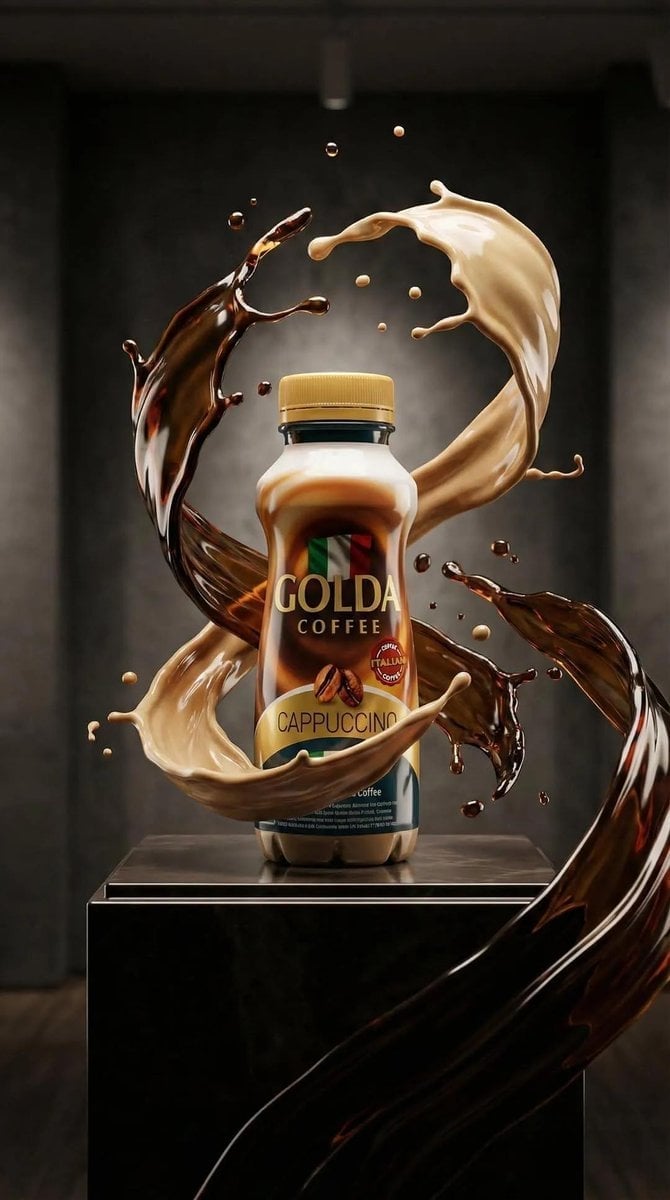
Cappuccino Bottle Splash Product Ad
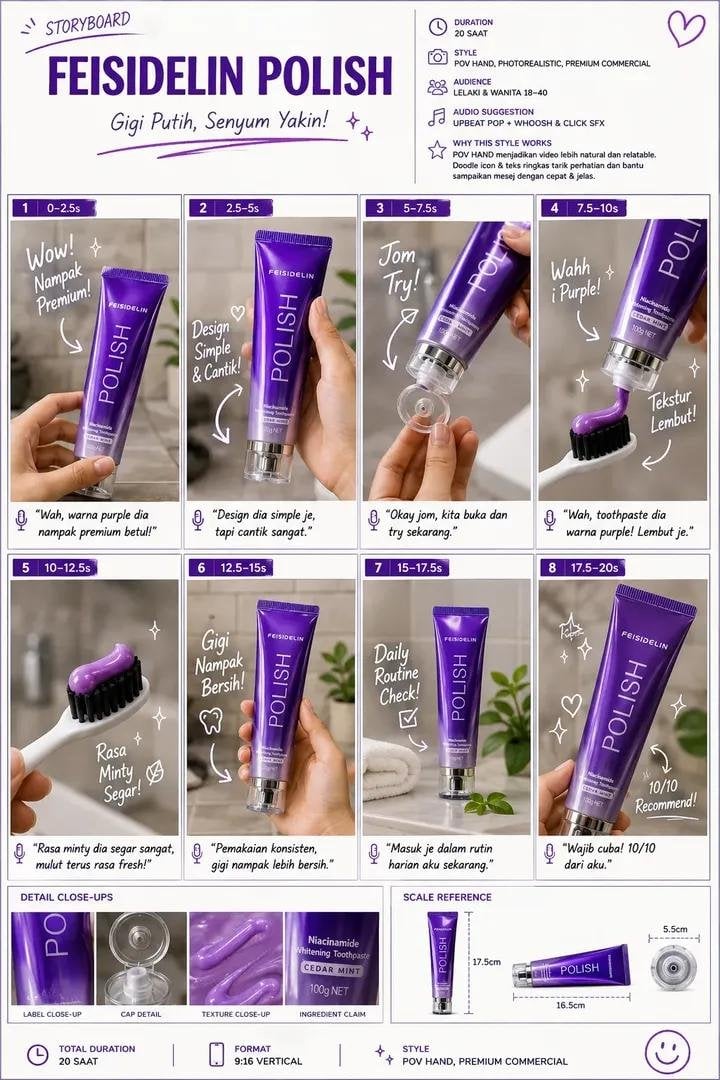
Luxury Toothpaste Commercial Storyboard

Parle Hide and Seek Cookie Campaign Poster
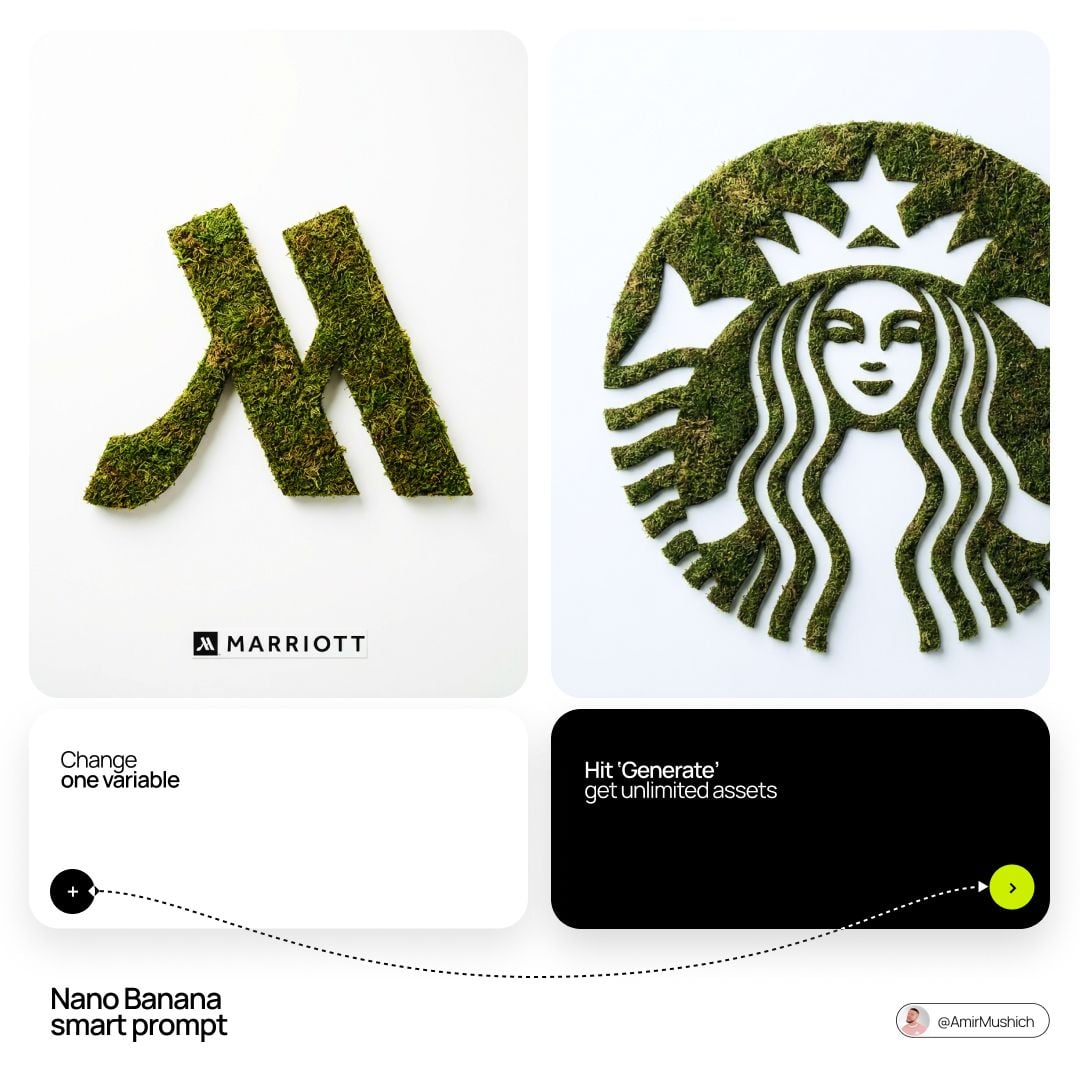
Moss Logo Minimalist Brand Flat Lay

Cosmetic Tube Product — Nano Banana 2
Make it yours
Smart Doorbell Enclosure Product Render works as-is. These are the safest ways to change it without losing the look.
Change one field
Copy a single group, rewrite it, and generate again so you can see what that field is doing.
Keep the frame, change the subject
Hold the composition and light of Smart Doorbell Enclosure Product Render, then swap wardrobe, props or the person for a new take.
| If the result… | Why | Fix |
|---|---|---|
| The result drifts from the preview | Too many fields changed at once. | Reuse Smart Doorbell Enclosure Product Render as-is first, then change one group — subject, light, or setting. |
| The model over-stylizes the scene | The prose prompt leaves finish and camera underspecified. | Add one camera or lighting sentence and stay on GPT Image 2. |
More GPT Image 2 templates
Other prompts made for GPT Image 2.
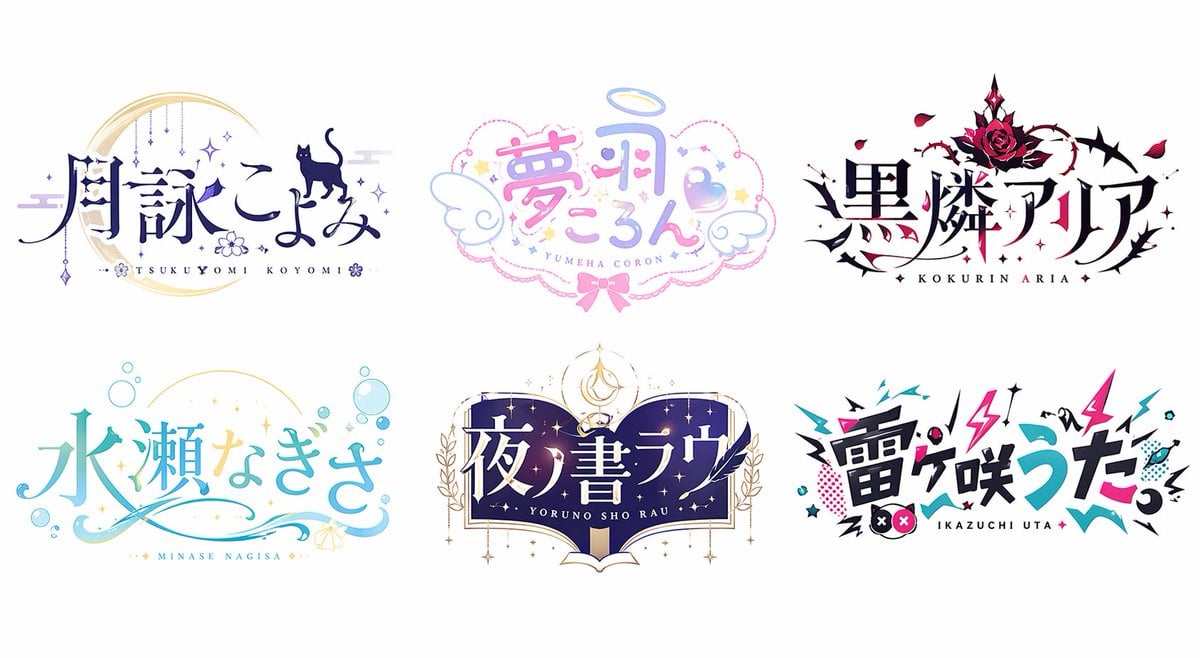
Six VTuber Japanese Logo Sheet
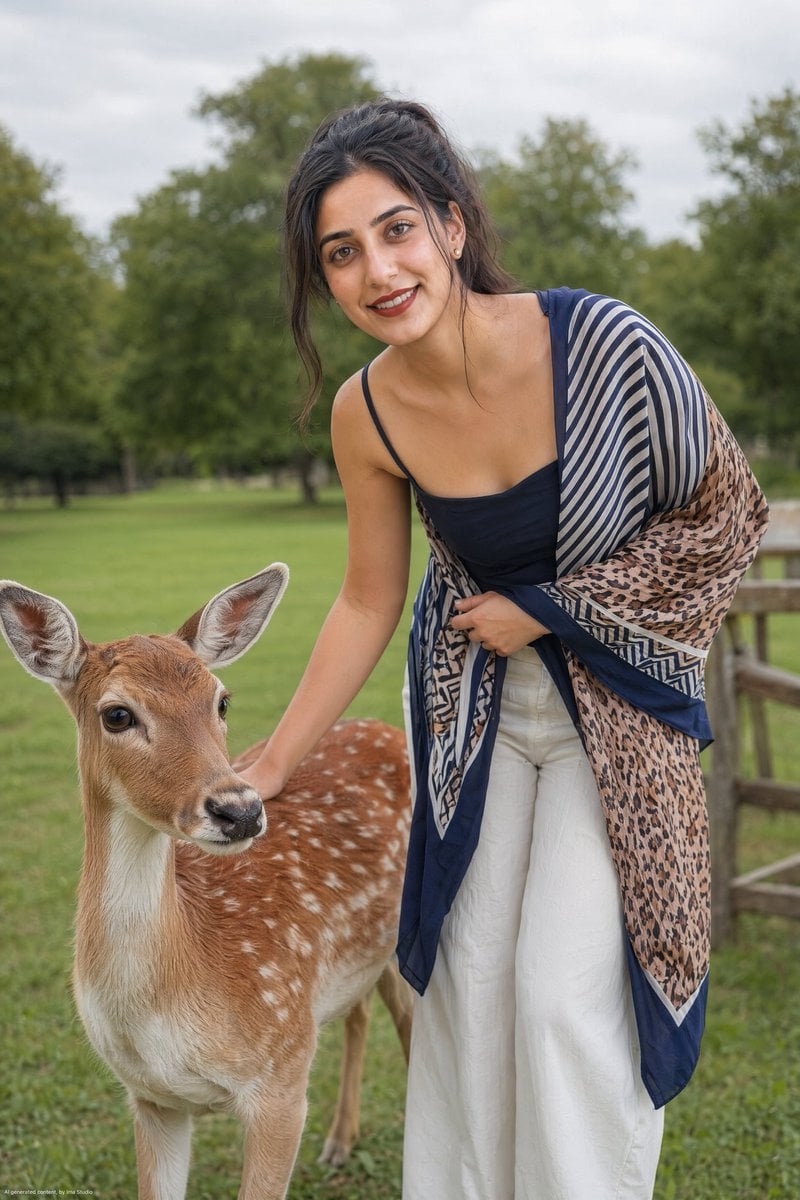
Realistic Portrait of Woman and Deer
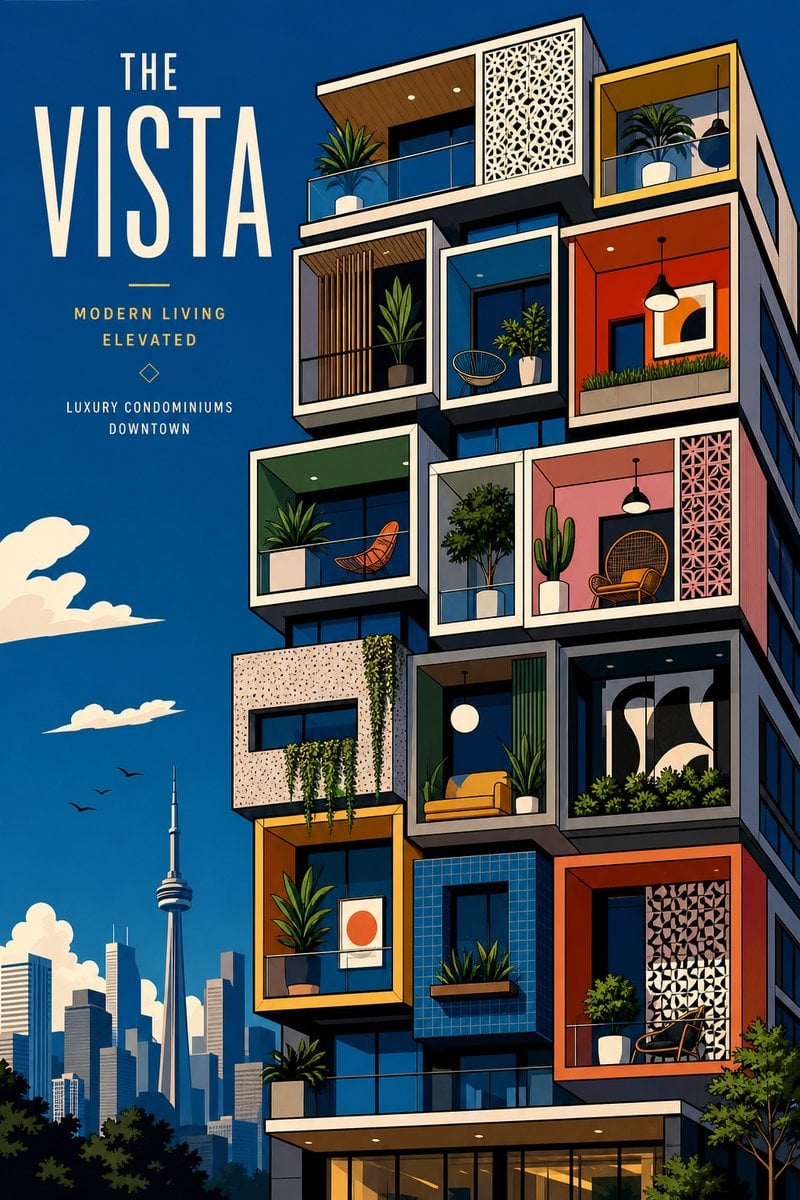
The Vista Modular Condo Poster
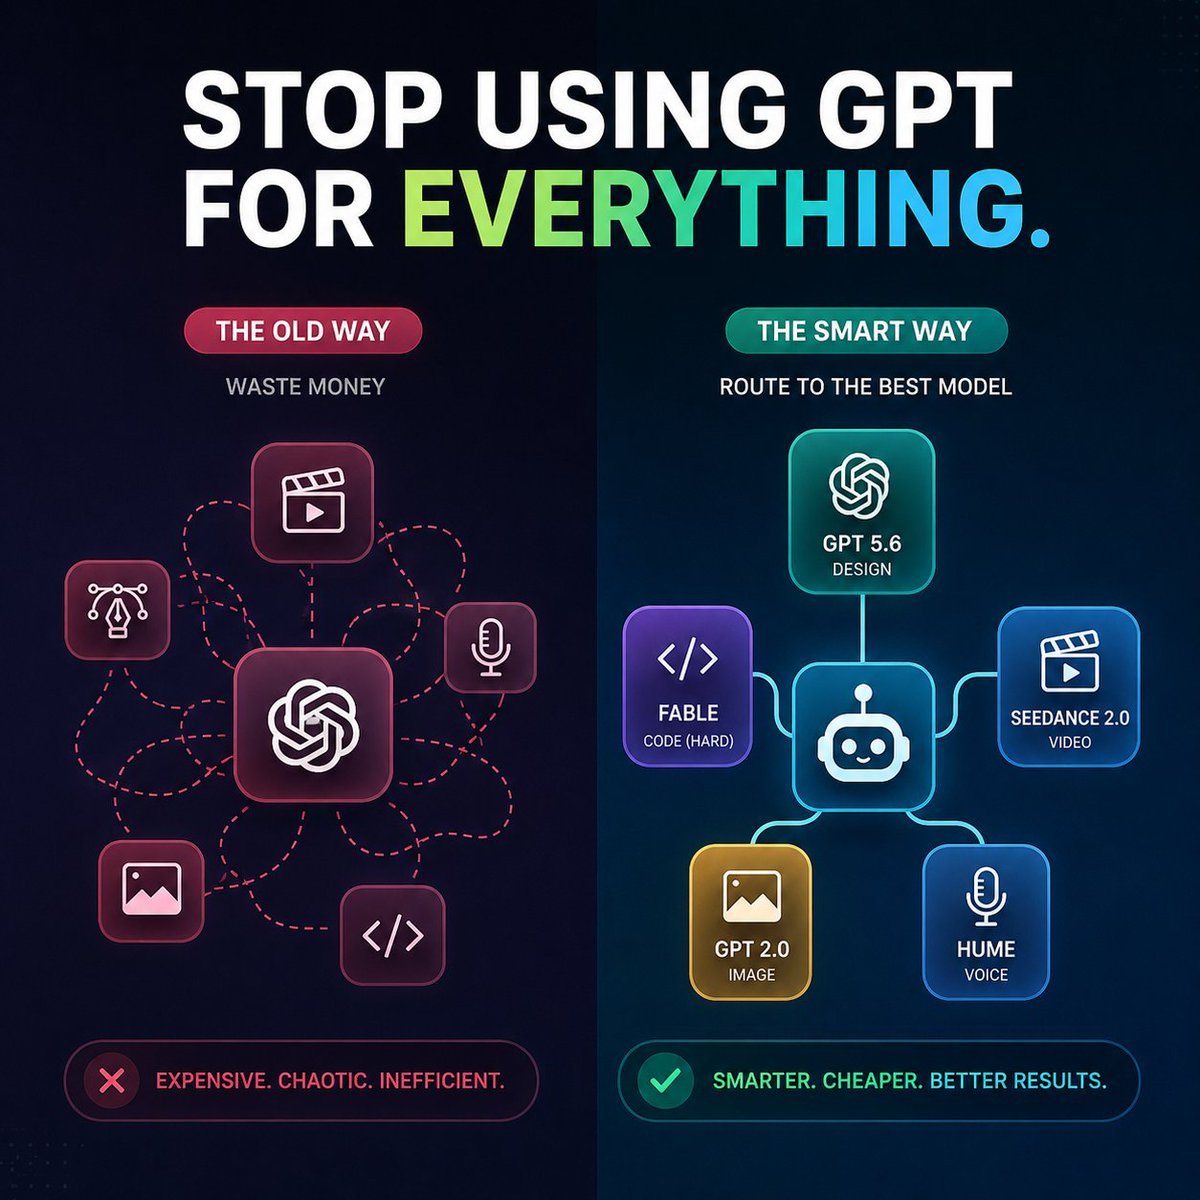
AI Model Routing Comparison Infographic
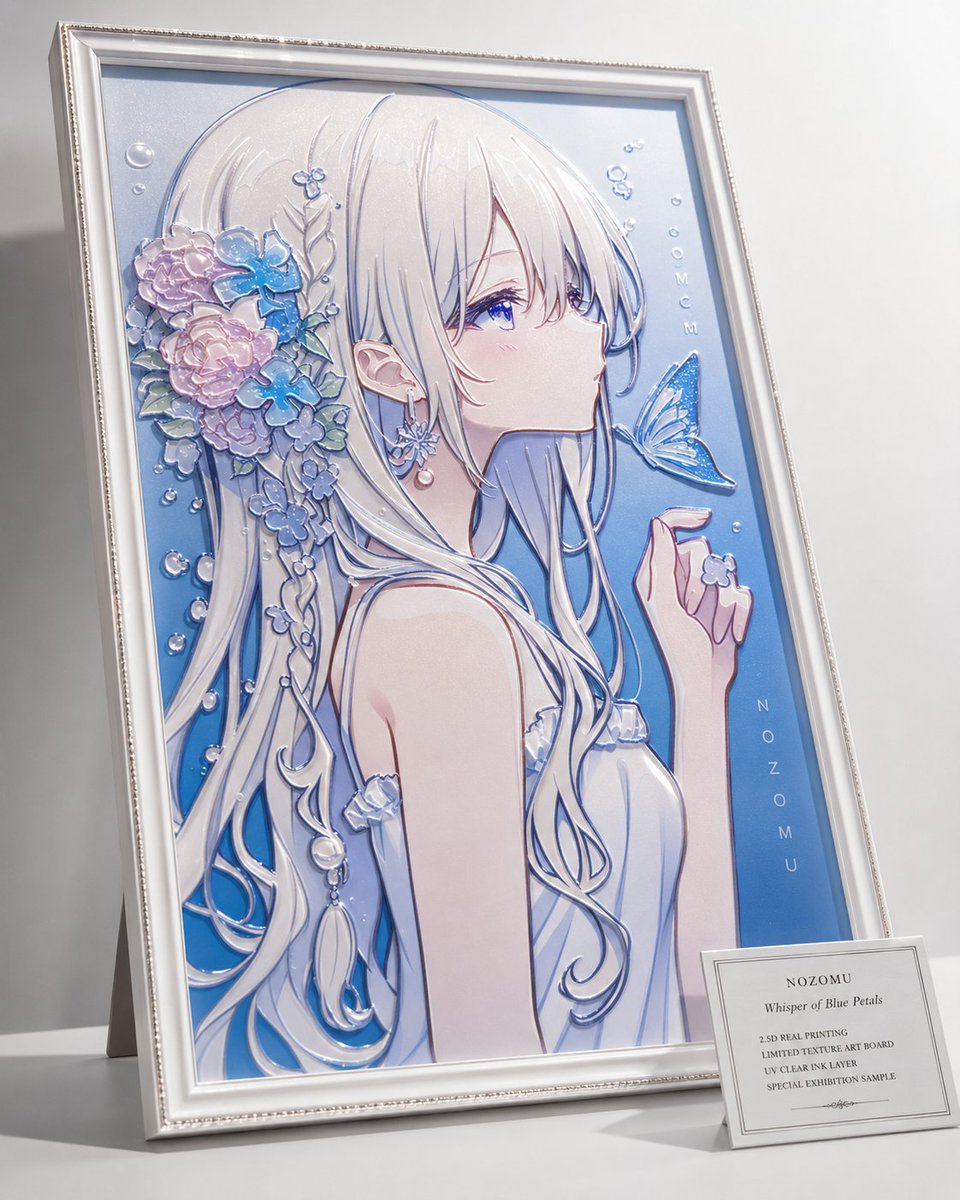
2.5D Anime Art Board

Isometric Productivity Desk Scene
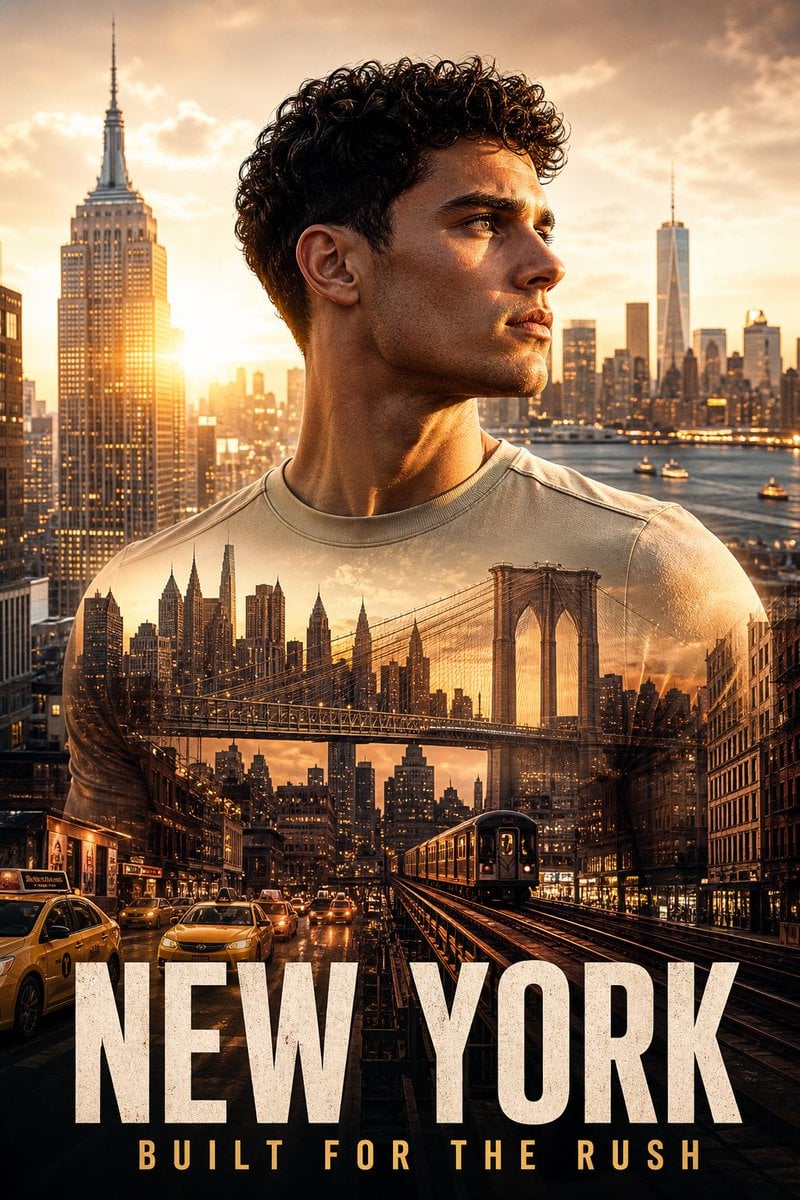
New York Double Exposure Poster
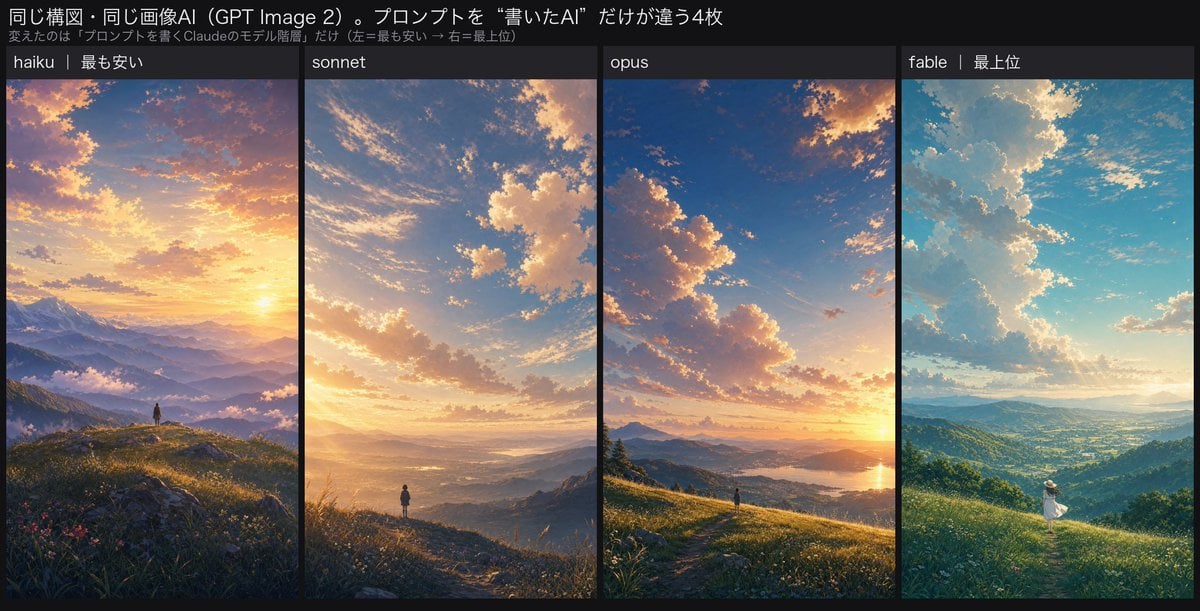
Four-Panel AI Landscape Comparison
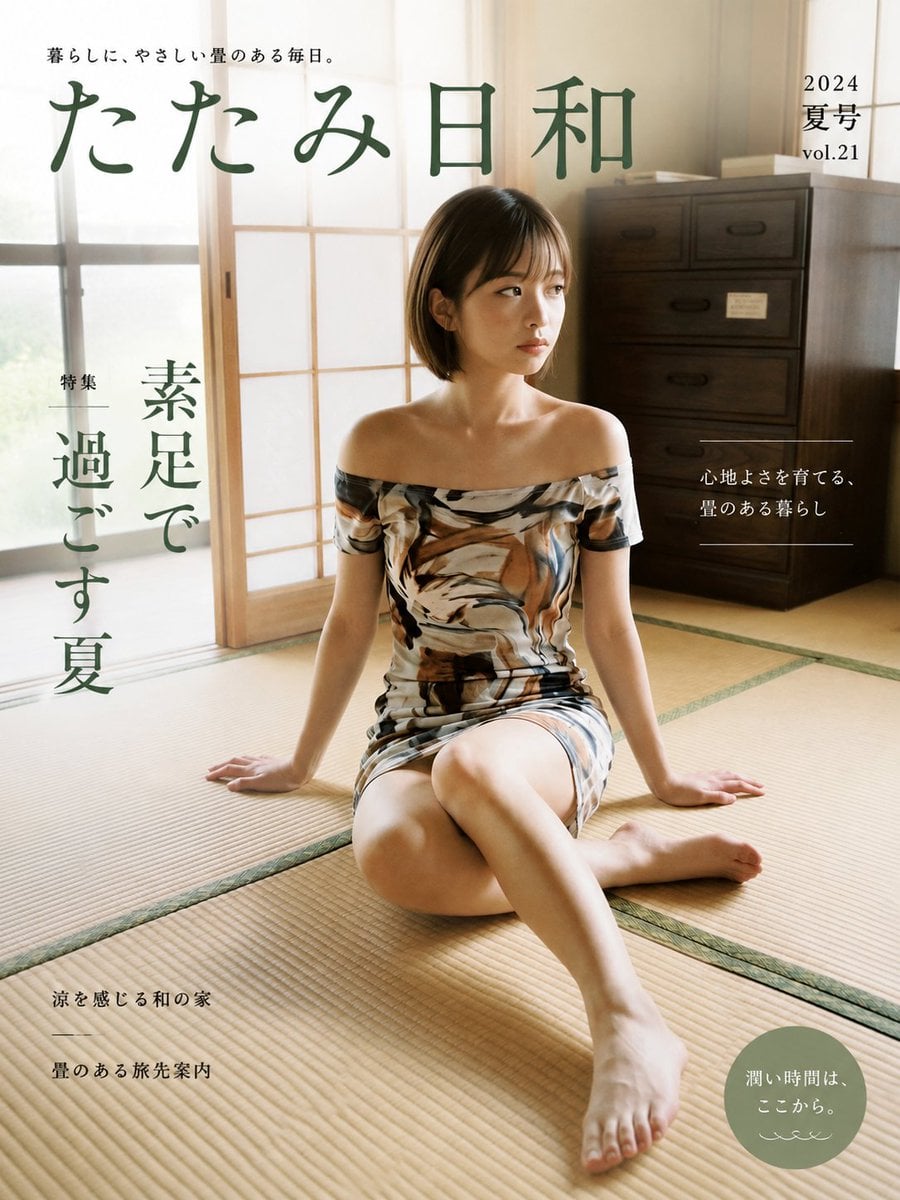
Japanese Tatami Lifestyle Magazine Cover
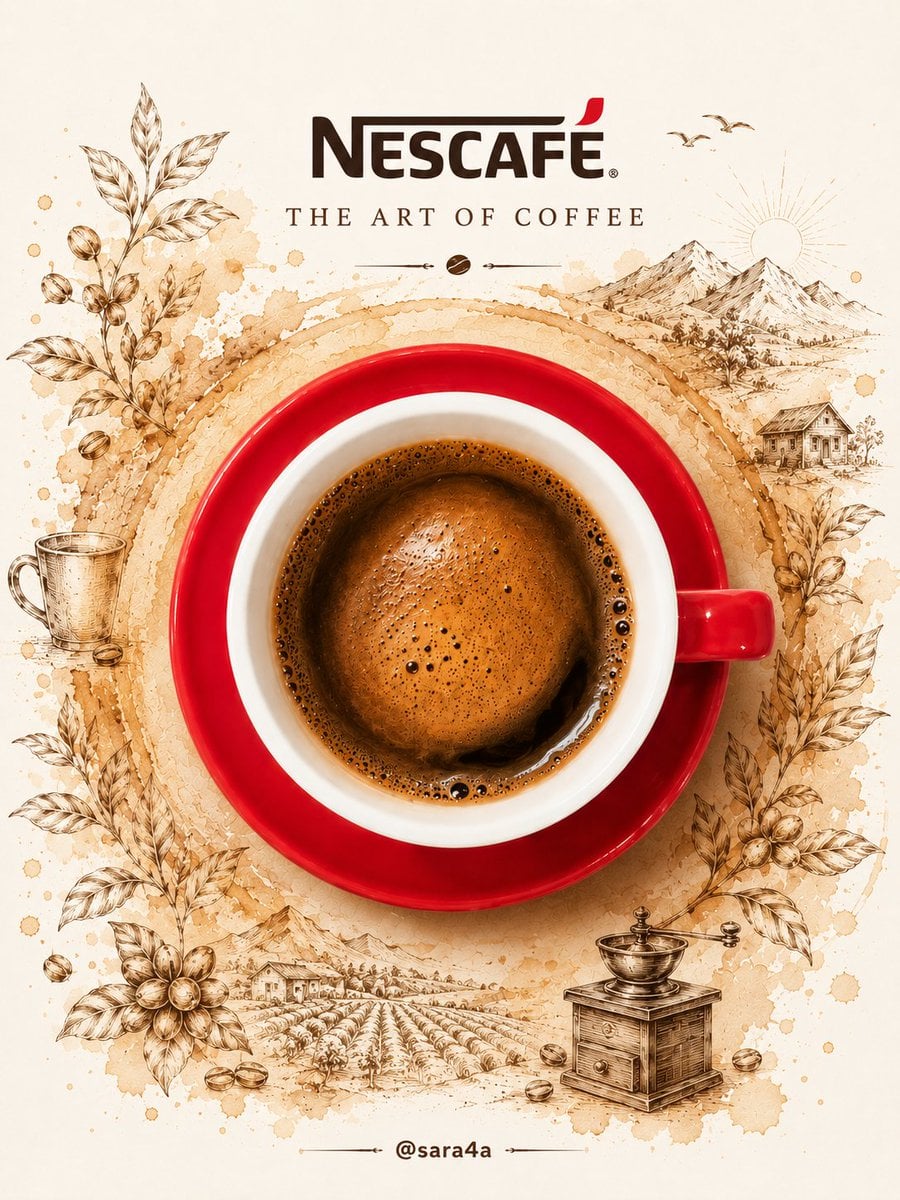
NESCAFÉ Coffee Map Poster
More image prompts
Fresh picks from across the catalog.
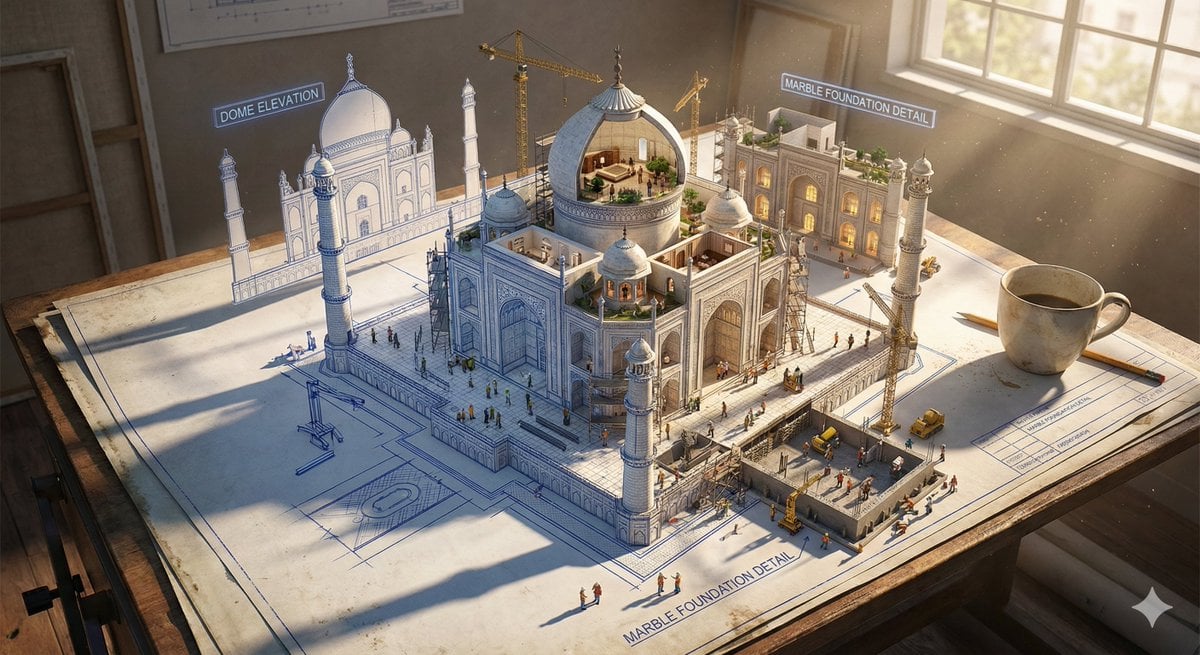
Epic 3D Architectural Blueprint Construction Scene

Realistic Image Generator Prompt System
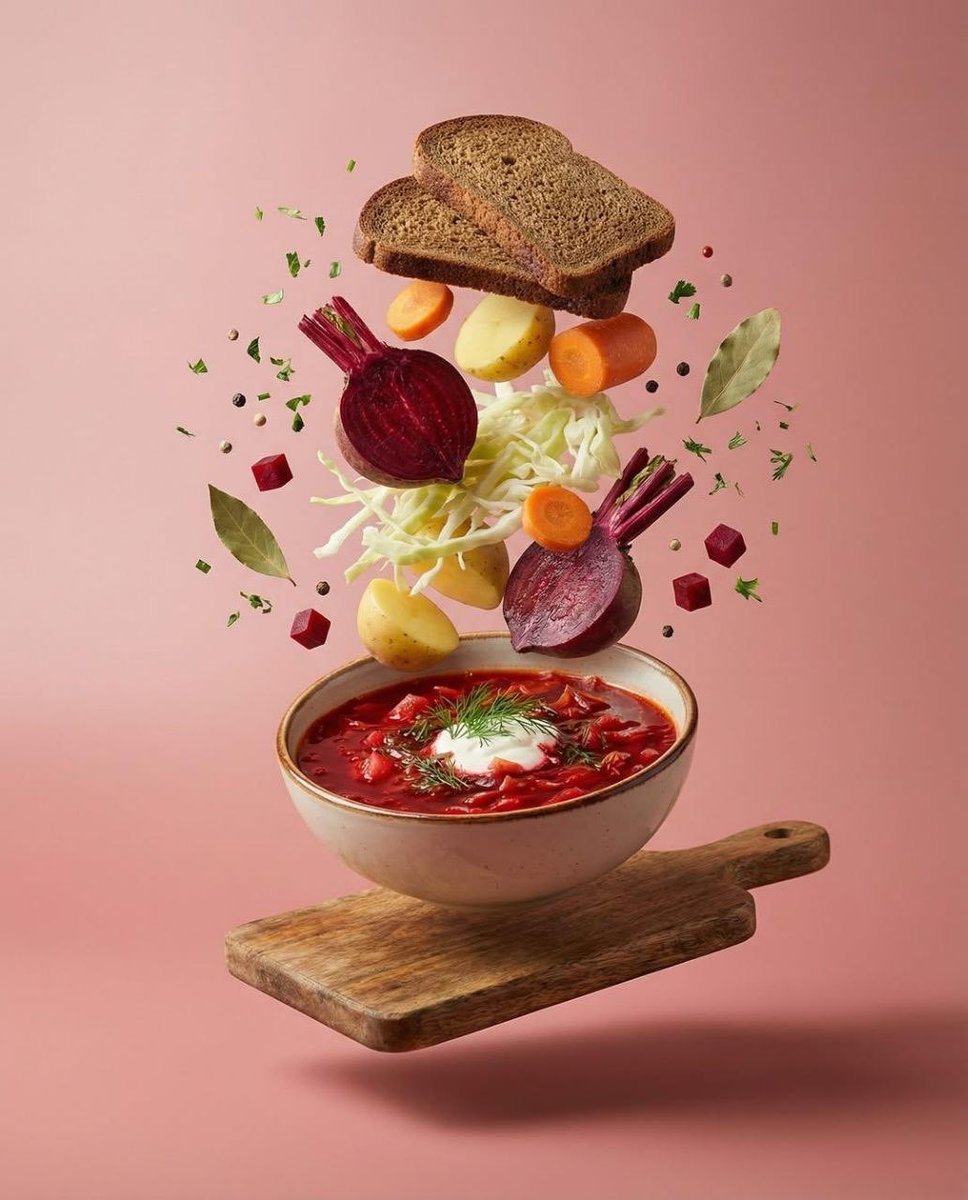
Surreal Levitation Food Photography of Traditional Beet Soup (Borscht)
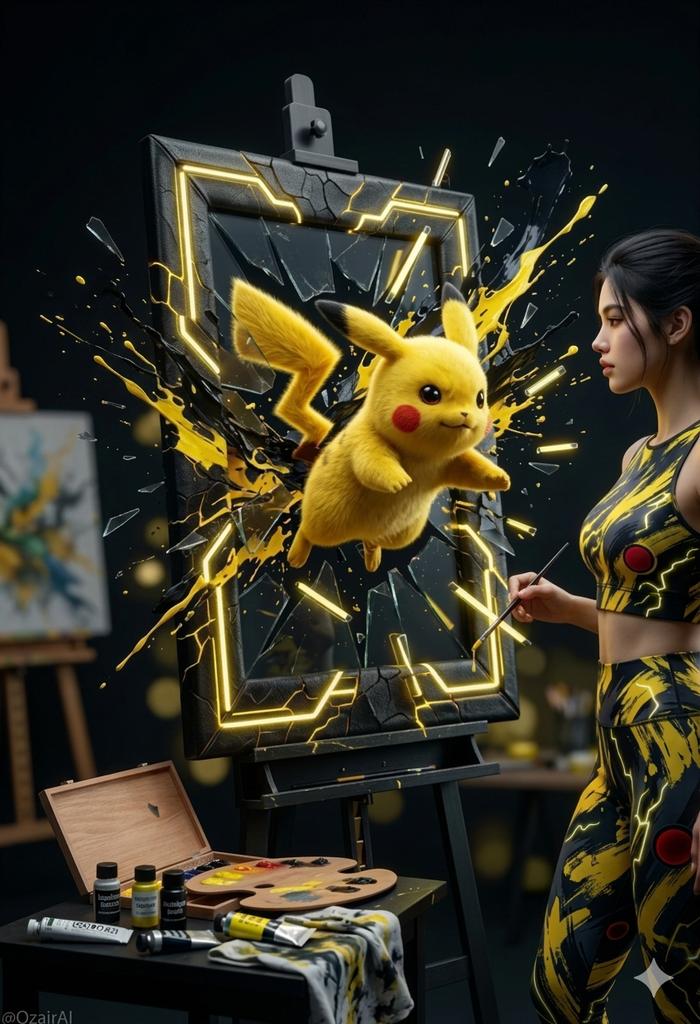
Pikachu Bursting Canvas Art
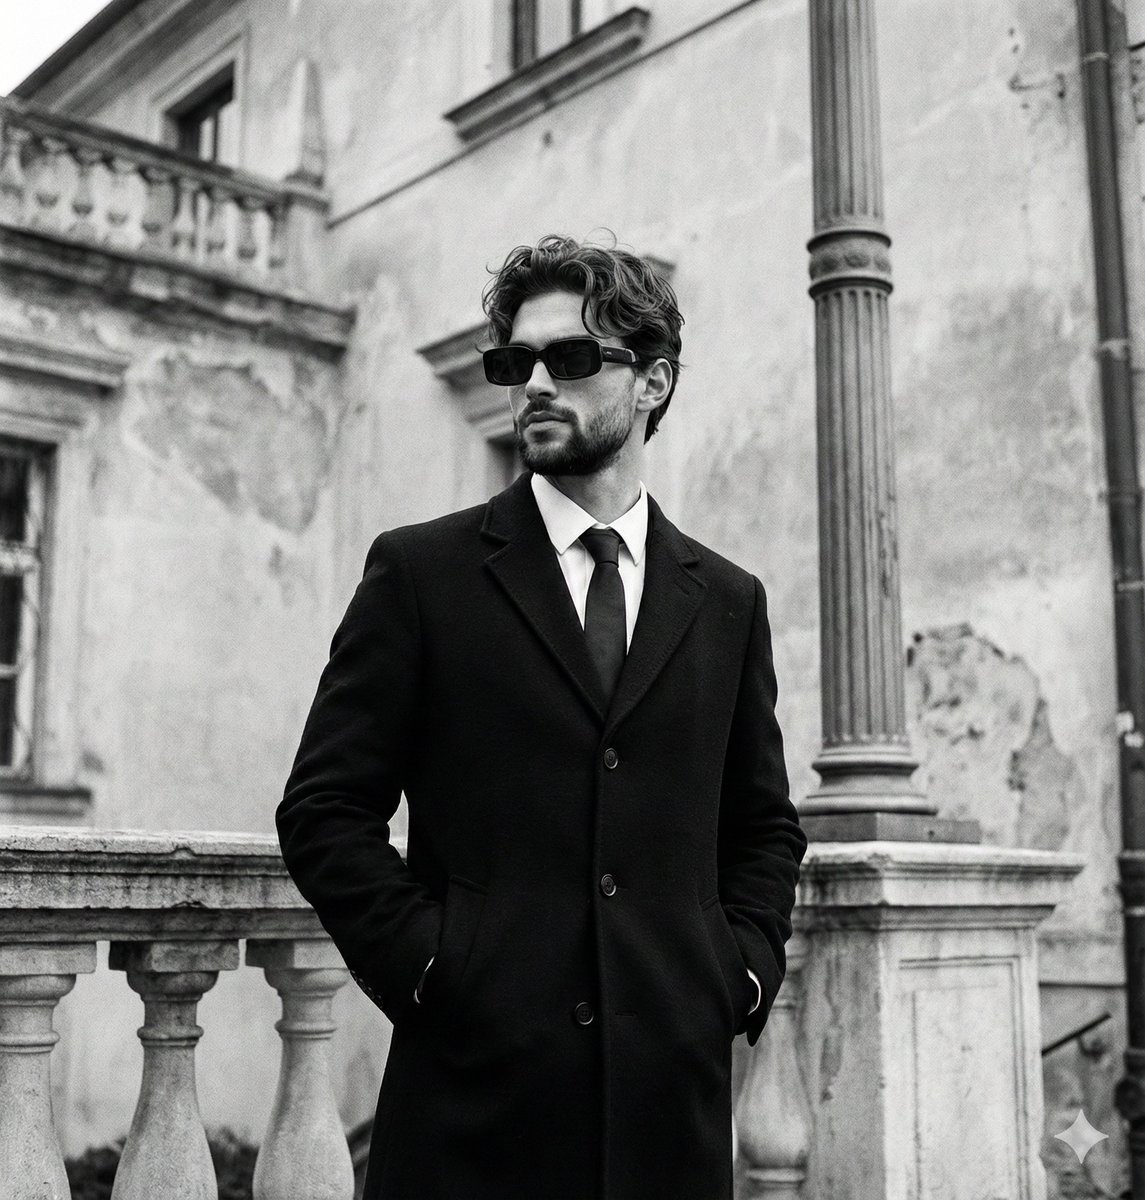
Monochromatic Editorial Portrait of a Stylish Man
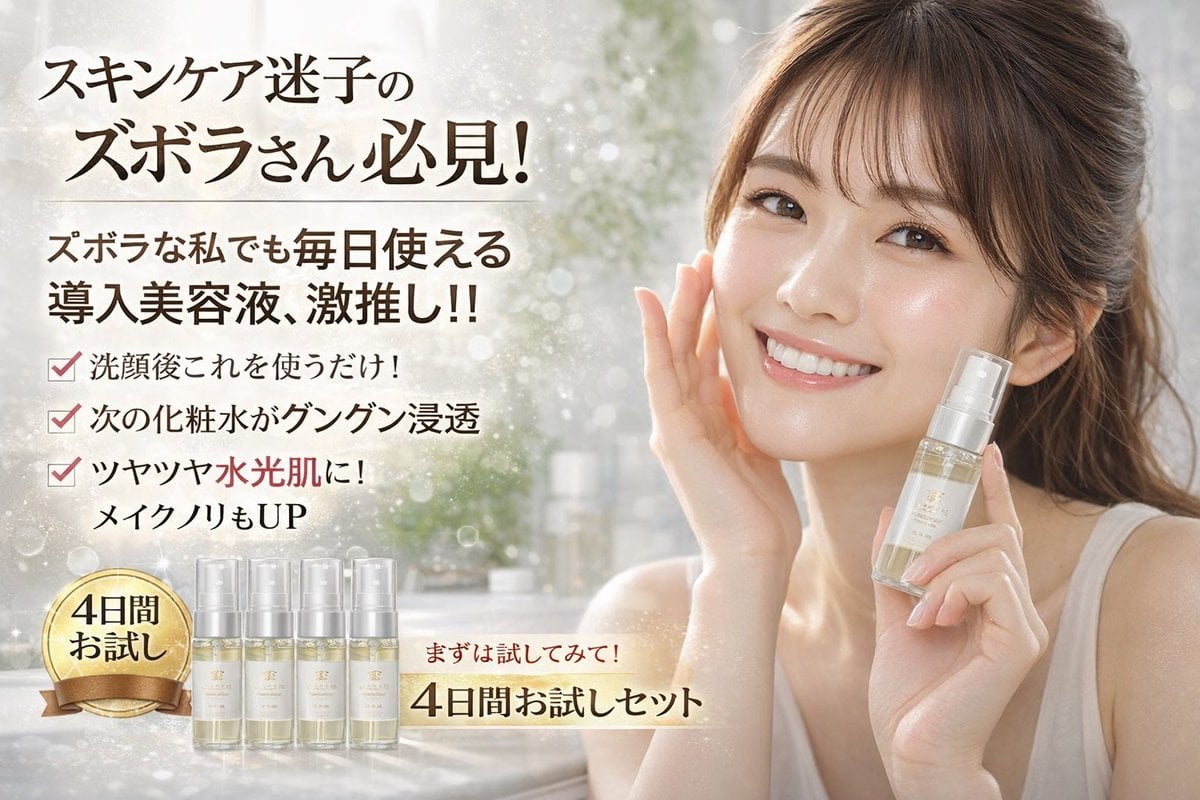
Cosmetics Promotional Web Banner

AI Fantasy Dungeon UI Header
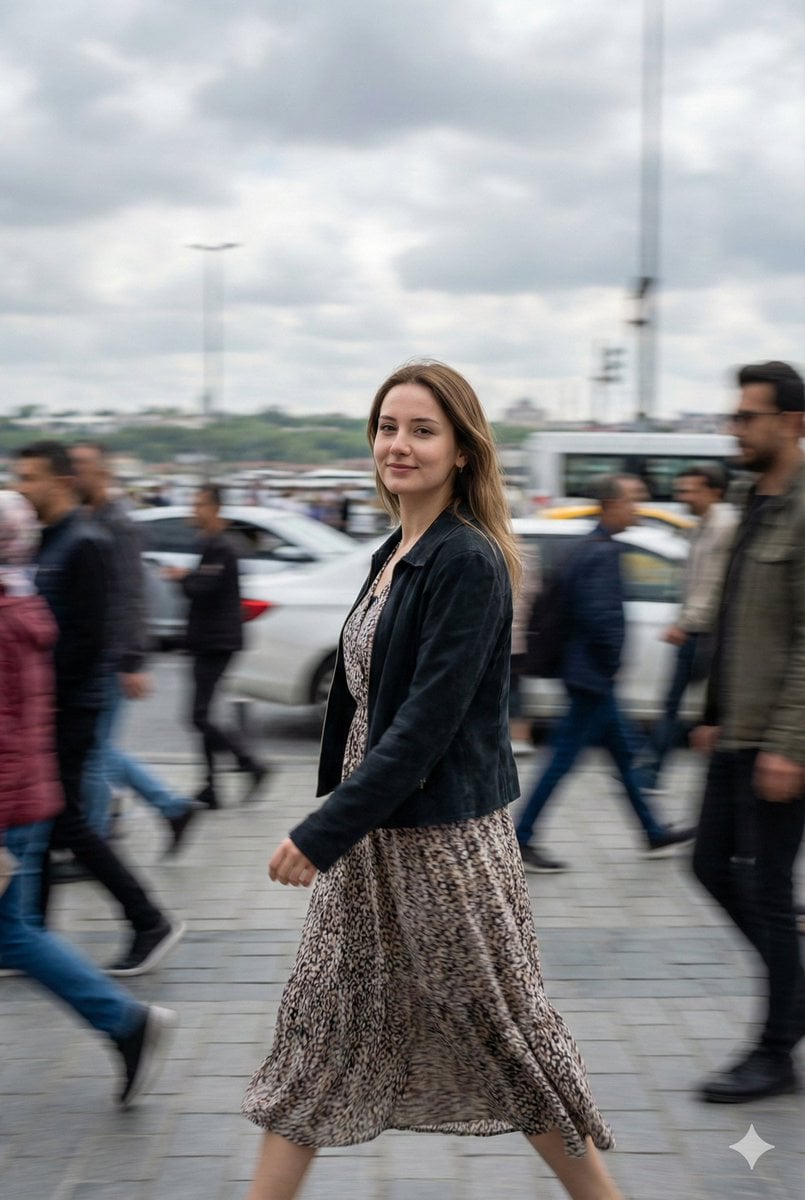
Cinematic Motion Blur Street Portrait Prompt
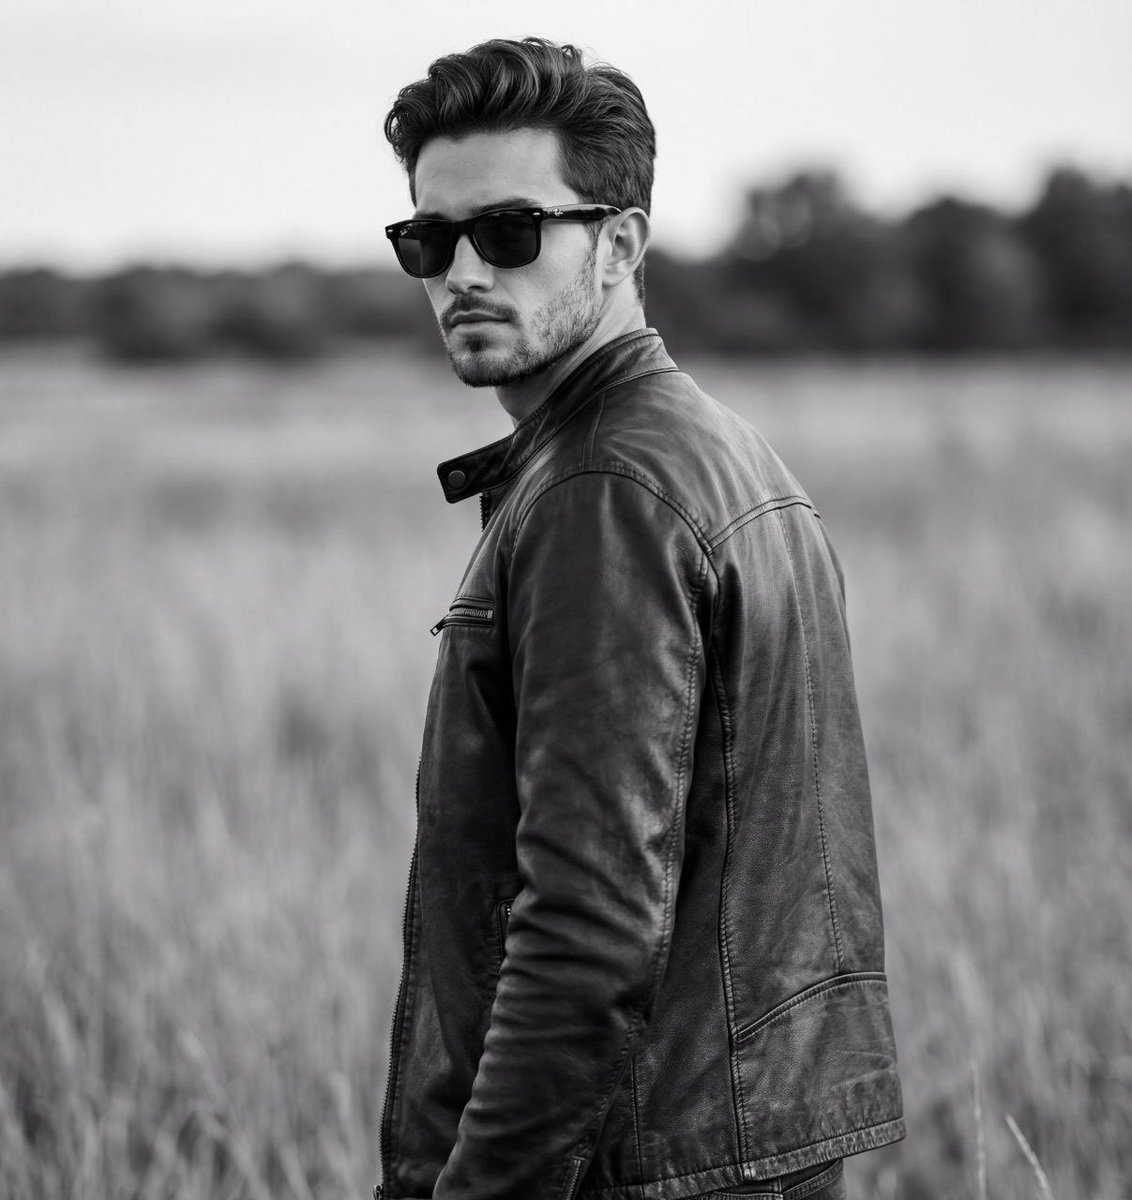
Cinematic Black and White Biker Portrait
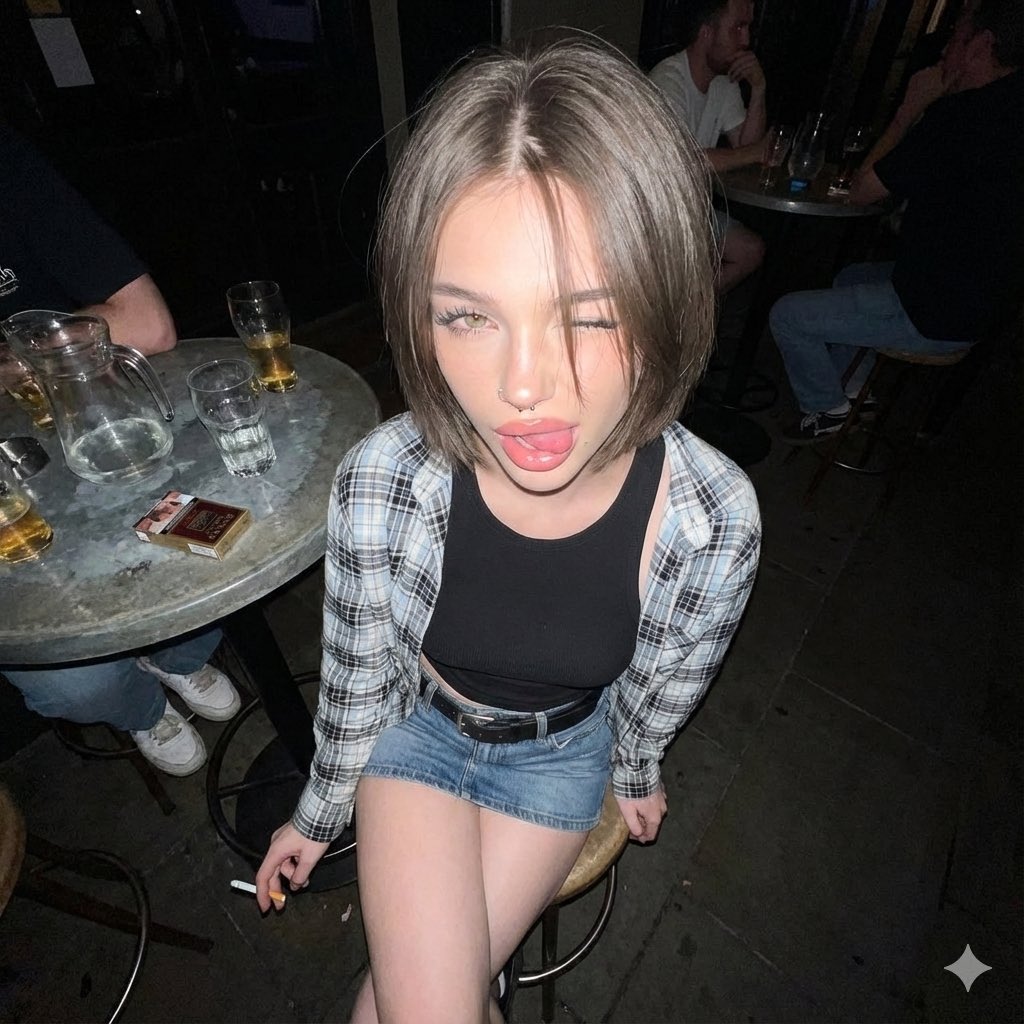
Y2K Grunge Flash Photography Snapshot
Browse template categories
Smart Doorbell Enclosure Product Render questions
How do I use the Smart Doorbell Enclosure Product Render template?
Add your photo if the template asks for one, edit the prompt if you like — the template's model and format are already selected — and press Generate. Your version opens in PicX Studio.
Can I customize the Smart Doorbell Enclosure Product Render template?
Yes. You can change the subject, setting, lighting, mood, format, and available model controls before creating your image.
Is the Smart Doorbell Enclosure Product Render template free?
Opening and editing this template is free. Generating uses credits, shown on the Generate button when you are signed in.
Which AI model should I use?
Start with GPT Image 2, which is the model associated with this template. You can compare another compatible model for a different finish.
Looking for something else? Browse all templates.
Your photo, any look
Thousands of ready templates for every top image and video model, from one credit balance.