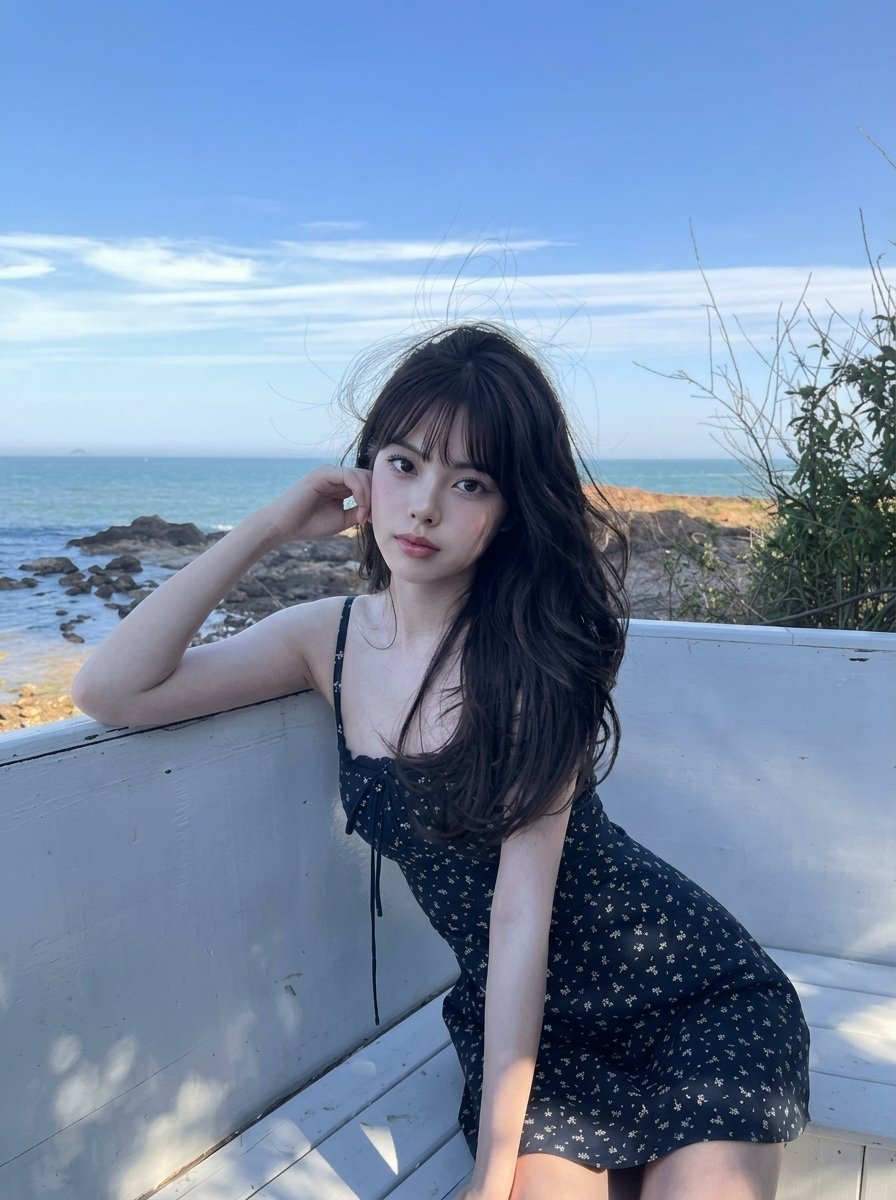
How do I use the Dark AI Chat 4K Upscale Tutorial template?
Edit the prompt in the box under the preview — the template's model and format are already selected — and press Generate. Your version appears right on this page.
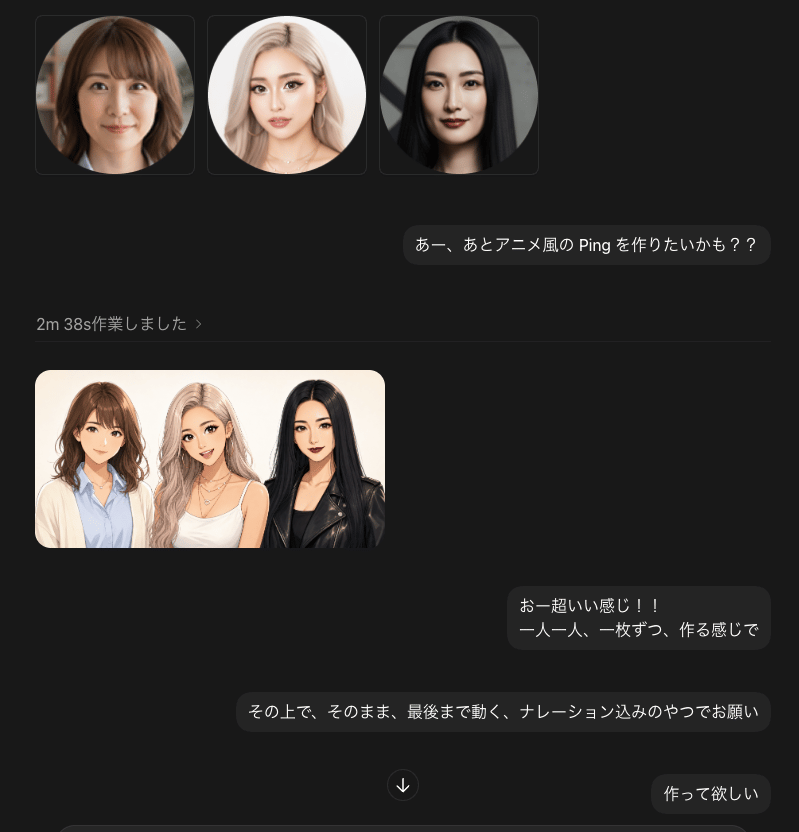
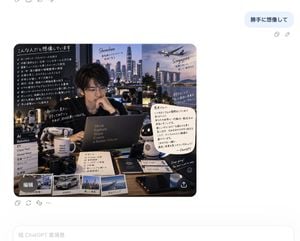
Creates a dark-mode AI chat tutorial screenshot showing an uploaded image transformed into a 4K result with the download button highlighted.

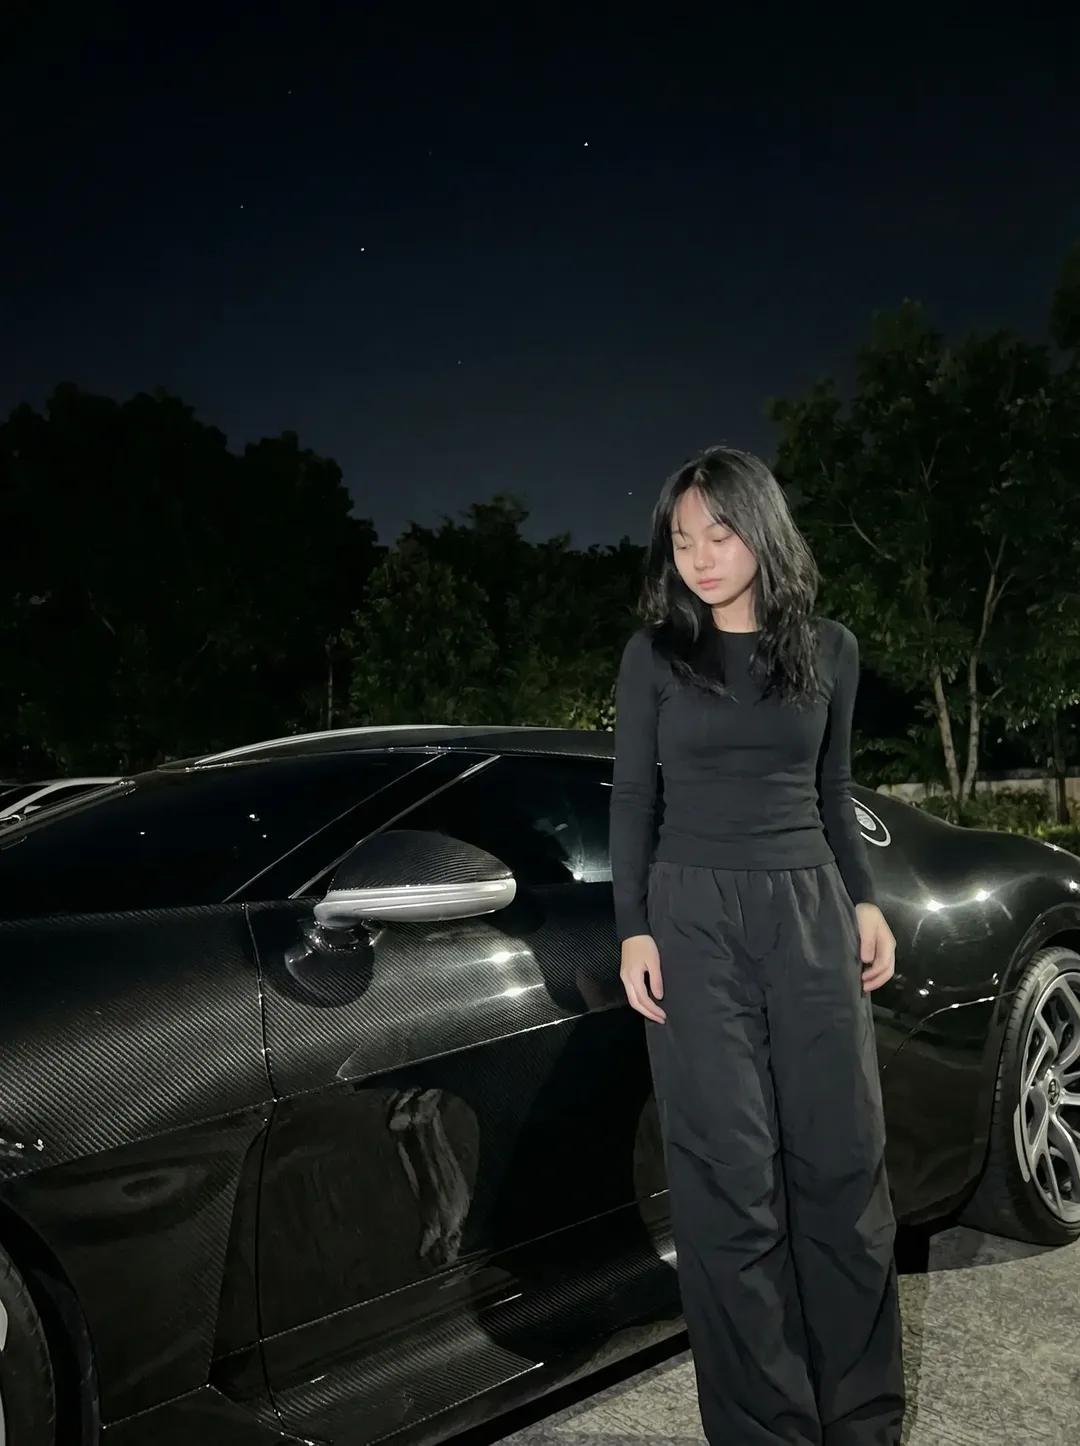
This template uses your photo — add one with the + button.
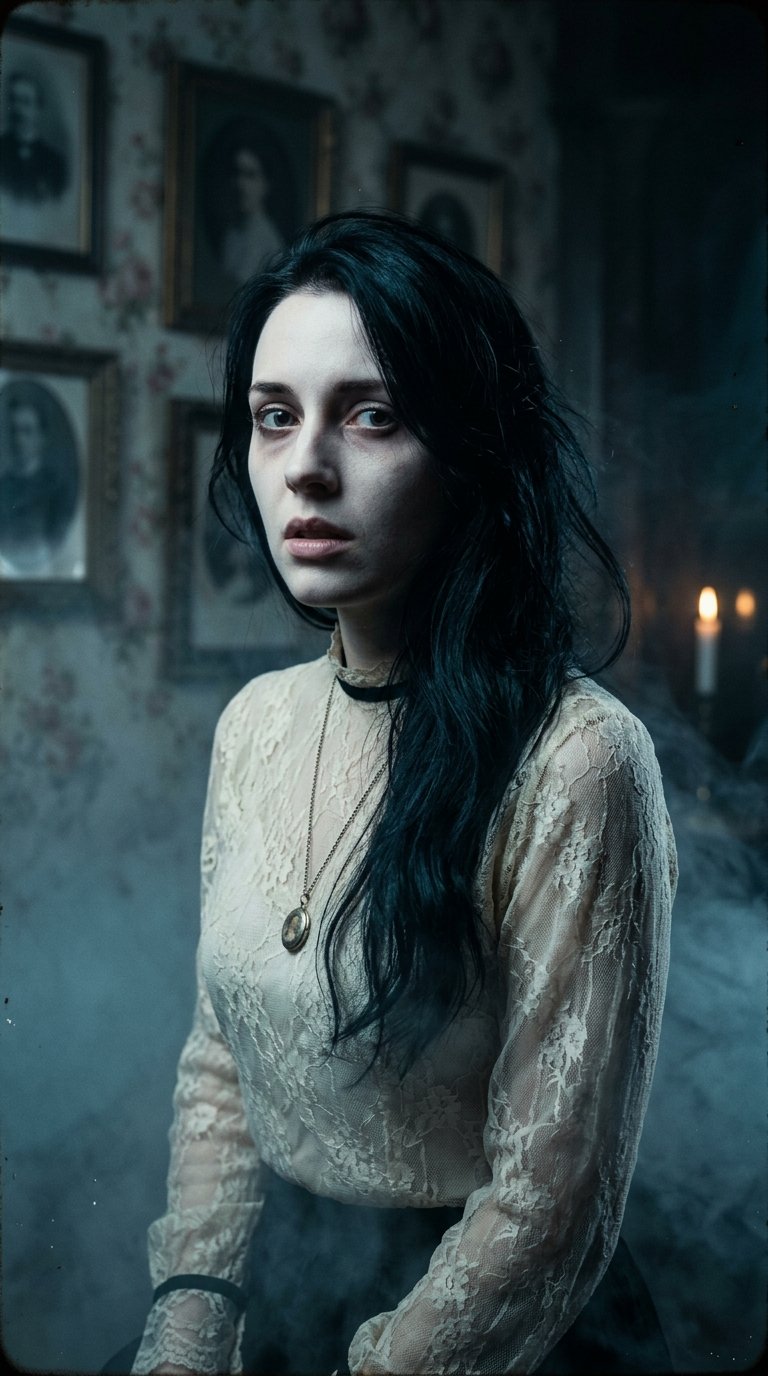
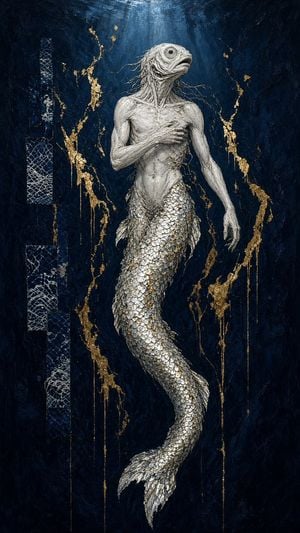
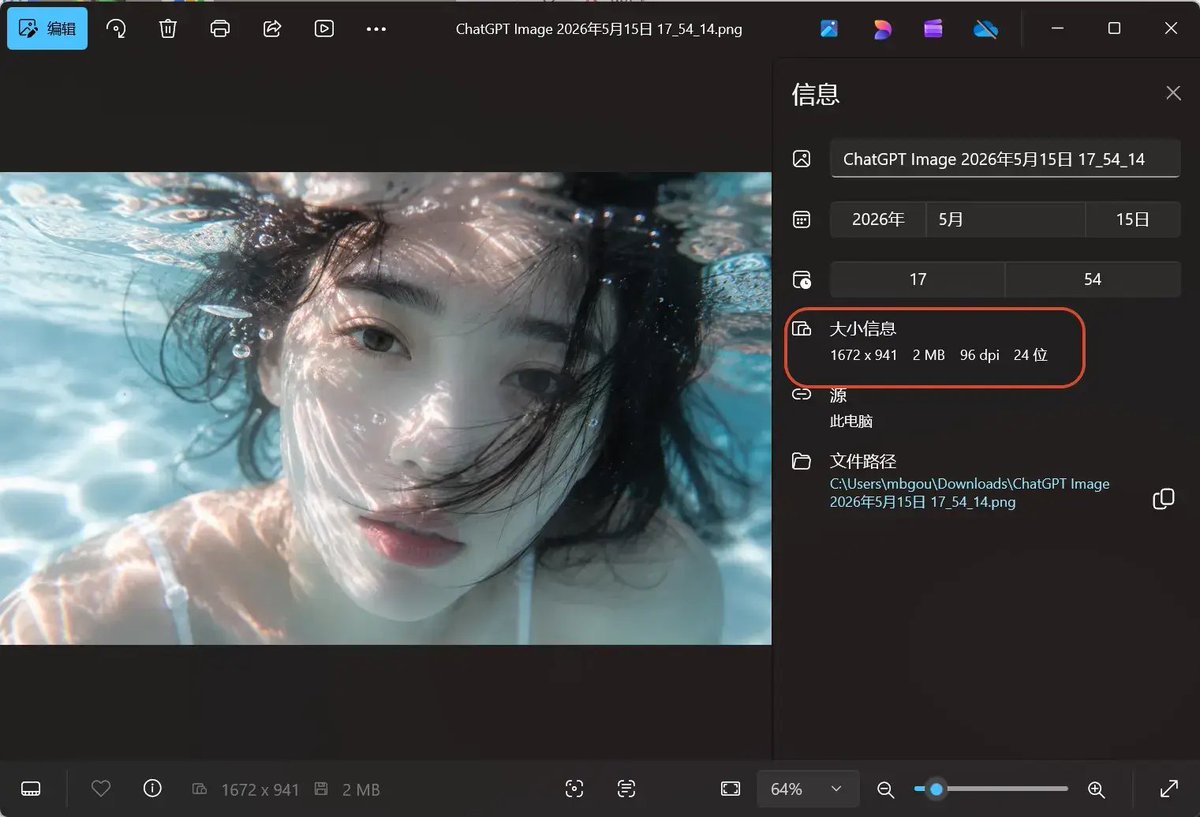
Using REFERENCE_0 as the source screenshot, create a clean dark-mode AI chat interface tutorial mockup that shows the same underwater photo being upscaled. Remove the Windows Photos app chrome, side information panel, filename details, and resolution callout from the reference; use only the underwater image content as the visual asset. Layout: Place exactly 2 rounded-corner image previews of the underwater photo in the chat: 1 smaller uploaded-image preview near the upper right and 1 larger generated-result preview below it, slightly left of center. Keep the face-obscuring gray blur/block over the person in both previews. Chat elements: Add exactly 1 user message bubble beside the upper preview with the Chinese text {argument name="user prompt text" default="将图片专为4K分辨率"}. Add exactly 1 assistant label reading “显示思路” with a small blue sparkle icon and a dropdown chevron. Under the larger image preview, add exactly 1 small rounded “来源” source button. Callout: On the upper-right corner of the larger generated image preview, show the download icon and highlight it with exactly 1 red circular outline. Add exactly 1 thick red arrow pointing from the right side toward that circled download icon. Bottom UI: Include a dark rounded message input bar at the bottom with placeholder text “描述你的图片”, small attachment/tool icons, a “制作图片” chip, a {argument name="model label" default="Pro"} dropdown, and a microphone icon. Style and constraints: Match a modern Gemini/AI-chat dark theme with lots of empty black space, subtle gray UI controls, rounded corners, and a 16:9 screenshot composition. Do not add extra images, extra arrows, extra callouts, or additional explanatory text.
Using REFERENCE_0 as the source screenshot, create a clean dark-mode AI chat interface tutorial mockup that shows the same underwater photo being upscaled. Remove the Windows Photos app chrome, side information panel, filename details, and resolution callout from the reference; use only the underwater image content as the visual asset. Layout: Place exactly 2 rounded-corner image previews of the underwater photo in the chat: 1 smaller uploaded-image preview near the upper right and 1 larger generated-result preview below it, slightly left of center. Keep the face-obscuring gray blur/block over the person in both previews. Chat elements: Add exactly 1 user message bubble beside the upper preview with the Chinese text {argument name="user prompt text" default="将图片专为4K分辨率"}. Add exactly 1 assistant label reading “显示思路” with a small blue sparkle icon and a dropdown chevron. Under the larger image preview, add exactly 1 small rounded “来源” source button. Callout: On the upper-right corner of the larger generated image preview, show the download icon and highlight it with exactly 1 red circular outline. Add exactly 1 thick red arrow pointing from the right side toward that circled download icon. Bottom UI: Include a dark rounded message input bar at the bottom with placeholder text “描述你的图片”, small attachment/tool icons, a “制作图片” chip, a {argument name="model label" default="Pro"} dropdown, and a microphone icon. Style and constraints: Match a modern Gemini/AI-chat dark theme with lots of empty black space, subtle gray UI controls, rounded corners, and a 16:9 screenshot composition. Do not add extra images, extra arrows, extra callouts, or additional explanatory text.
Dark AI Chat 4K Upscale Tutorial needs input media to work. Open it in the studio and these load alongside the prompt — pick whichever ones your chosen model can take.
Edit the prompt in the box under the preview — the template's model and format are already selected — and press Generate. Your version appears right on this page.
Yes. You can change the subject, setting, lighting, mood, format, and available model controls before creating your image.
Opening and editing this template is free. Generating uses credits, shown on the Generate button when you are signed in.
Start with GPT Image 2, which is the model associated with this template. You can compare another compatible model for a different finish.
Follow a topic to a crawlable collection of related PicX Studio templates.