
GPT Image 2 Manga Planning Infographic
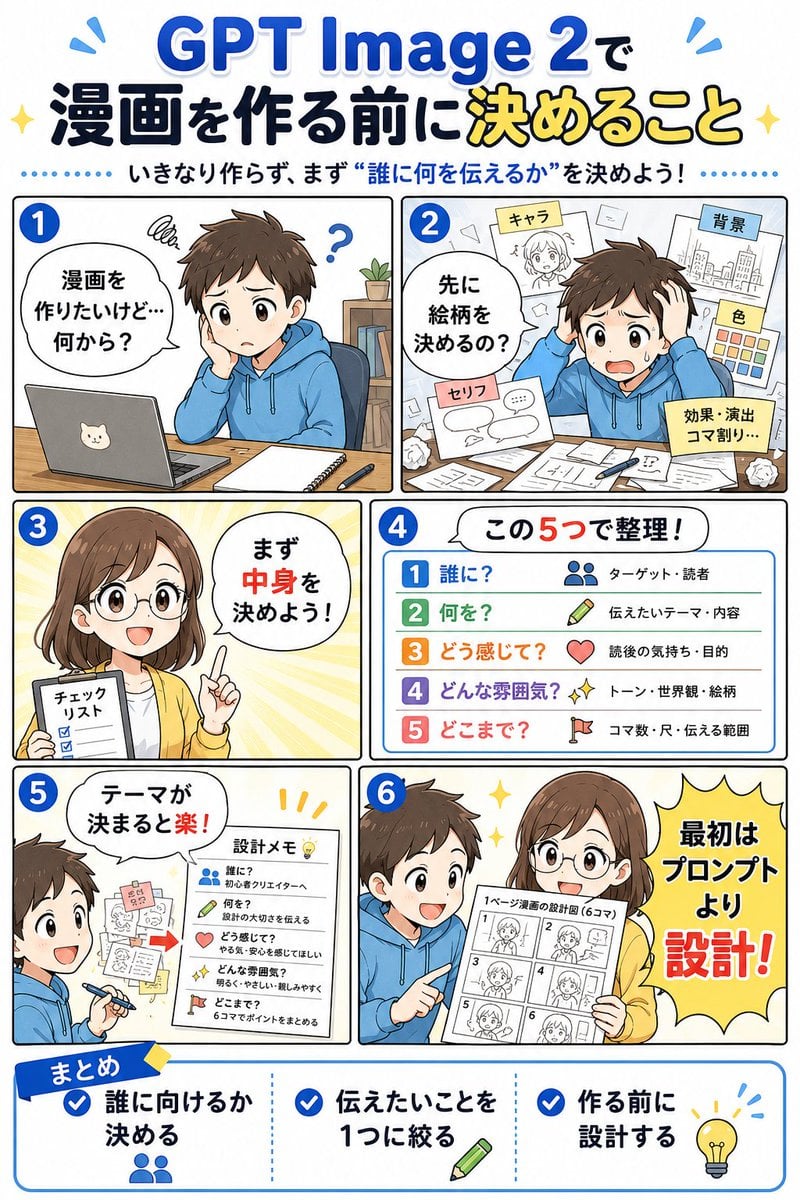
A Japanese manga-style educational infographic explaining the five planning decisions to make before creating a comic with GPT Image 2.
- Prompt included
- Model and format preset
- Free template
The prompt behind this image
Copy the exact prompt behind GPT Image 2 Manga Planning Infographic, or open it in the studio and make it yours.
Goal: Create a vertical Japanese manga-style educational infographic about planning a comic before making it with {argument name="tool name" default="GPT Image 2"}. The main headline should read 「GPT Image 2で 漫画を作る前に決めること」 with 「決めること」 emphasized in yellow, and the subtitle should read 「いきなり作らず、まず“誰に何を伝えるか”を決めよう!」. Canvas: Portrait 2:3 infographic, clean white background, bright blue accent color, thick rounded comic-panel borders, cheerful instructional tone, polished digital anime illustration. Use large readable Japanese typography with blue, black, yellow, and red emphasis. Add small sparkle and motion-line decorations near the title. Layout: Arrange exactly 6 numbered manga panels in a 2-column grid, numbered with blue circles 1 through 6 in the upper-left corner of each panel, followed by one wide bottom summary box. Panel 1: A young male student in a blue hoodie sits at a wooden desk with a laptop that has a cat sticker, a notebook, and a pen. He looks confused with a scribble above his head and a question mark. Add a speech bubble: 「漫画を作りたいけど…何から?」. His face is covered by a soft beige rectangular blur. Panel 2: The same boy worries at a cluttered desk covered with papers. Around him float exactly 5 planning sheets or sticky notes labeled: 「キャラ」, 「背景」, 「色」, 「セリフ」, and 「効果・演出 コマ割り…」. Add a speech bubble: 「先に絵柄を決めるの?」. Panel 3: A young female teacher/advisor in a yellow cardigan holds a checklist and raises one finger, standing against a warm yellow radial burst background. Her face is covered by a soft beige rectangular blur. Add a speech bubble: 「まず中身を決めよう!」. The checklist title reads 「チェックリスト」 and shows three checked boxes. Panel 4: A clean list card titled 「この5つで整理!」. Show exactly 5 colored rows with matching icons and labels: 1 「誰に?」 with a people icon and note 「ターゲット・読者」; 2 「何を?」 with a pencil icon and note 「伝えたいテーマ・内容」; 3 「どう感じて?」 with a heart icon and note 「読後の気持ち・目的」; 4 「どんな雰囲気?」 with sparkles icon and note 「トーン・世界観・絵柄」; 5 「どこまで?」 with a flag icon and note 「コマ数・尺・伝える範囲」. Panel 5: The boy is now smiling and writing, with sketches and sticky notes on the wall. Add a speech bubble: 「テーマが決まると楽!」. Include a paper titled 「設計メモ」 with exactly 5 checklist items corresponding to the same five questions: 「誰に?」, 「何を?」, 「どう感じて?」, 「どんな雰囲気?」, 「どこまで?」. Panel 6: The boy in the blue hoodie and the female advisor in the yellow cardigan stand together happily. The boy's face is covered by a soft beige rectangular blur. The advisor holds a storyboard sheet labeled 「1ページ漫画の設計図(6コマ)」 containing exactly 6 small storyboard thumbnails numbered 1 to 6. On the right, place a large yellow starburst speech shape reading 「最初はプロンプトより設計!」 with 「設計!」 in large red letters. Bottom summary box: A wide rounded rectangle with a blue ribbon label 「まとめ」. Divide it into exactly 3 columns with blue check icons. Column 1 text: 「誰に向けるか決める」 with a people icon. Column 2 text: 「伝えたいことを1つに絞る」 with a pencil icon. Column 3 text: 「作る前に設計する」 with a lightbulb icon. Visual style: Friendly Japanese educational manga infographic, crisp line art, soft shadows, expressive anime characters, simple school/desk props, blue and yellow highlight palette, high legibility, balanced spacing, no photorealism. Constraints: Use exactly 6 main panels, exactly 5 planning questions in the list, exactly 3 bottom summary points, and keep all visible text in Japanese as specified. Do not add extra panels, extra checklist rows, watermarks, logos, or unrelated text.
How to use GPT Image 2 Manga Planning Infographic in 3 steps
- 1Upload ImagePNG, JPG or paste
Add your photo
Upload the photo the template builds on. The prompt, model and format are already set.
- 2…a portrait of your subject in softgolden-hour light, 85mm…
Personalize
Edit the subject and creative details for your destination.
- 3Generate
Generate
Press Generate — your image is created in PicX Studio, so you can compare it with the original and refine one variable at a time.
More like this
Templates with the same subject, style or setup. Open one to see its prompt.
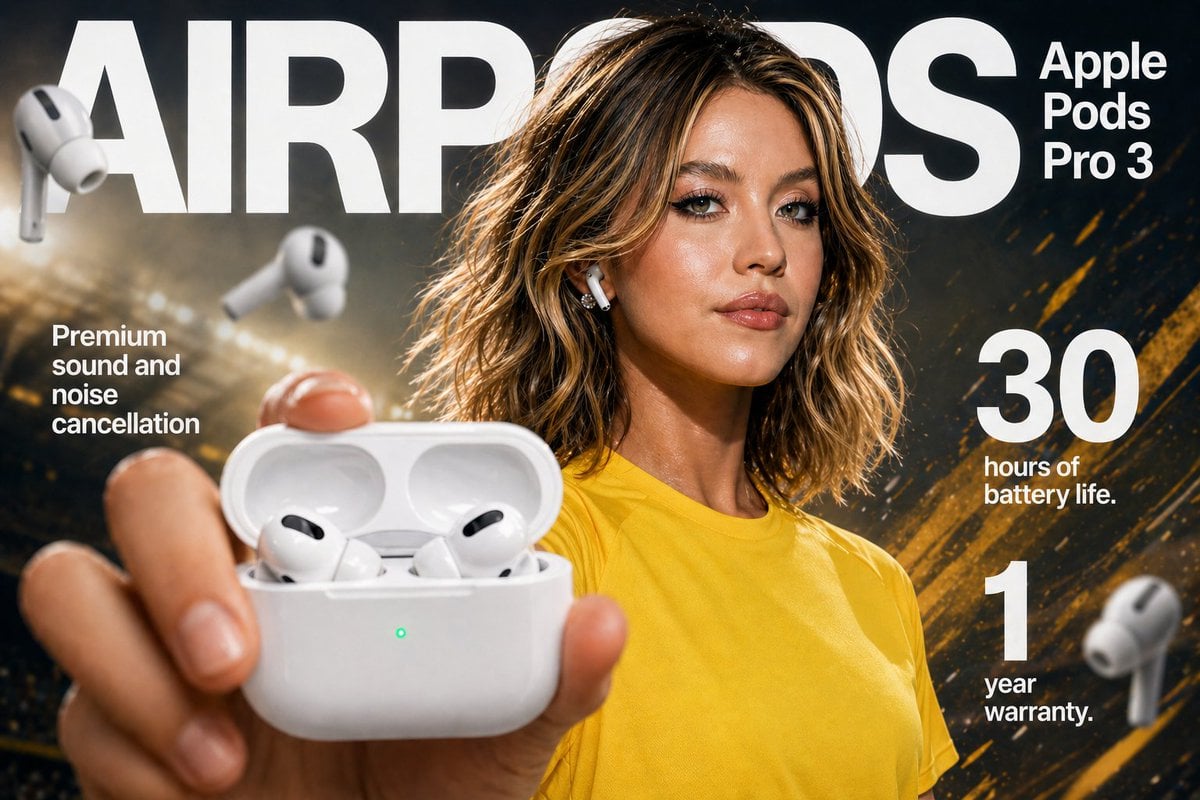
Gpt2 E Commerce Main Image Earbuds E Commerce Infographic
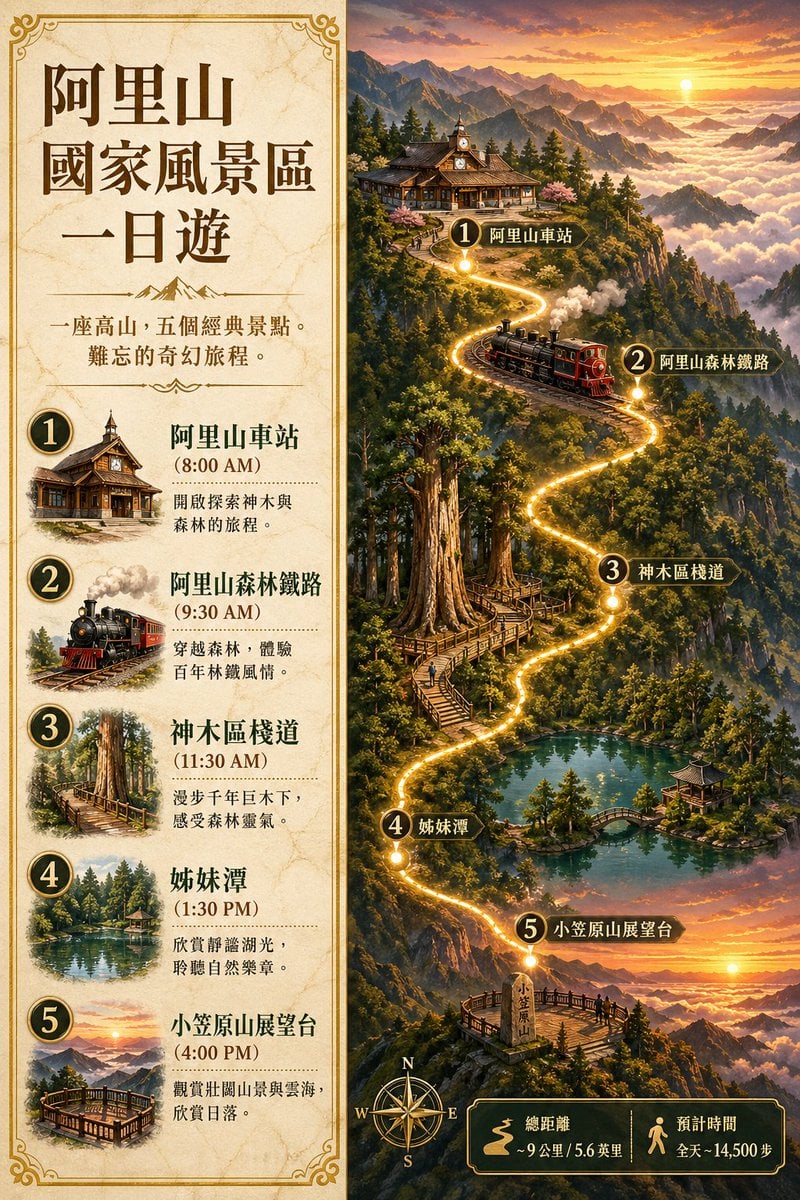
Gpt2 Infographic Edu Visual Alishan One Day Travel Poster

Gpt2 Infographic Edu Visual Ethnographic Plate for Tibetan Ceremonial Hat
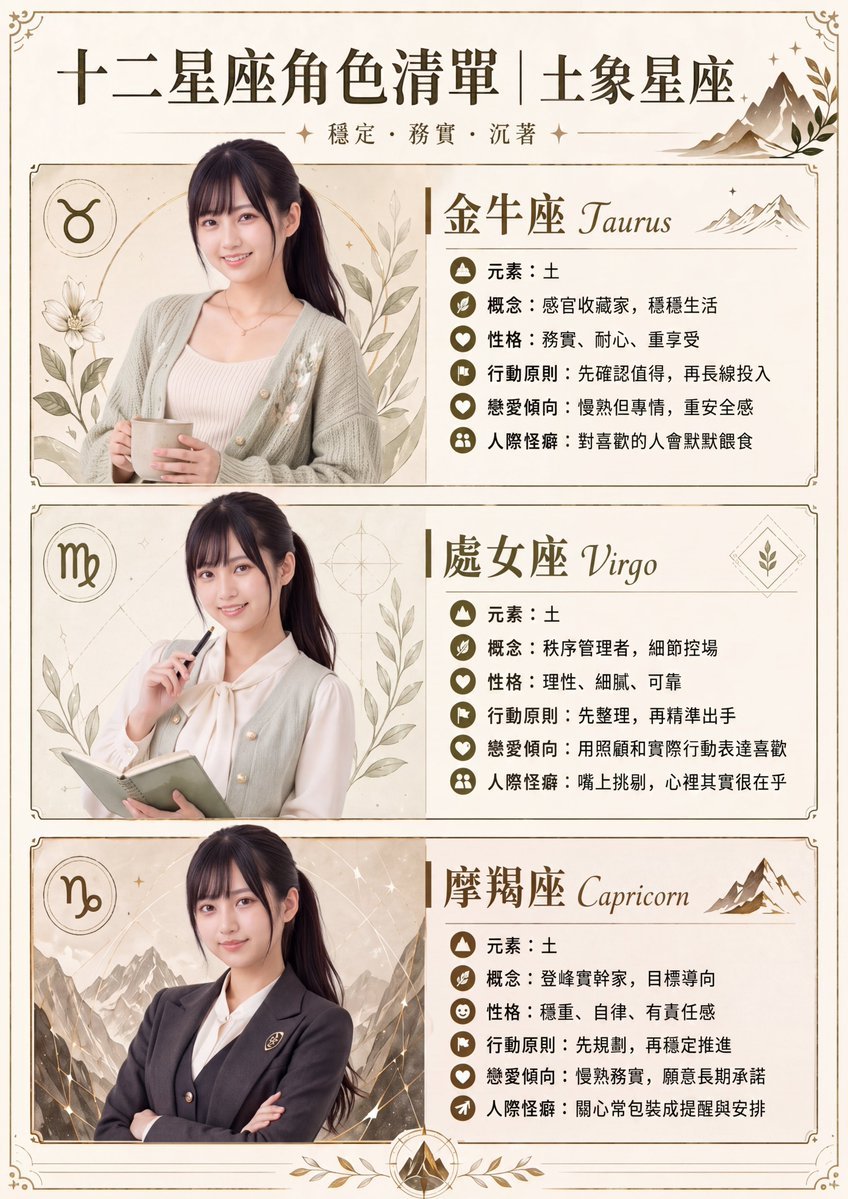
Gpt2 Infographic Edu Visual Earth Signs Zodiac Character Poster
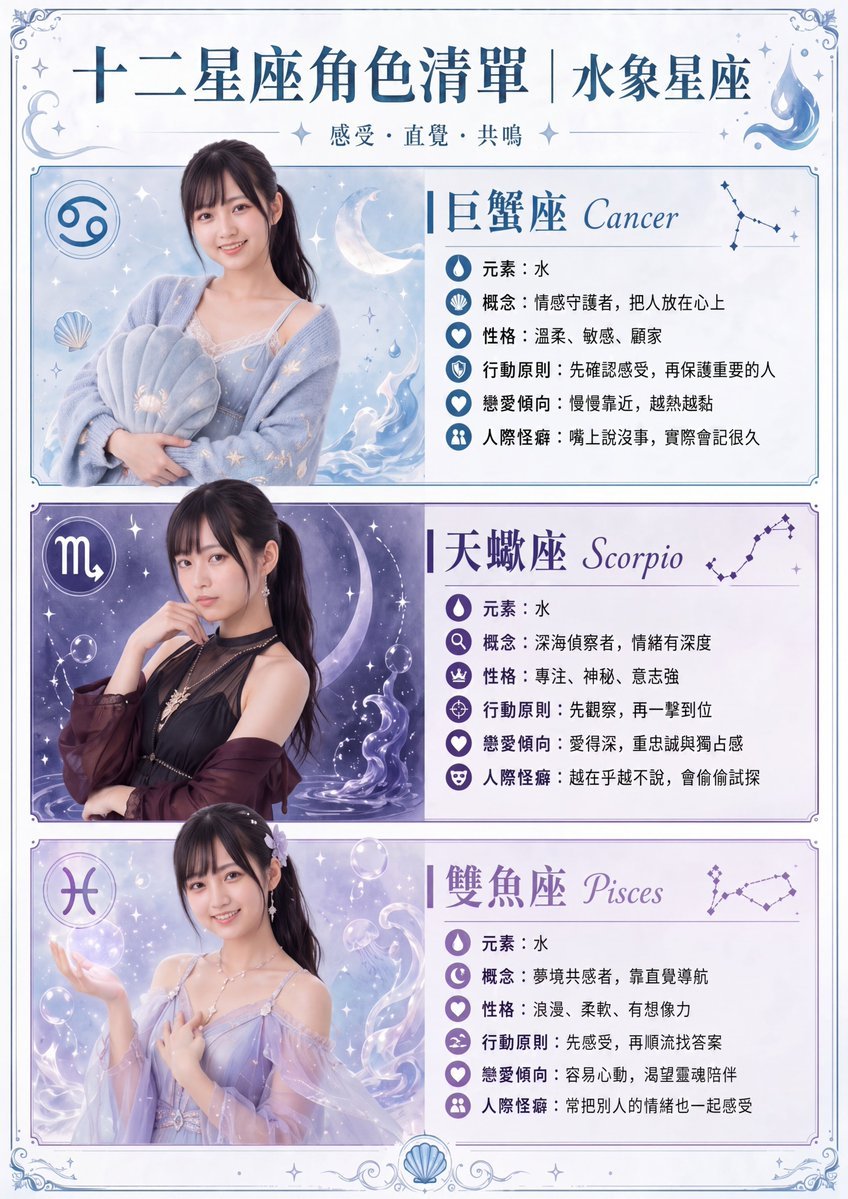
Gpt2 Infographic Edu Visual Water Signs Zodiac Character Poster
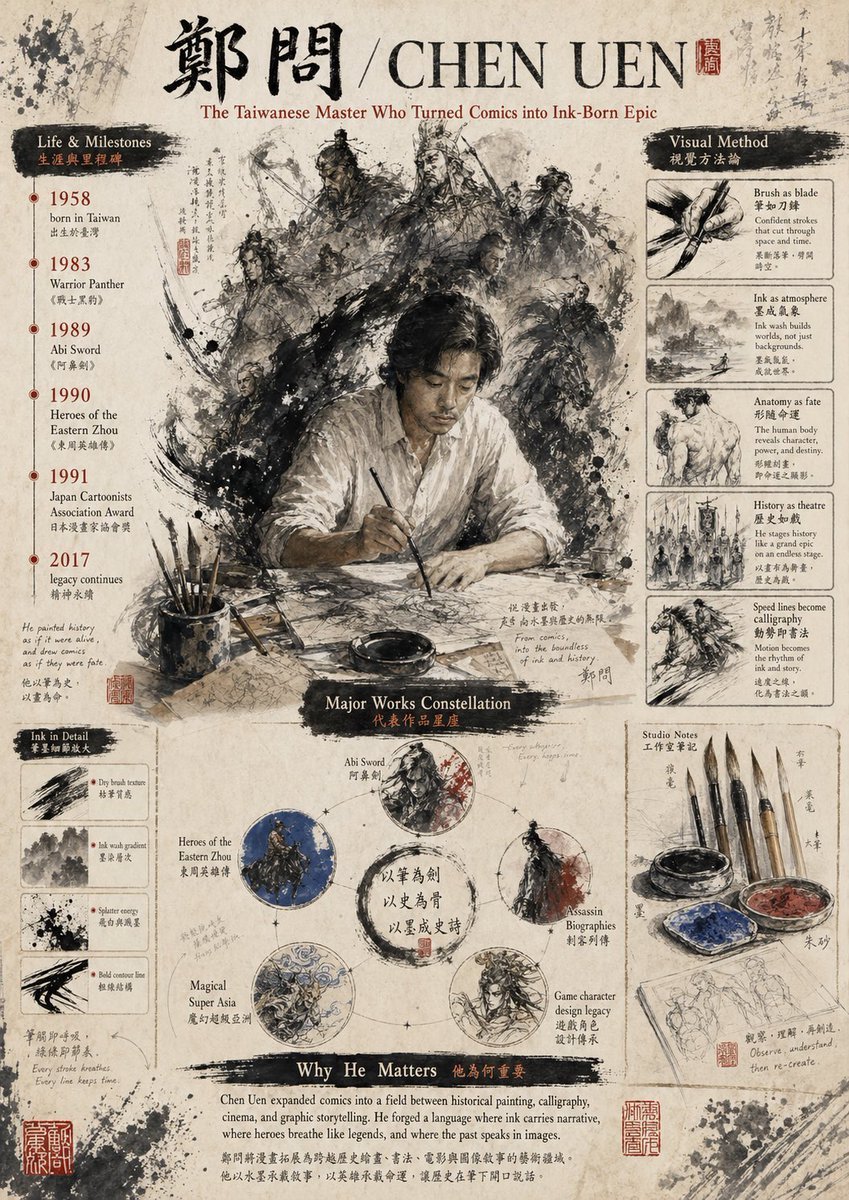
Gpt2 Infographic Edu Visual Ink Wash Tribute Poster for Chen Uen
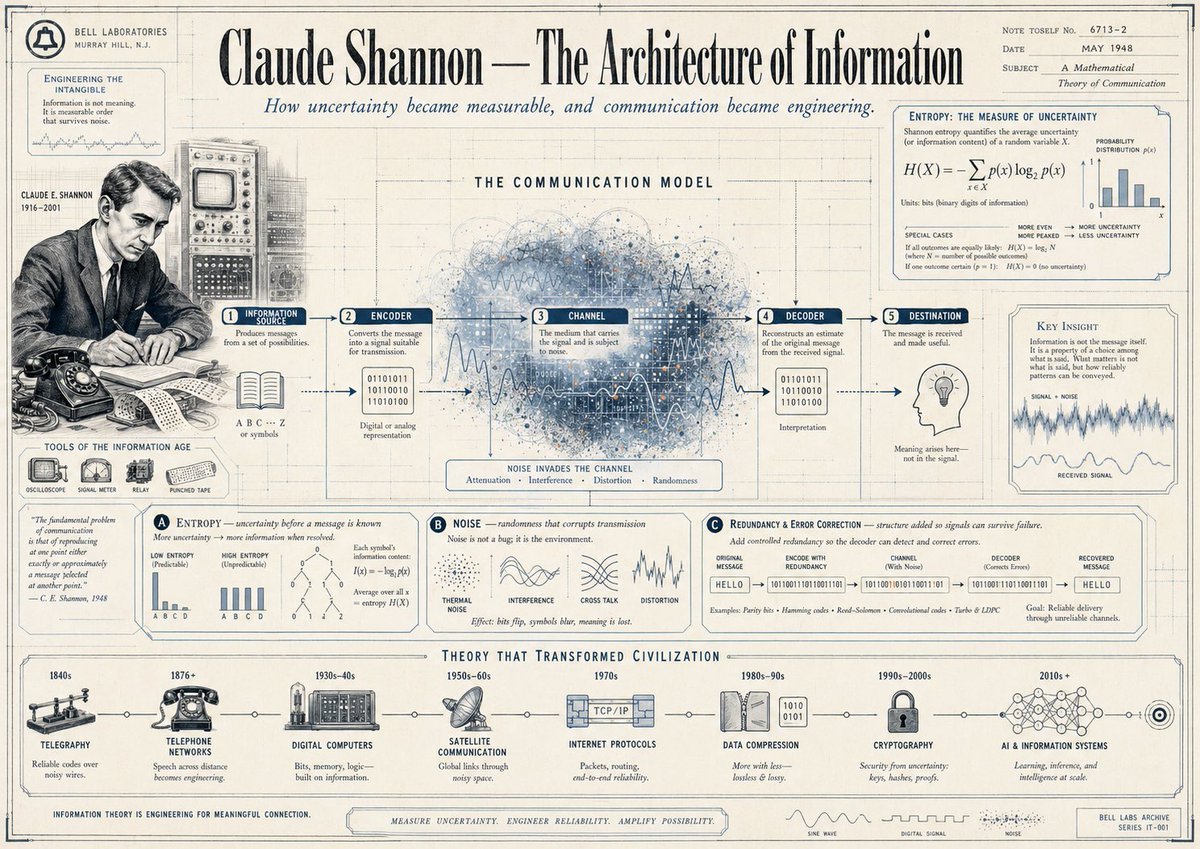
Gpt2 Infographic Edu Visual Vintage Claude Shannon Infographic Poster
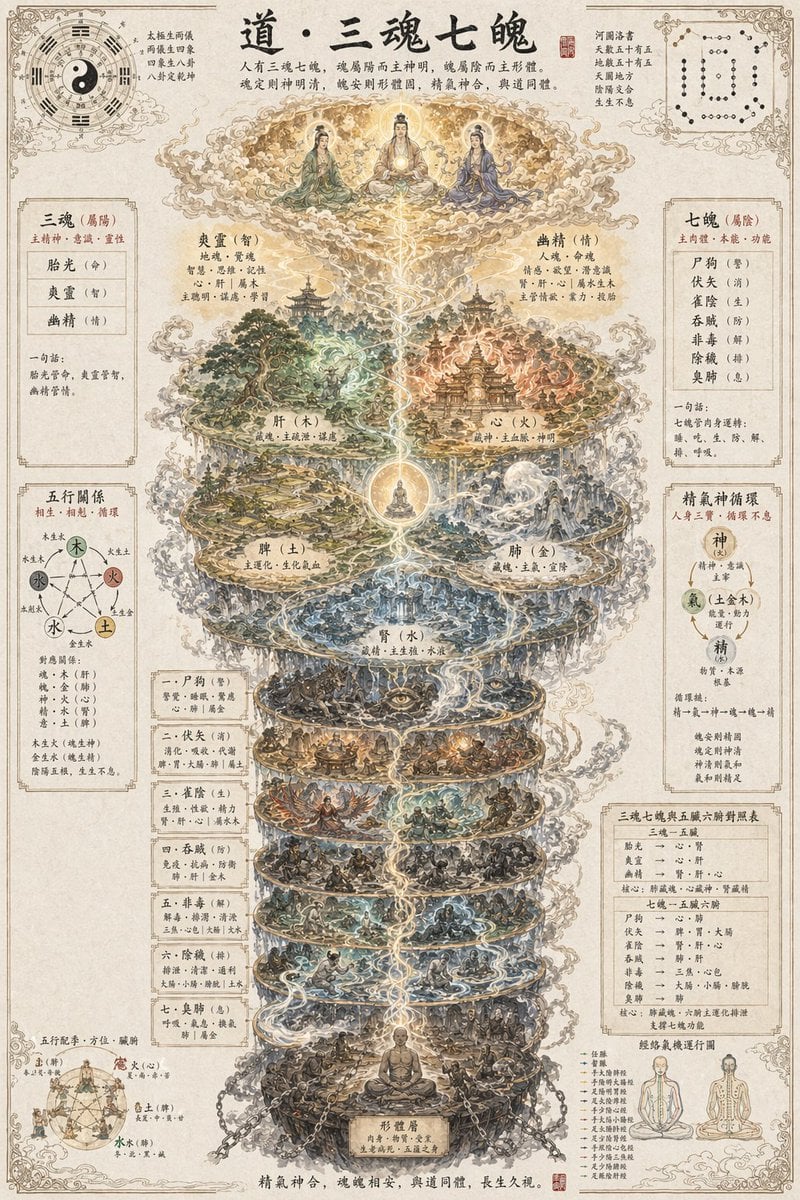
Gpt2 Infographic Edu Visual Taoist Three Souls Seven Po Poster
Gpt2 Infographic Edu Visual Biomimetic Skyray Aircraft Poster
Gpt2 Infographic Edu Visual Japanese Sci Fi Suit Up Process Board
Gpt2 Infographic Edu Visual Good Bath Day Editorial Poster
Gpt2 Infographic Edu Visual Parent Child Miscommunication Infographic
Make it yours
GPT Image 2 Manga Planning Infographic works as-is. These are the safest ways to change it without losing the look.
Change one field
Copy a single group, rewrite it, and generate again so you can see what that field is doing.
Keep the frame, change the subject
Hold the composition and light of GPT Image 2 Manga Planning Infographic, then swap wardrobe, props or the person for a new take.
| If the result… | Why | Fix |
|---|---|---|
| The result drifts from the preview | Too many fields changed at once. | Reuse GPT Image 2 Manga Planning Infographic as-is first, then change one group — subject, light, or setting. |
| The model over-stylizes the scene | The prose prompt leaves finish and camera underspecified. | Add one camera or lighting sentence and stay on GPT Image 2. |
More GPT Image 2 templates
Other prompts made for GPT Image 2.
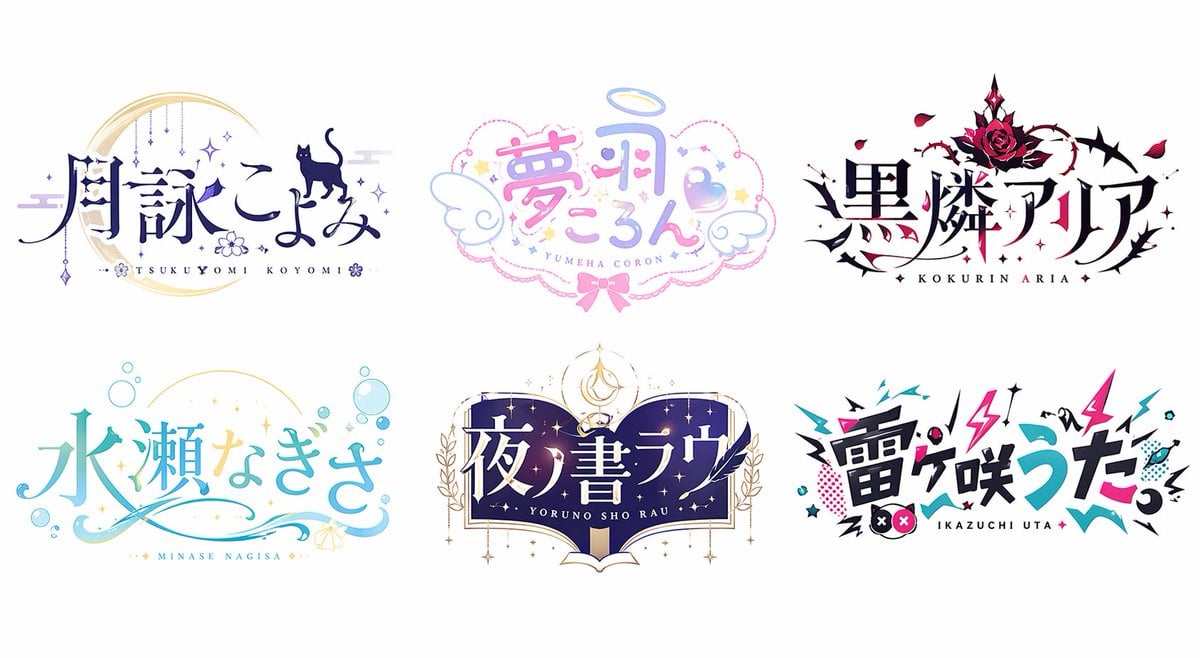
Six VTuber Japanese Logo Sheet
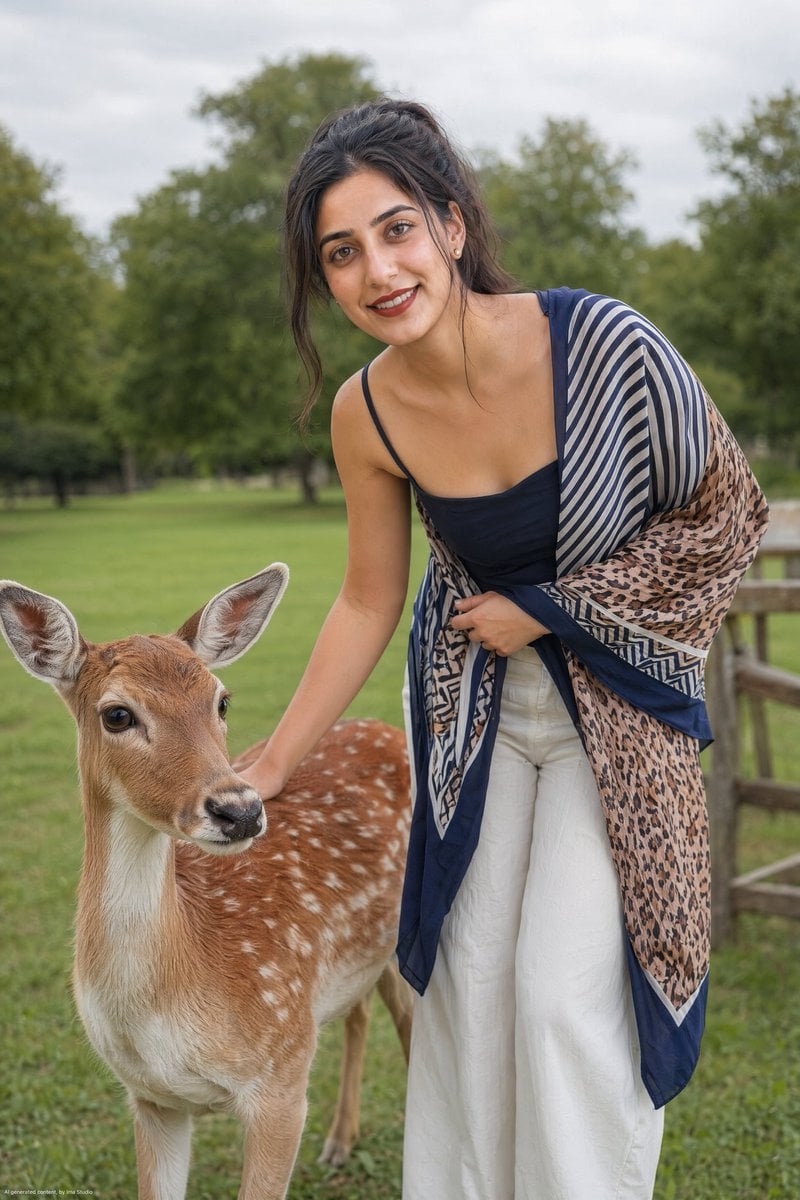
Realistic Portrait of Woman and Deer
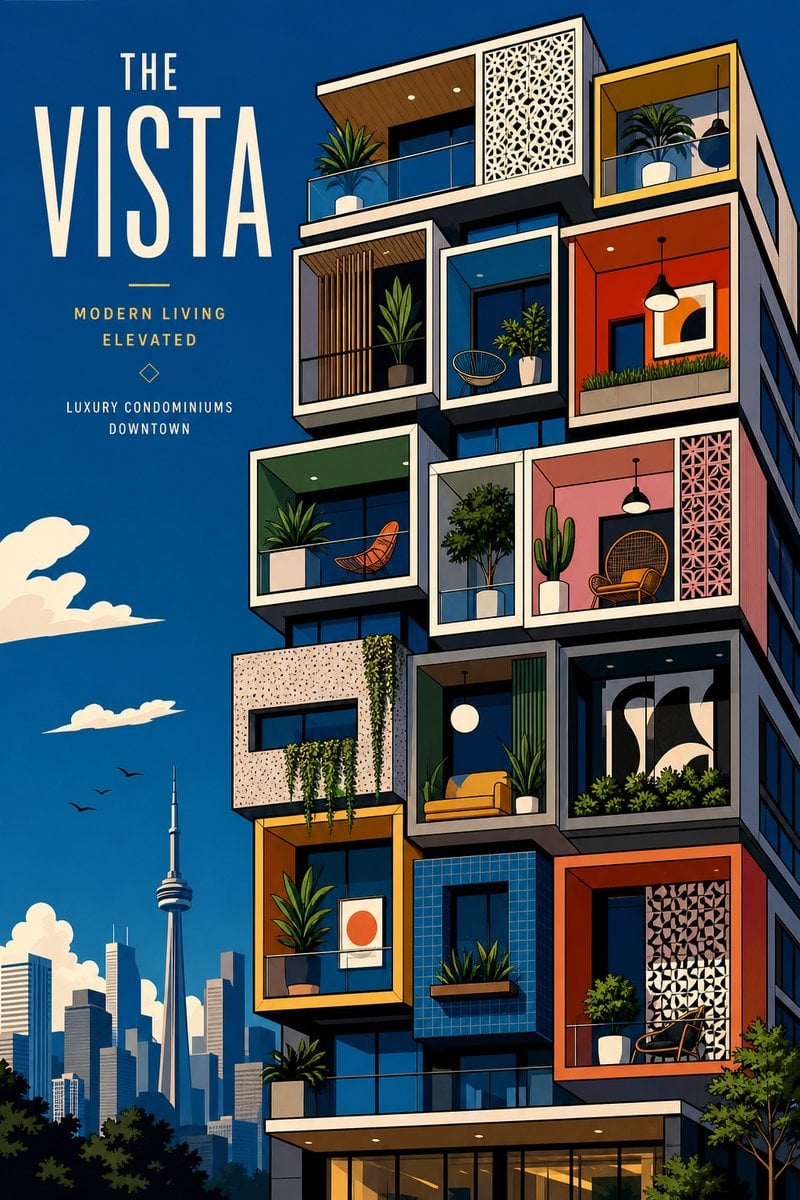
The Vista Modular Condo Poster
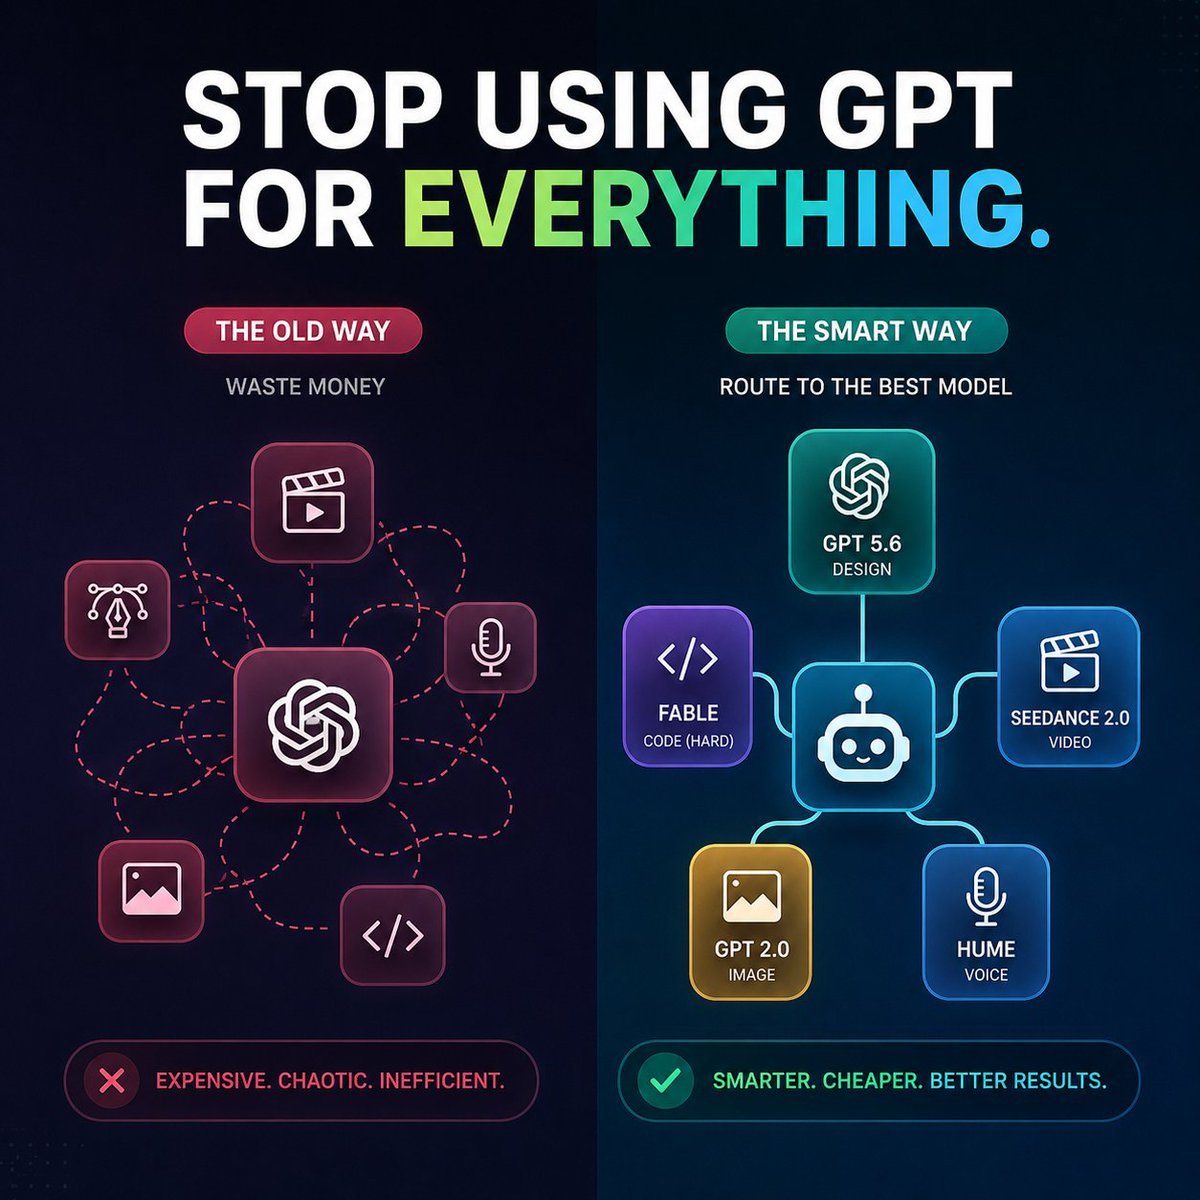
AI Model Routing Comparison Infographic
2.5D Anime Art Board

Isometric Productivity Desk Scene
New York Double Exposure Poster
Four-Panel AI Landscape Comparison
Japanese Tatami Lifestyle Magazine Cover

NESCAFÉ Coffee Map Poster
More image prompts
Fresh picks from across the catalog.
Cherry Blossom Shih Tzu Photo Collage
Gpt Image 2 Fashion Portrait
Enchanted Gothic Study Interior
8K Ultra-Realistic Kashmir Winter Scene Prompt
Ultra-realistic Portrait of a Blonde Woman in Crochet Outfit
Isometric Science Concept Diorama Grid
Twin Soap Bubble Birds at Tomamu
Monochrome Megacity Black Hole
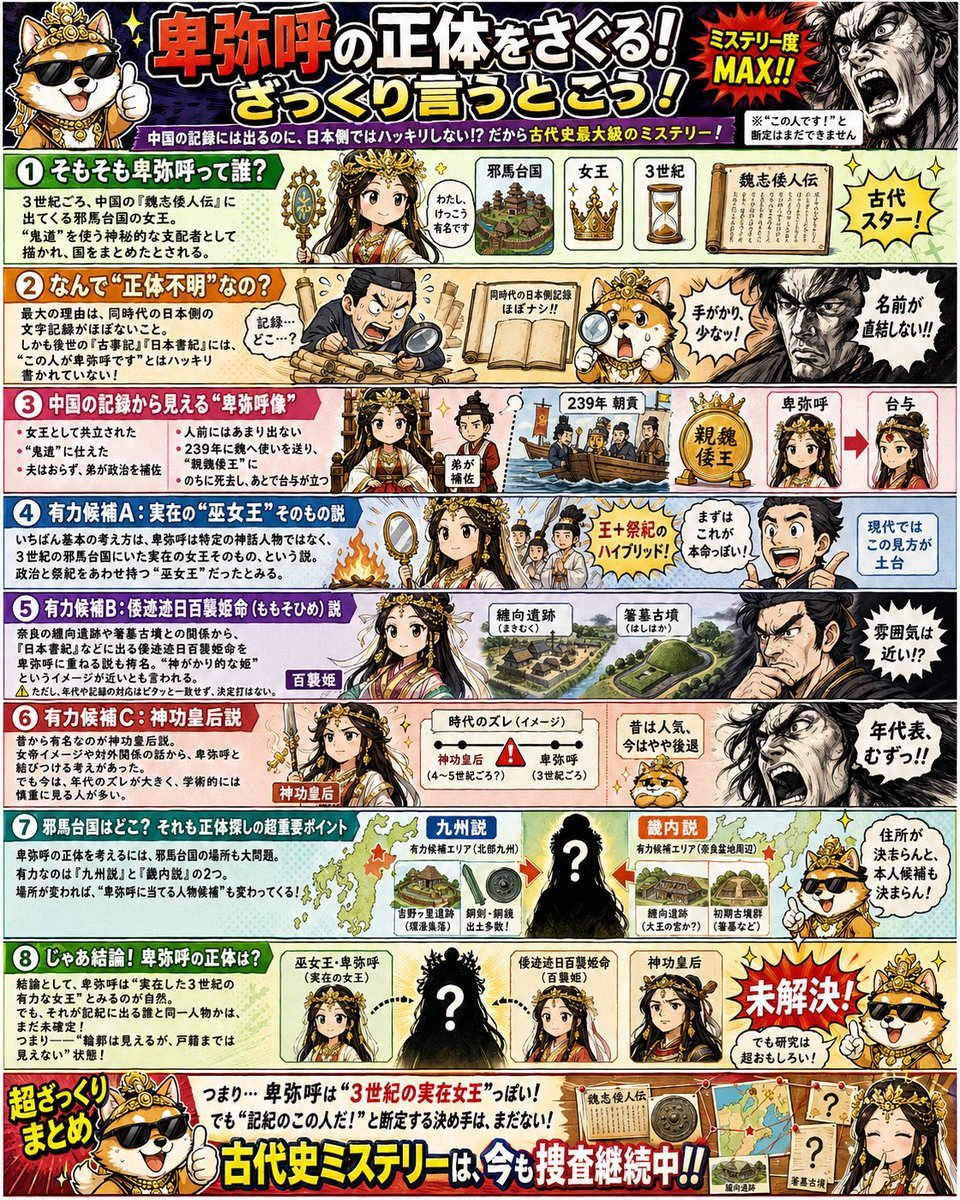
Japanese Himiko History Infographic Poster
Minimalist Neutral Object Grid
Browse template categories
GPT Image 2 Manga Planning Infographic questions
How do I use the GPT Image 2 Manga Planning Infographic template?
Add your photo if the template asks for one, edit the prompt if you like — the template's model and format are already selected — and press Generate. Your version opens in PicX Studio.
Can I customize the GPT Image 2 Manga Planning Infographic template?
Yes. You can change the subject, setting, lighting, mood, format, and available model controls before creating your image.
Is the GPT Image 2 Manga Planning Infographic template free?
Opening and editing this template is free. Generating uses credits, shown on the Generate button when you are signed in.
Which AI model should I use?
Start with GPT Image 2, which is the model associated with this template. You can compare another compatible model for a different finish.
Looking for something else? Browse all templates.

Your photo, any look
Thousands of ready templates for every top image and video model, from one credit balance.