
Neon Japanese AI IDE Landing Poster
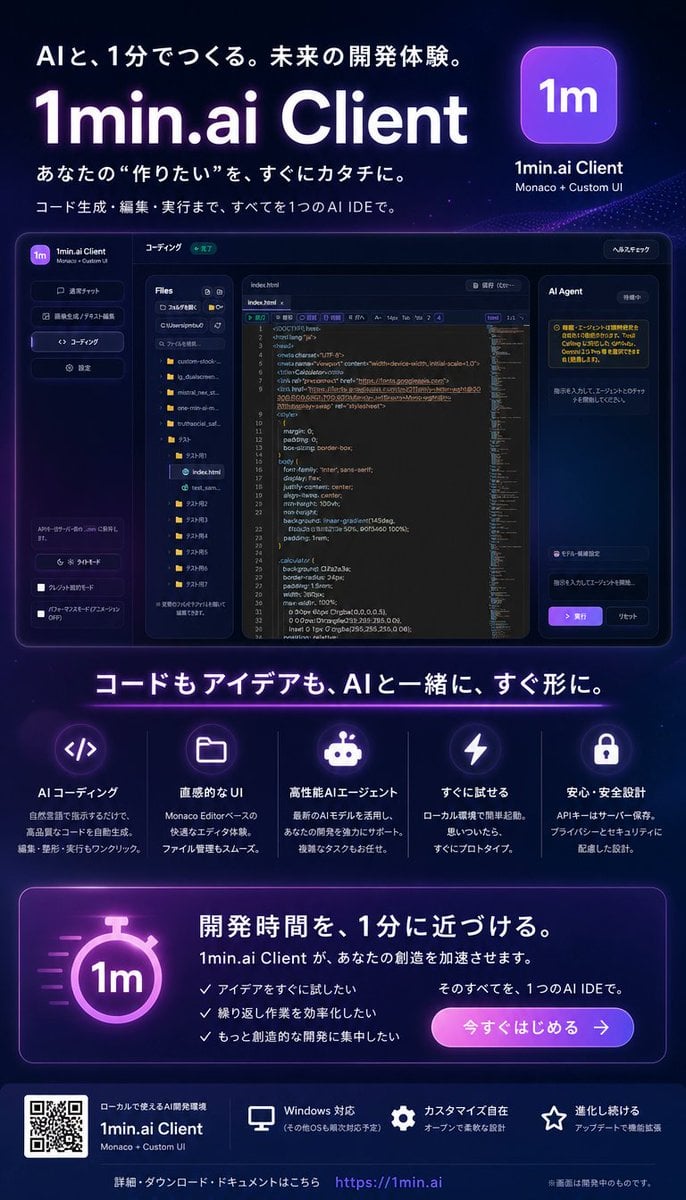
A dark neon Japanese SaaS poster promoting a futuristic AI coding IDE with app mockup, feature cards, CTA, QR code, and footer links.
- Prompt included
- Model and format preset
- Premium template
The prompt behind this image
Copy the exact prompt behind Neon Japanese AI IDE Landing Poster, or open it in the studio and make it yours.
Goal: Create a polished Japanese promotional landing-page style poster for {argument name="product name" default="1min.ai Client"}, advertising an AI IDE that helps users build quickly. The design should feel like a futuristic SaaS launch graphic for developers, with a premium dark neon aesthetic. Canvas: Vertical 4:5 poster, approximately 720×1040 px, dark navy-to-black gradient background with subtle stars, particles, purple glow, blue highlights, and soft radial light effects. Use crisp modern Japanese typography with large bold white headings and purple neon accents. Top hero section: At the top left, add the Japanese tagline 「AIと、1分でつくる。未来の開発体験。」. Below it, place a huge glowing title “{argument name="headline text" default="1min.ai Client"}” in white with a purple aura. Under the title, add two Japanese lines: 「あなたの “作りたい” を、すぐにカタチに。」 and 「コード生成・編集・実行まで、すべてを1つのAI IDEで。」. At the top right, show a rounded square purple app icon with “1m” in white, with the label “1min.ai Client” and smaller text “Monaco + Custom UI”. Central product mockup: Place a large dark glassmorphism desktop app screenshot centered beneath the hero text. The app window has rounded corners, a thin purple-blue border, and multiple panels. Include exactly 4 main app regions: a left vertical sidebar with the 1m logo and navigation buttons, a file explorer panel listing folders and files, a central code editor with syntax-highlighted HTML/CSS-like code and line numbers, and a right “AI Agent” chat/task panel with Japanese helper text and a purple execute button. The app UI should look like a Monaco-editor based IDE, with dark panels, tiny Japanese labels, folder icons, tabs, and status pills. Middle headline and feature row: Beneath the mockup, add a large centered Japanese headline: 「コードもアイデアも、AIと一緒に、すぐ形に。」 with a thin purple neon underline. Below it, create exactly 5 feature cards in a horizontal row, each separated by subtle vertical lines, each with a glowing circular icon, Japanese title, and short Japanese description. The 5 visible features are: 1) code brackets icon, title 「AIコーディング」; 2) folder icon, title 「直感的なUI」; 3) robot icon, title 「高性能AIエージェント」; 4) lightning bolt icon, title 「すぐに試せる」; 5) lock icon, title 「安心・安全設計」. Call-to-action panel: Near the lower third, add a wide rounded rectangle card with purple border glow. On the left, include a large glowing stopwatch icon containing “1m”. On the right, add the bold Japanese headline 「開発時間を、1分に近づける。」, followed by text saying 「1min.ai Client が、あなたの創造を加速させます。」. Include exactly 3 check-mark bullet points: 「アイデアをすぐに試したい」, 「繰り返し作業を効率化したい」, 「もっと創造的な開発に集中したい」. Add supporting text 「そのすべてを、1つのAI IDEで。」 and a rounded purple-to-pink gradient button labeled 「今すぐはじめる →」. Footer: At the bottom, use a darker footer strip. On the left place a visible QR code block, next to product text “1min.ai Client” and “Monaco + Custom UI”. Across the footer, show exactly 3 small capability items with icons: monitor icon 「Windows 対応」, gear icon 「カスタマイズ自在」, star icon 「進化し続ける」. Along the very bottom center, include 「詳細・ダウンロード・ドキュメントはこちら」 followed by the URL “{argument name="website URL" default="https://1min.ai"}”. Add a tiny note on the bottom right: 「※画面は開発中のものです。」 Visual style: High-end cyberpunk developer-tool advertisement, dark glass UI, neon purple and electric blue lighting, soft bloom, sharp interface details, realistic SaaS mockup, clean spacing, luminous icons, Japanese tech startup branding. Keep all text legible and aligned. No people, no extra logos, no watermark.
How to use Neon Japanese AI IDE Landing Poster in 3 steps
- 1Upload ImagePNG, JPG or paste
Add your photo
Upload the photo the template builds on. The prompt, model and format are already set.
- 2…a portrait of your subject in softgolden-hour light, 85mm…
Personalize
Edit the subject and creative details for your destination.
- 3Generate
Generate
Press Generate — your image is created in PicX Studio, so you can compare it with the original and refine one variable at a time.
More like this
Templates with the same subject, style or setup. Open one to see its prompt.
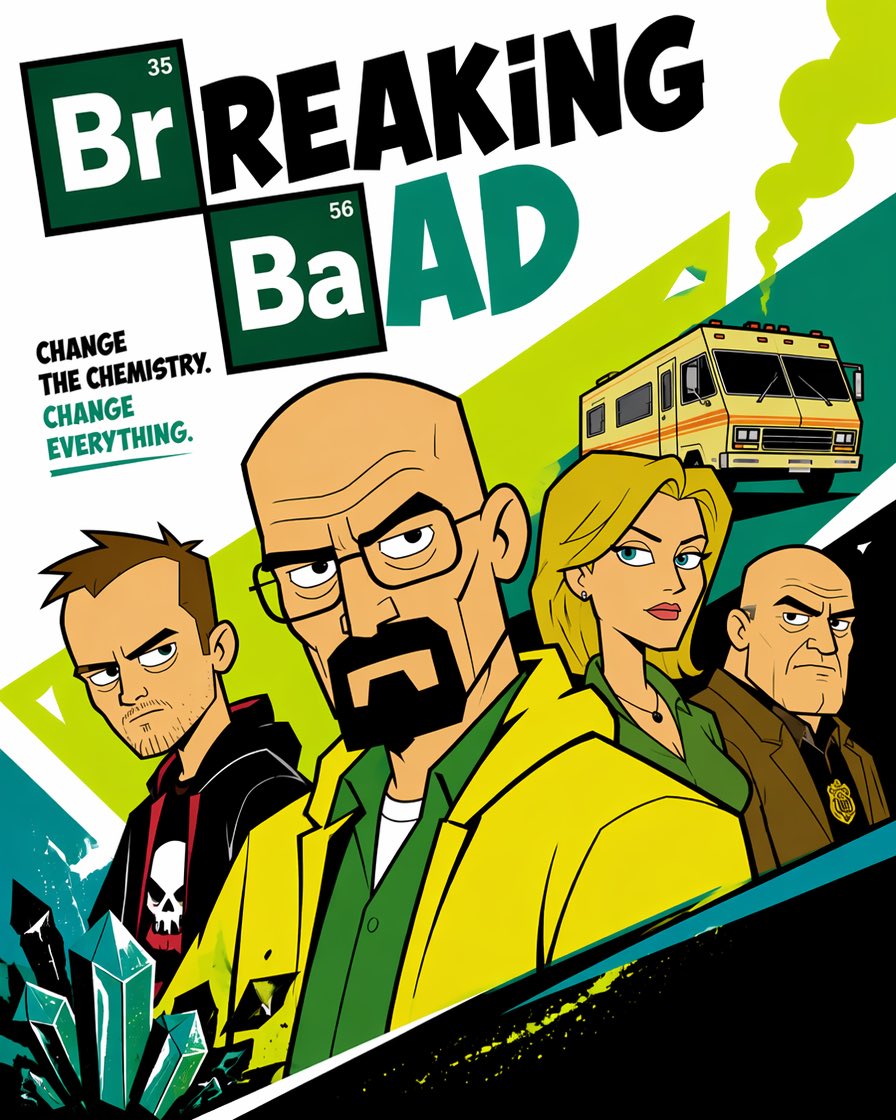
Cartoon TV Show Poster Pack

Neon Glitch Cyber Symbiote Music Poster

Victory Aura Superhero Neon Poster
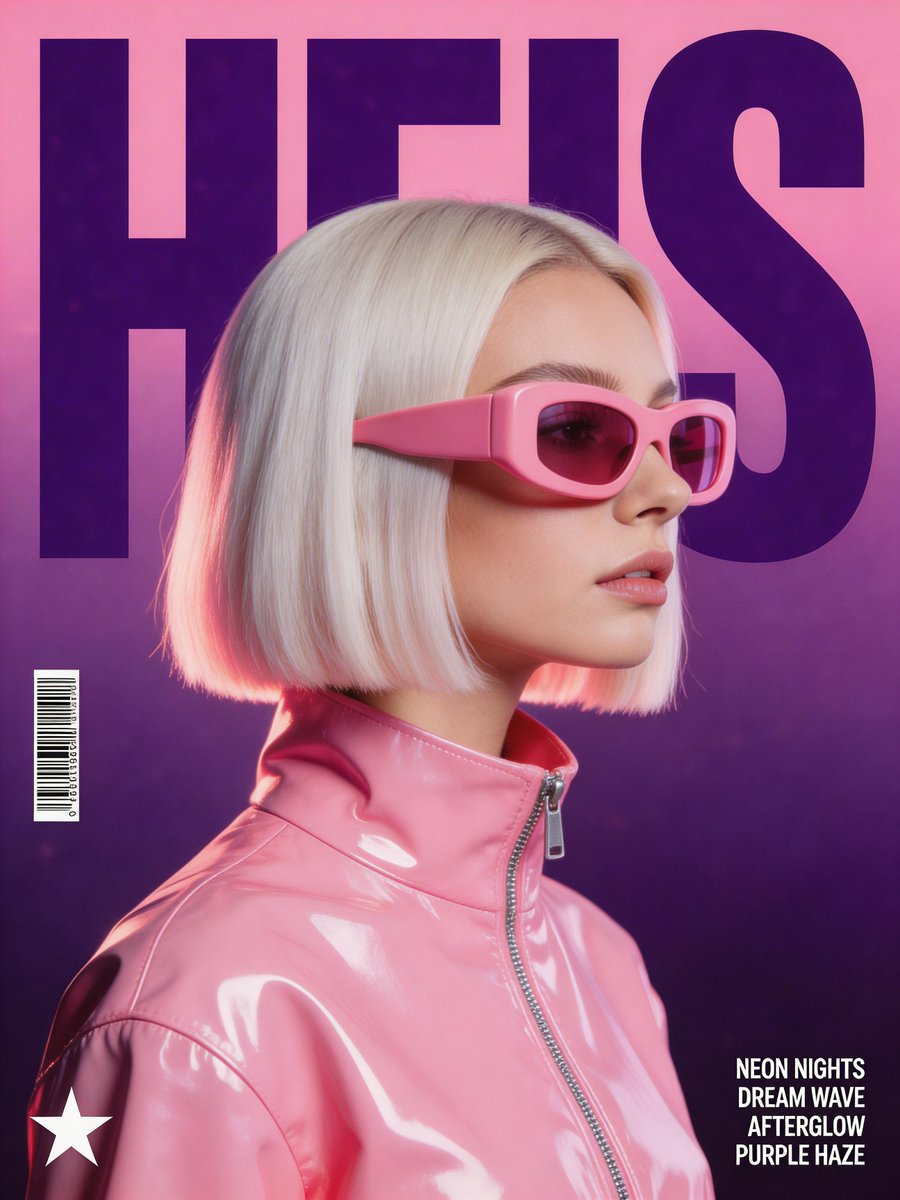
Synthwave Retro Superhero Music Poster

Victory Aura Football Poster
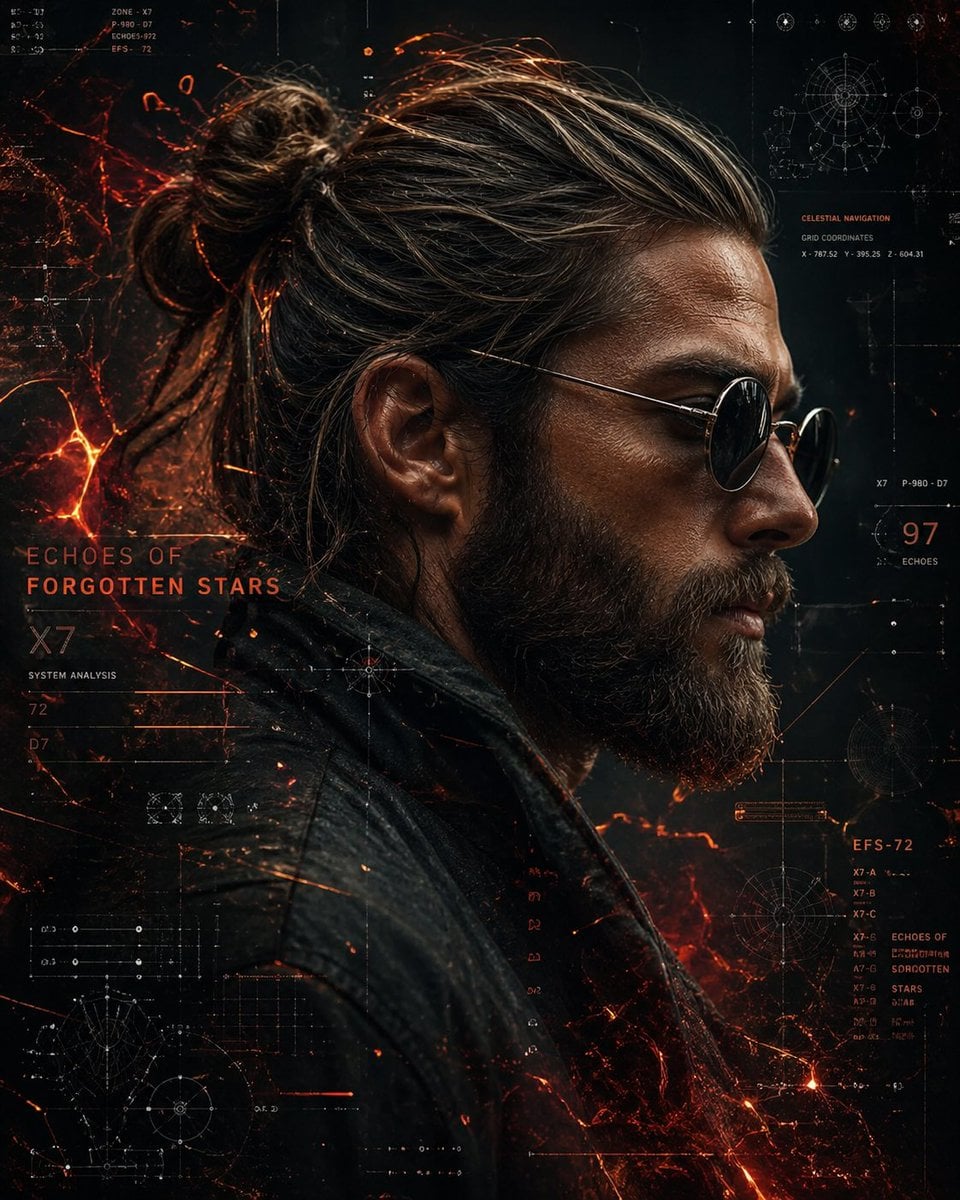
Cinematic Sci-Fi Commander Side Profile Portrait
Cinematic Side Profile Cyberpunk Hero Poster
Spider-Verse Painterly Portrait Poster
Spider-Man 2099 Cyberpunk Neon Future City
Spider-Man Night Swing New York Cinematic
80s Neon Disco Night
Minecraft Japanese Research Lab Exploration
Make it yours
Neon Japanese AI IDE Landing Poster works as-is. These are the safest ways to change it without losing the look.
Change one field
Copy a single group, rewrite it, and generate again so you can see what that field is doing.
Keep the frame, change the subject
Hold the composition and light of Neon Japanese AI IDE Landing Poster, then swap wardrobe, props or the person for a new take.
| If the result… | Why | Fix |
|---|---|---|
| The result drifts from the preview | Too many fields changed at once. | Reuse Neon Japanese AI IDE Landing Poster as-is first, then change one group — subject, light, or setting. |
| The model over-stylizes the scene | The prose prompt leaves finish and camera underspecified. | Add one camera or lighting sentence and stay on GPT Image 2. |
More GPT Image 2 templates
Other prompts made for GPT Image 2.
Six VTuber Japanese Logo Sheet

Realistic Portrait of Woman and Deer
The Vista Modular Condo Poster
AI Model Routing Comparison Infographic
2.5D Anime Art Board
Isometric Productivity Desk Scene
New York Double Exposure Poster
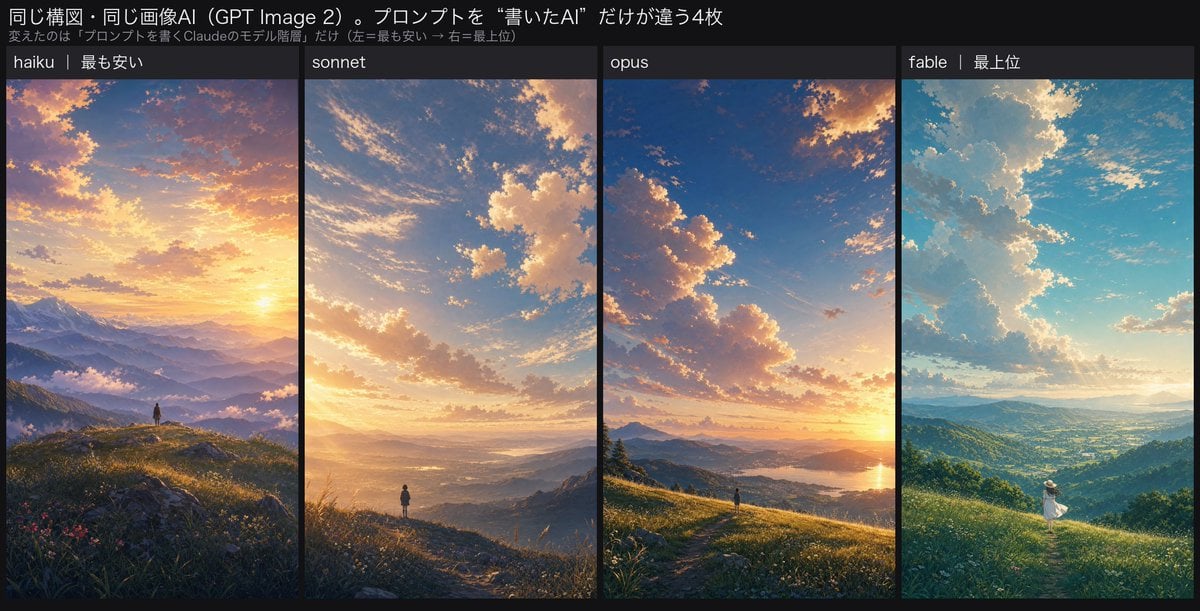
Four-Panel AI Landscape Comparison
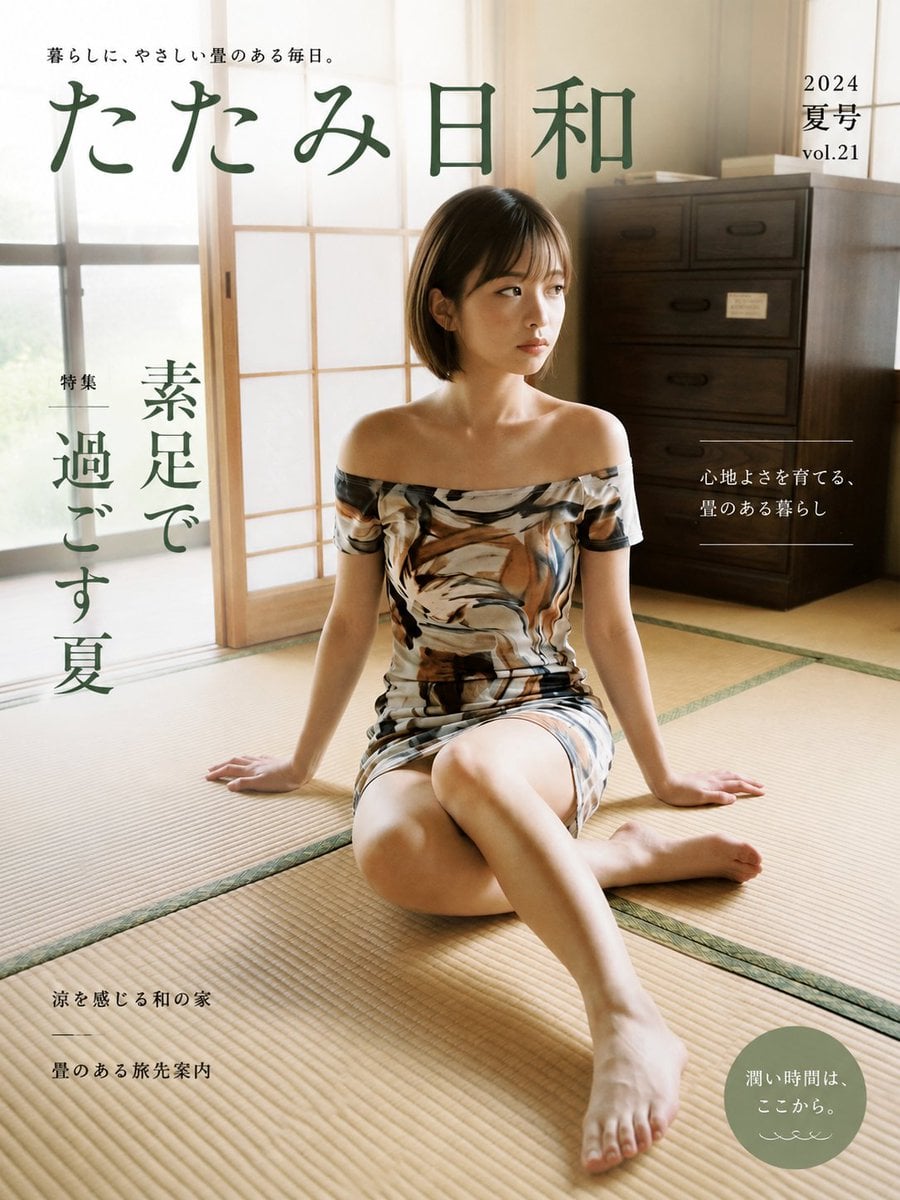
Japanese Tatami Lifestyle Magazine Cover

NESCAFÉ Coffee Map Poster
More image prompts
Fresh picks from across the catalog.

Photorealistic CGI Big Head Caricature
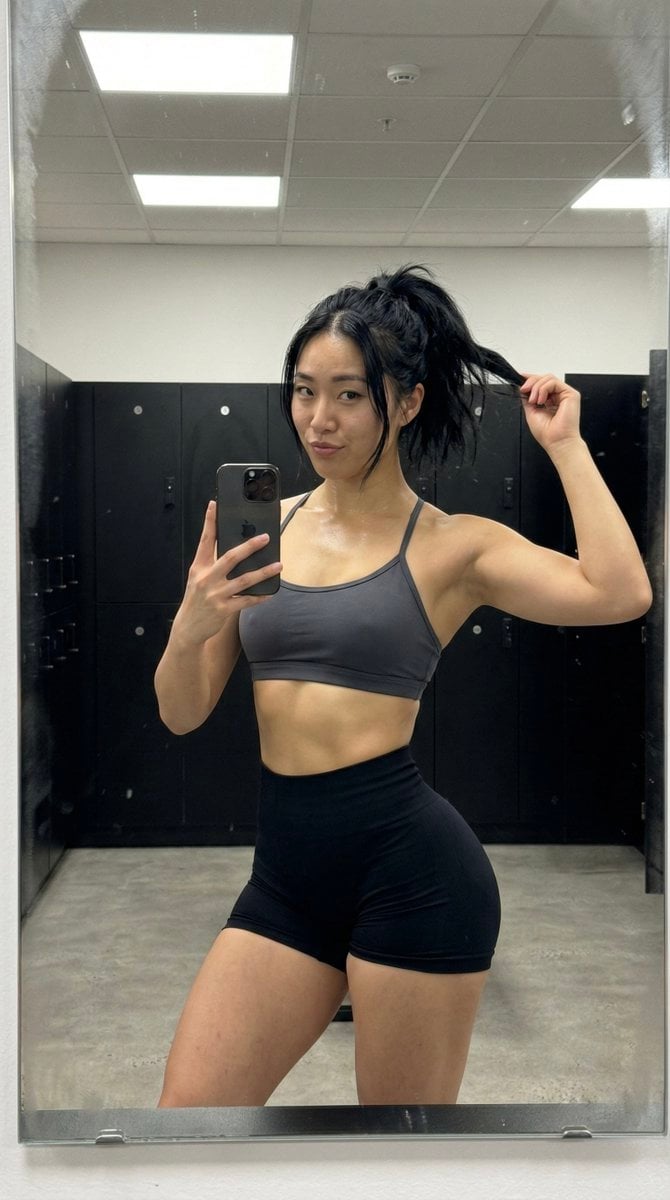
Gym Mirror Selfie with Post-Workout Glow (iPhone Style)

Radiant Angel in Golden Clouds
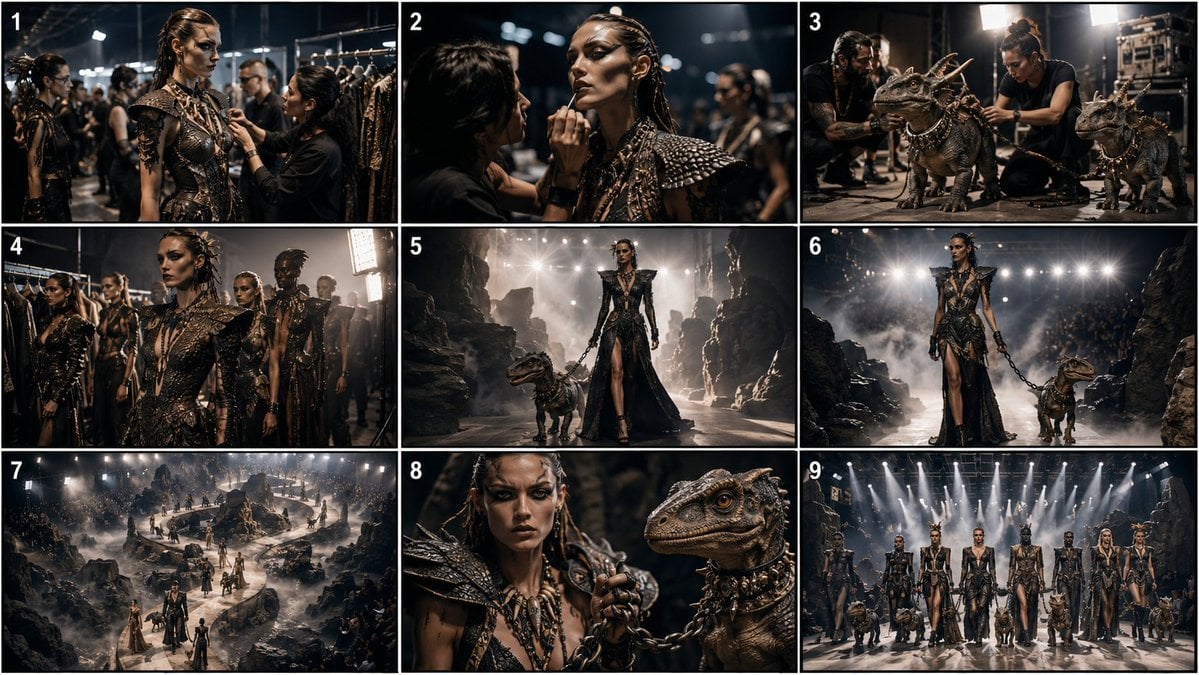
Paleolithic Haute Couture Fashion
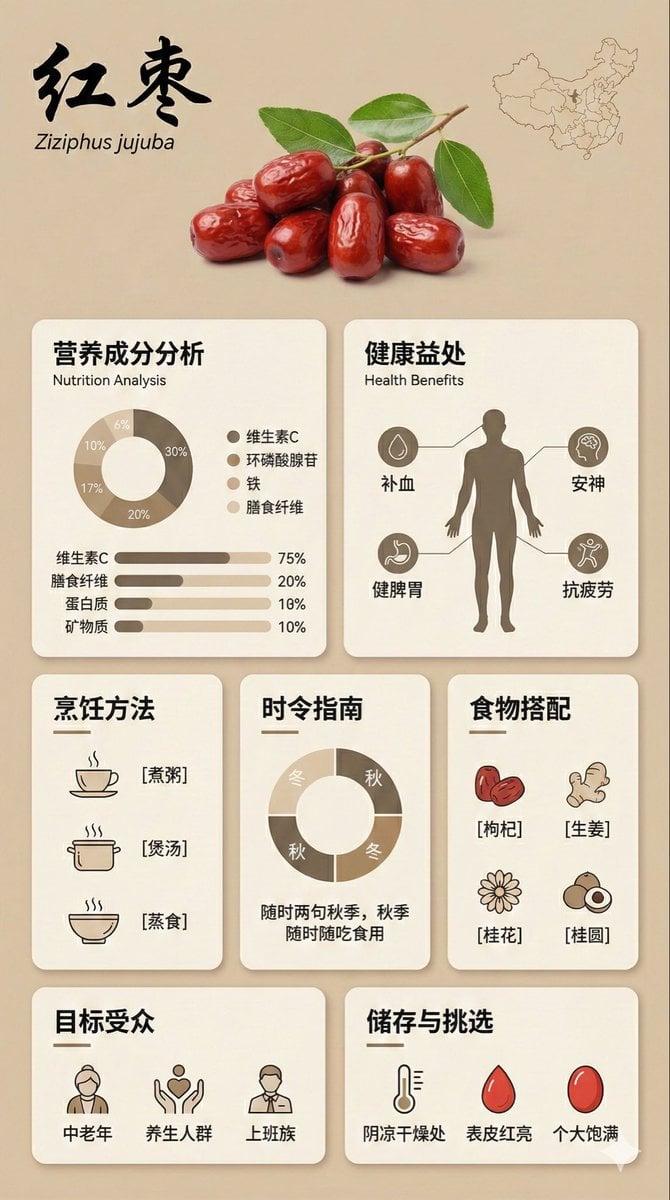
Bento Grid Infographic Prompt for Food Science
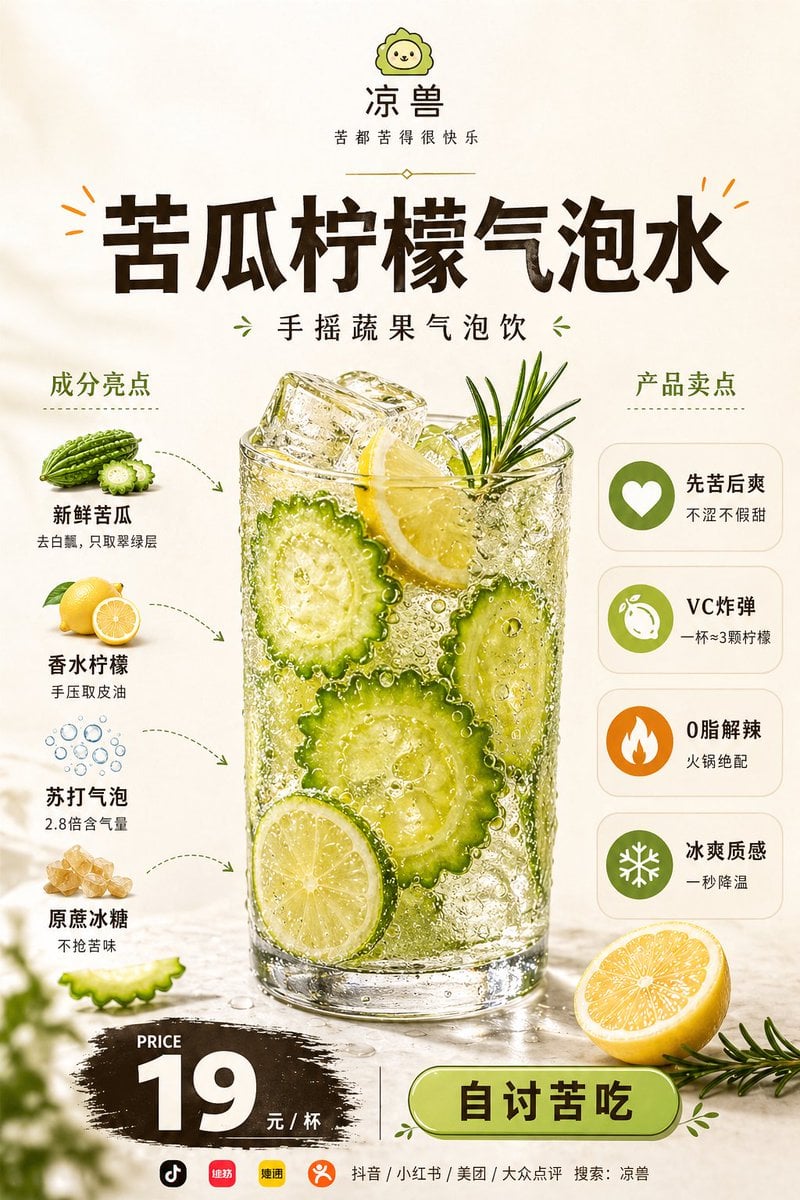
Bitter Melon Lemon Soda Poster
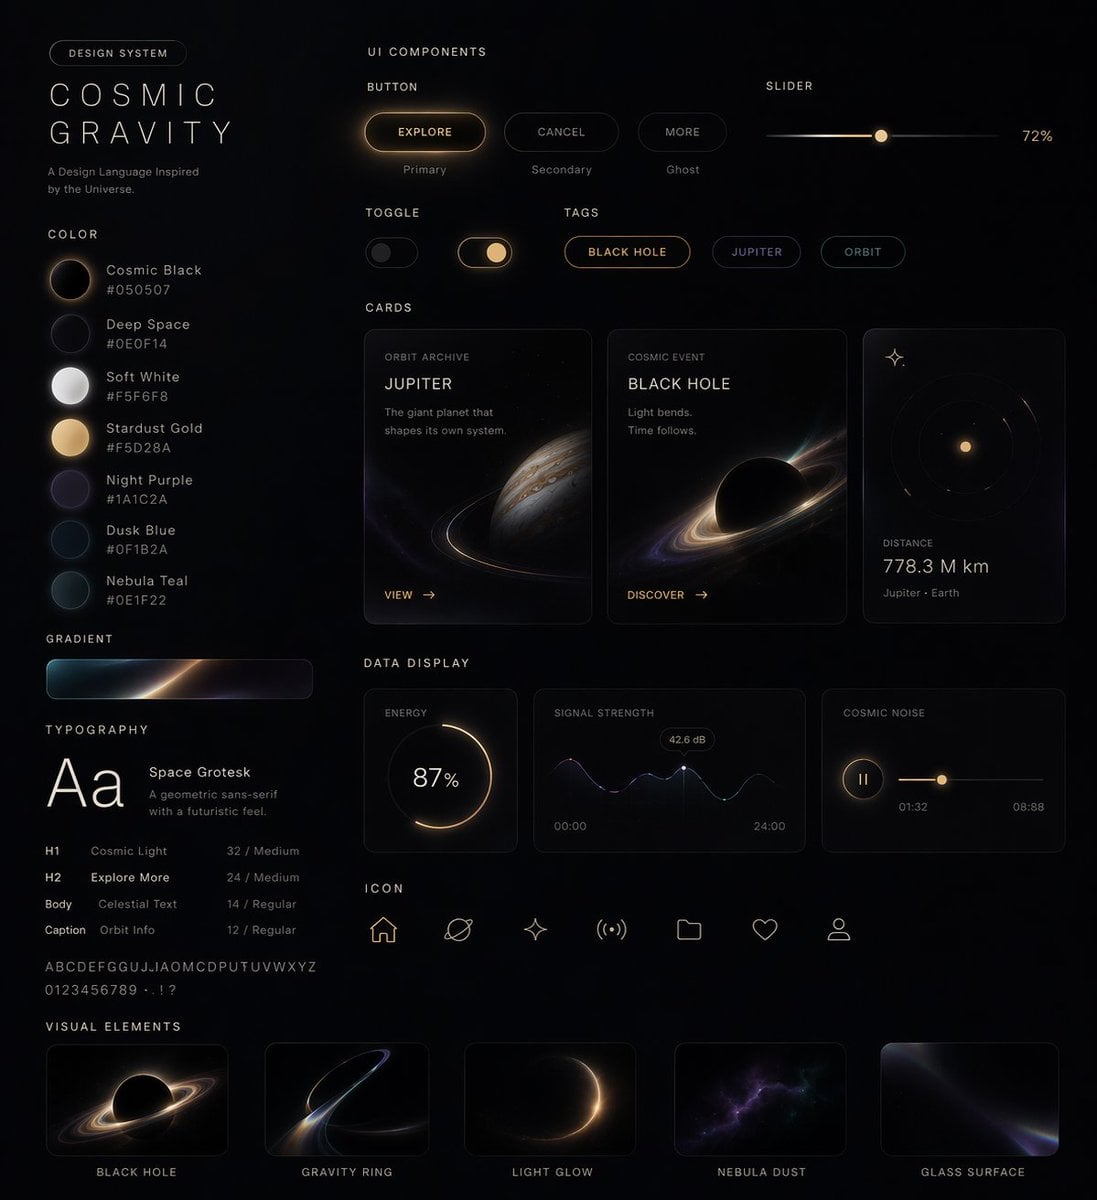
Cosmic Dark Mode UI Design System
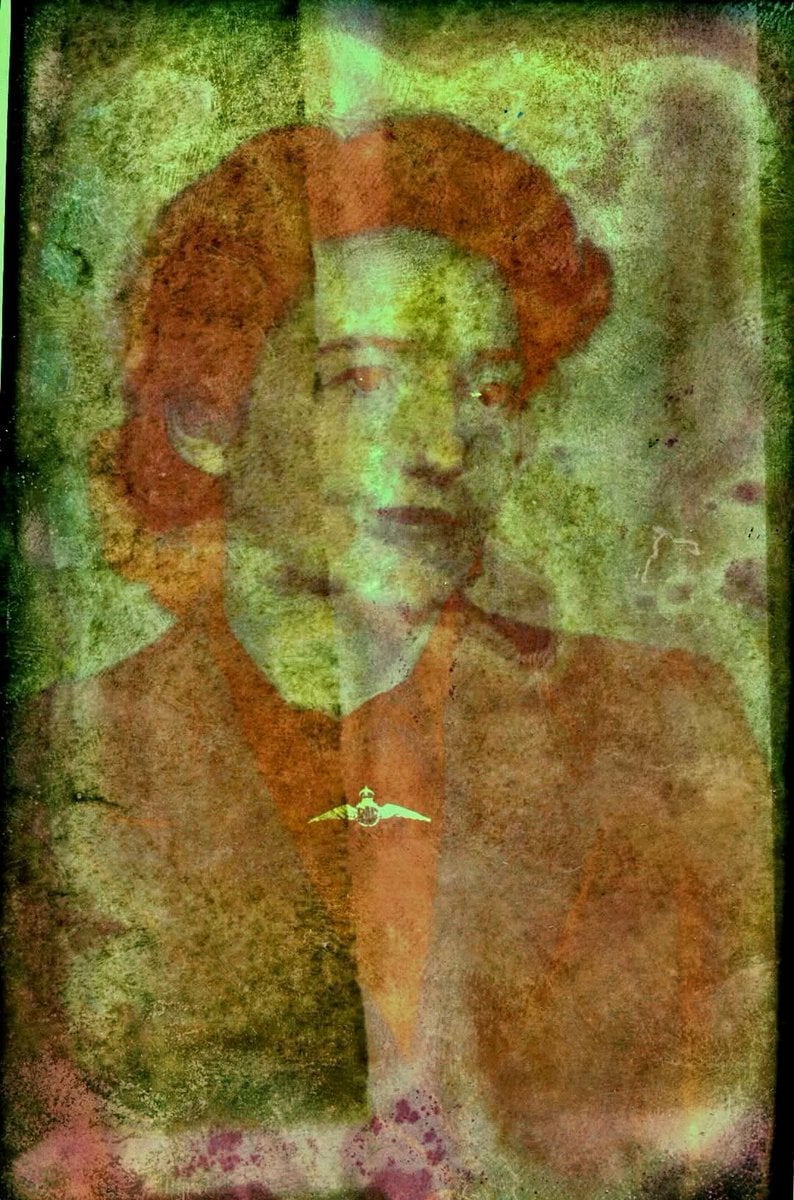
Old Photo Restoration to DSLR Quality

Character Generation from Google Slides Shapes

Cinematic Boxing Portrait Prompt (Luxury Fashion x Combat Sport)
Browse template categories
Neon Japanese AI IDE Landing Poster questions
How do I use the Neon Japanese AI IDE Landing Poster template?
Add your photo if the template asks for one, edit the prompt if you like — the template's model and format are already selected — and press Generate. Your version opens in PicX Studio.
Can I customize the Neon Japanese AI IDE Landing Poster template?
Yes. You can change the subject, setting, lighting, mood, format, and available model controls before creating your image.
Is the Neon Japanese AI IDE Landing Poster template free?
Opening and editing this template is free. Generating uses credits, shown on the Generate button when you are signed in.
Which AI model should I use?
Start with GPT Image 2, which is the model associated with this template. You can compare another compatible model for a different finish.
Looking for something else? Browse all templates.

Your photo, any look
Thousands of ready templates for every top image and video model, from one credit balance.