
Camera Exploded View Infographic
Generates a highly detailed, multi-panel technical infographic featuring a 3D exploded view of a camera and 8 numbered sections explaining the imaging process.
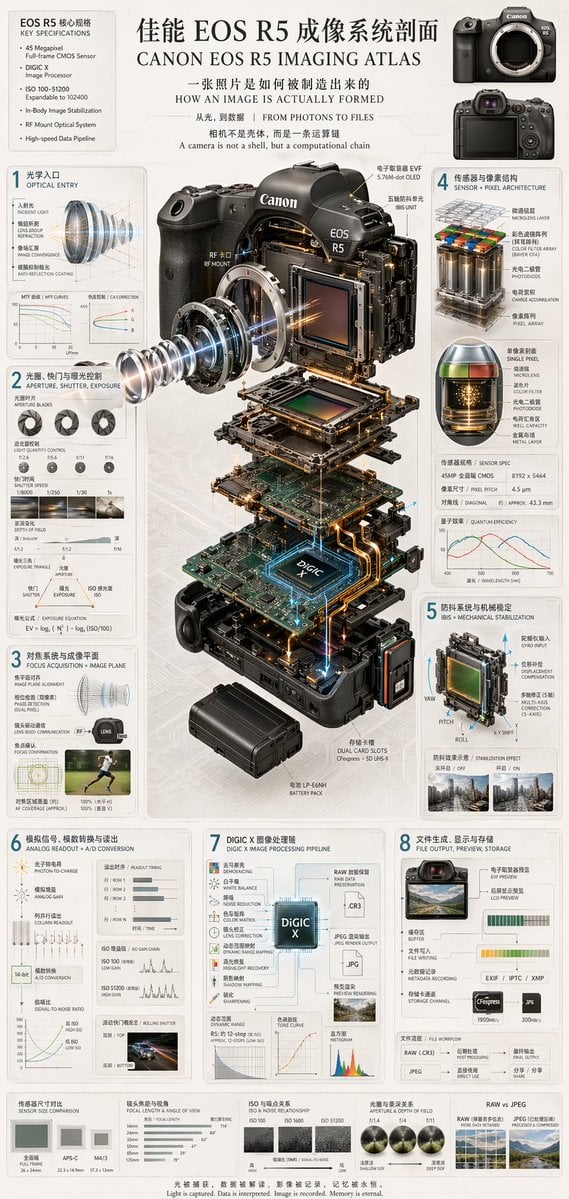
- Prompt included
- Model and format preset
- Free template
The prompt behind this image
Copy the exact prompt behind Camera Exploded View Infographic, or open it in the studio and make it yours.
- Type
- technical infographic and exploded view diagram
- Header › Title
- {argument name="main title" default="佳能 EOS R5 成像系统剖面 CANON EOS R5 IMAGING ATLAS"}
- Header › Subtitles
- 一张照片是如何被制造出来的 HOW AN IMAGE IS ACTUALLY FORMED, 从光,到数据 | FROM PHOTONS TO FILES, 相机不是壳体,而是一条运算链 A camera is not a shell, but a computational chain
- Header › Top Left Box › Title
- EOS R5 核心规格 KEY SPECIFICATIONS
- Header › Top Left Box › Bullet Points Count
- 6
- Header › Top Right Images › Count
- 2
- Header › Top Right Images › Description
- front and back views of the camera body
- Centerpiece › Description
- highly detailed 3D exploded view of the {argument name="camera model" default="Canon EOS R5"} camera, showing internal components separated vertically
- Centerpiece › Components Visible
- lens mount, lens elements with glowing blue light rays, image sensor, motherboard with glowing {argument name="processor name" default="DIGIC X"} chip, battery pack, dual card slots, electronic viewfinder (EVF)
- Layout › Numbered Sections › 0 › Number
- 1
- Layout › Numbered Sections › 0 › Title
- 光学入口 OPTICAL ENTRY
- Layout › Numbered Sections › 0 › Elements
- lens cross-section with light rays, 2 line graphs
- Layout › Numbered Sections › 1 › Number
- 2
- Layout › Numbered Sections › 1 › Title
- 光圈、快门与曝光控制 APERTURE, SHUTTER, EXPOSURE
- Layout › Numbered Sections › 1 › Elements
- 3 aperture blade diagrams, 4 shutter speed example photos, depth of field diagram, exposure triangle diagram
- Layout › Numbered Sections › 2 › Number
- 3
- Layout › Numbered Sections › 2 › Title
- 对焦系统与成像平面 FOCUS ACQUISITION + IMAGE PLANE
- Layout › Numbered Sections › 2 › Elements
- lens alignment diagram, AF coverage photo of a runner
- Layout › Numbered Sections › 3 › Number
- 4
- Layout › Numbered Sections › 3 › Title
- 传感器与像素结构 SENSOR + PIXEL ARCHITECTURE
- Layout › Numbered Sections › 3 › Elements
- 3D pixel array diagram, single pixel cross-section diagram, sensor spec table, quantum efficiency graph
- Layout › Numbered Sections › 4 › Number
- 5
- Layout › Numbered Sections › 4 › Title
- 防抖系统与机械稳定 IBIS + MECHANICAL STABILIZATION
- Layout › Numbered Sections › 4 › Elements
- sensor shift mechanism diagram with yaw/pitch/roll axes, 2 stabilization effect comparison photos
Raw JSON
{
  "type": "technical infographic and exploded view diagram",
  "header": {
    "title": "{argument name=\"main title\" default=\"佳能 EOS R5 成像系统剖面 CANON EOS R5 IMAGING ATLAS\"}",
    "subtitles": [
      "一张照片是如何被制造出来的 HOW AN IMAGE IS ACTUALLY FORMED",
      "从光,到数据 | FROM PHOTONS TO FILES",
      "相机不是壳体,而是一条运算链 A camera is not a shell, but a computational chain"
    ],
    "top_left_box": {
      "title": "EOS R5 核心规格 KEY SPECIFICATIONS",
      "bullet_points_count": 6
    },
    "top_right_images": {
      "count": 2,
      "description": "front and back views of the camera body"
    }
  },
  "centerpiece": {
    "description": "highly detailed 3D exploded view of the {argument name=\"camera model\" default=\"Canon EOS R5\"} camera, showing internal components separated vertically",
    "components_visible": [
      "lens mount",
      "lens elements with glowing blue light rays",
      "image sensor",
      "motherboard with glowing {argument name=\"processor name\" default=\"DIGIC X\"} chip",
      "battery pack",
      "dual card slots",
      "electronic viewfinder (EVF)"
    ]
  },
  "layout": {
    "numbered_sections": [
      {
        "number": 1,
        "title": "光学入口 OPTICAL ENTRY",
        "elements": ["lens cross-section with light rays", "2 line graphs"]
      },
      {
        "number": 2,
        "title": "光圈、快门与曝光控制 APERTURE, SHUTTER, EXPOSURE",
        "elements": ["3 aperture blade diagrams", "4 shutter speed example photos", "depth of field diagram", "exposure triangle diagram"]
      },
      {
        "number": 3,
        "title": "对焦系统与成像平面 FOCUS ACQUISITION + IMAGE PLANE",
        "elements": ["lens alignment diagram", "AF coverage photo of a runner"]
      },
      {
        "number": 4,
        "title": "传感器与像素结构 SENSOR + PIXEL ARCHITECTURE",
        "elements": ["3D pixel array diagram", "single pixel cross-section diagram", "sensor spec table", "quantum efficiency graph"]
      },
      {
        "number": 5,
        "title": "防抖系统与机械稳定 IBIS + MECHANICAL STABILIZATION",
        "elements": ["sensor shift mechanism diagram with yaw/pitch/roll axes", "2 stabilization effect comparison photos"]
      },
      {
        "number": 6,
        "title": "模拟信号、模数转换与读出 ANALOG READOUT + A/D CONVERSION",
        "elements": ["signal flowchart", "3 readout timing graphs", "signal-to-noise ratio graph", "rolling shutter example photo of a car"]
      },
      {
        "number": 7,
        "title": "DIGIC X 图像处理链 DIGIC X IMAGE PROCESSING PIPELINE",
        "elements": ["processing flowchart with central chip", "dynamic range graph", "tone curve graph", "histogram"]
      },
      {
        "number": 8,
        "title": "文件生成、显示与存储 FILE OUTPUT, PREVIEW, STORAGE",
        "elements": ["file output flowchart", "2 storage card icons", "file workflow diagram"]
      }
    ],
    "bottom_comparisons": {
      "count": 5,
      "labels": [
        "传感器尺寸对比 SENSOR SIZE COMPARISON",
        "镜头焦距与视角 FOCAL LENGTH & ANGLE OF VIEW",
        "ISO 与噪点关系 ISO & NOISE RELATIONSHIP",
        "光圈与景深关系 APERTURE & DEPTH OF FIELD",
        "RAW vs JPEG"
      ]
    },
    "footer": "{argument name=\"footer quote\" default=\"光被捕获,数据被解读,影像被记录,记忆被永恒。 Light is captured. Data is interpreted. Image is recorded. Memory is eternal.\"}"
  },
  "style": "clean, technical, highly detailed, photorealistic components, blueprint-style annotations, light gray background, precise typography"
}How to use Camera Exploded View Infographic in 3 steps
- 1Upload ImagePNG, JPG or paste
Add your photo
Upload the photo the template builds on. The prompt, model and format are already set.
- 2…a portrait of your subject in softgolden-hour light, 85mm…
Personalize
Edit the subject and creative details for your destination.
- 3Generate
Generate
Press Generate — your image is created in PicX Studio, so you can compare it with the original and refine one variable at a time.
More like this
Templates with the same subject, style or setup. Open one to see its prompt.
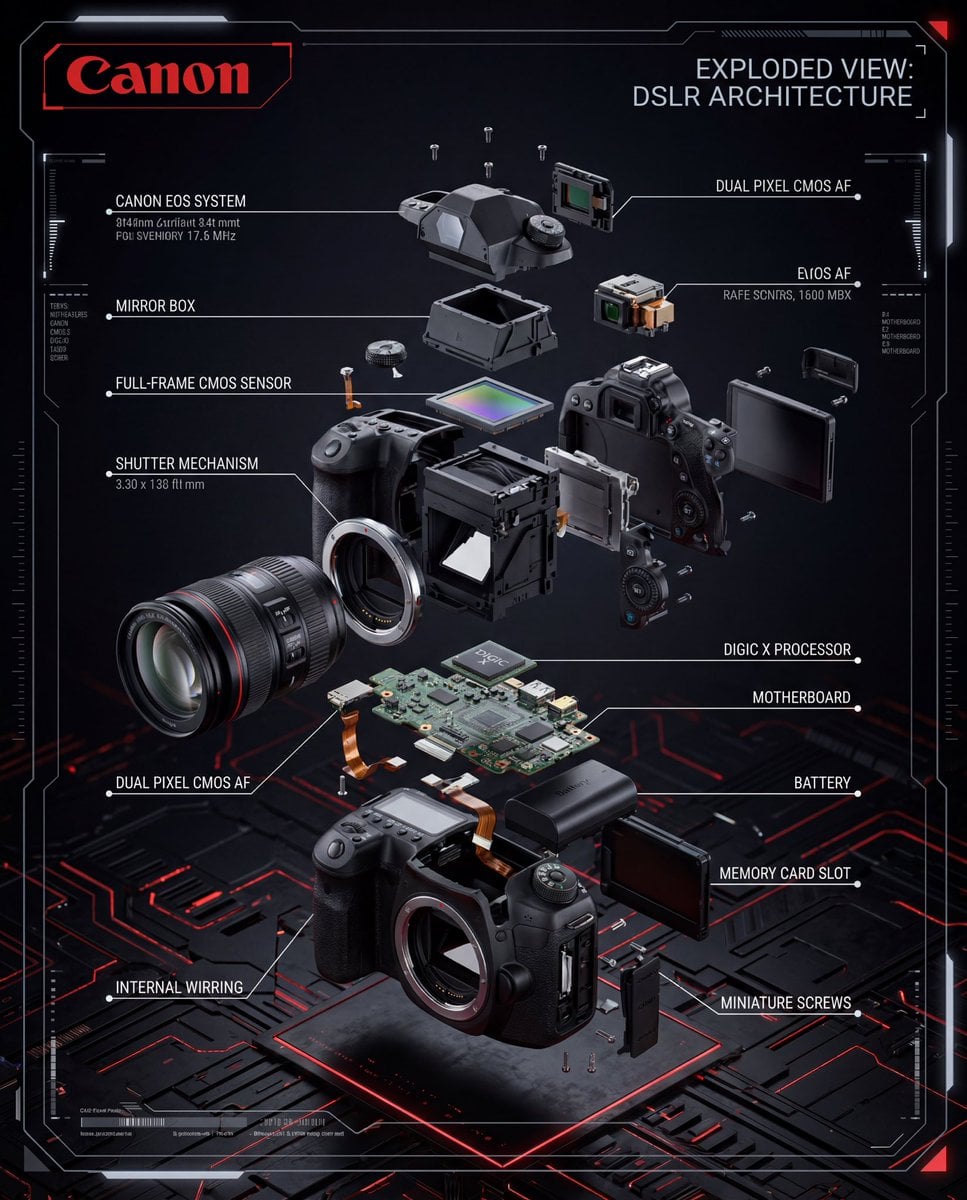
Exploded View DSLR Infographic
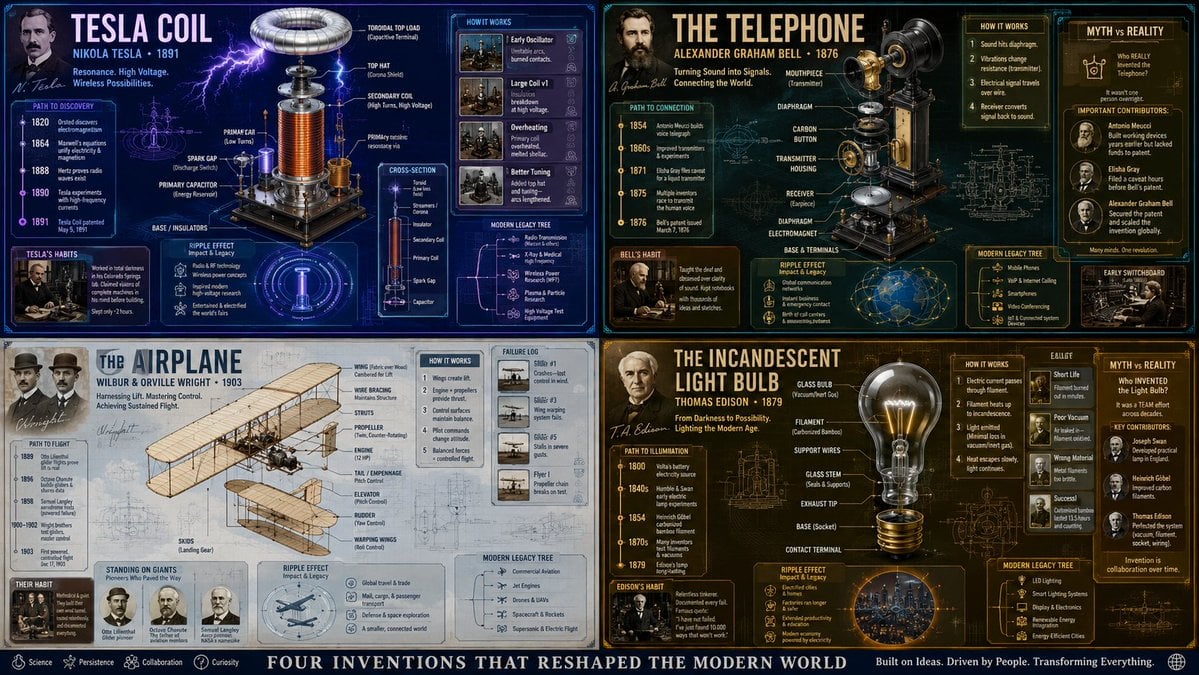
Exploded View Invention Infographic
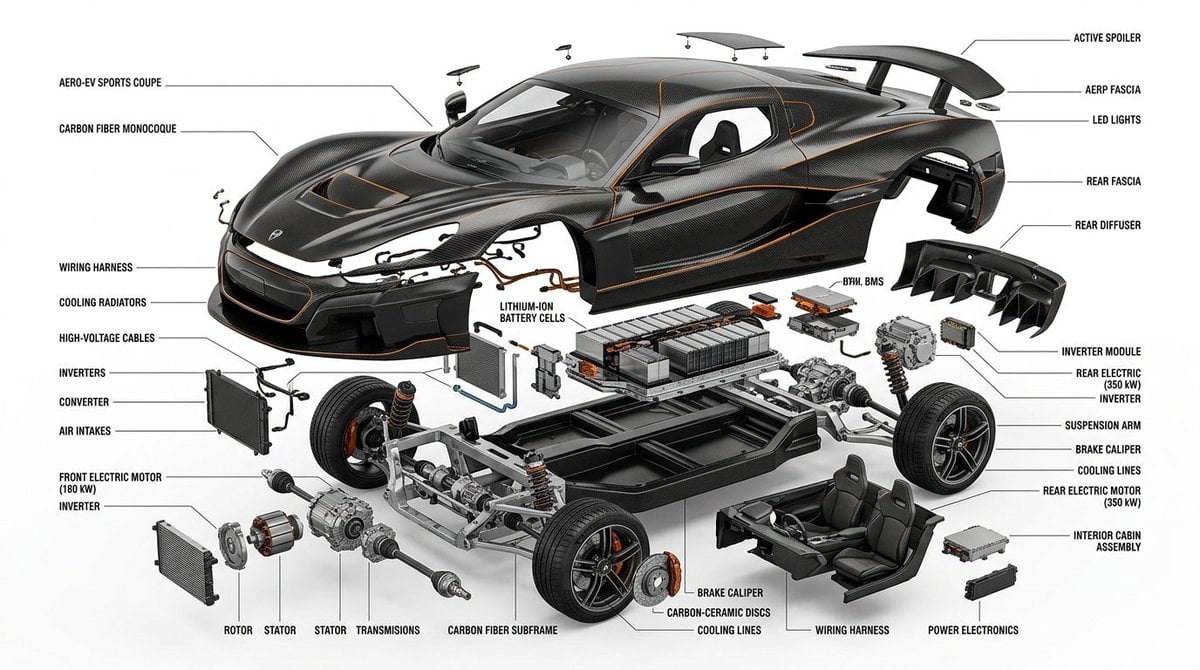
Exploded View Infographic Diagram Prompt
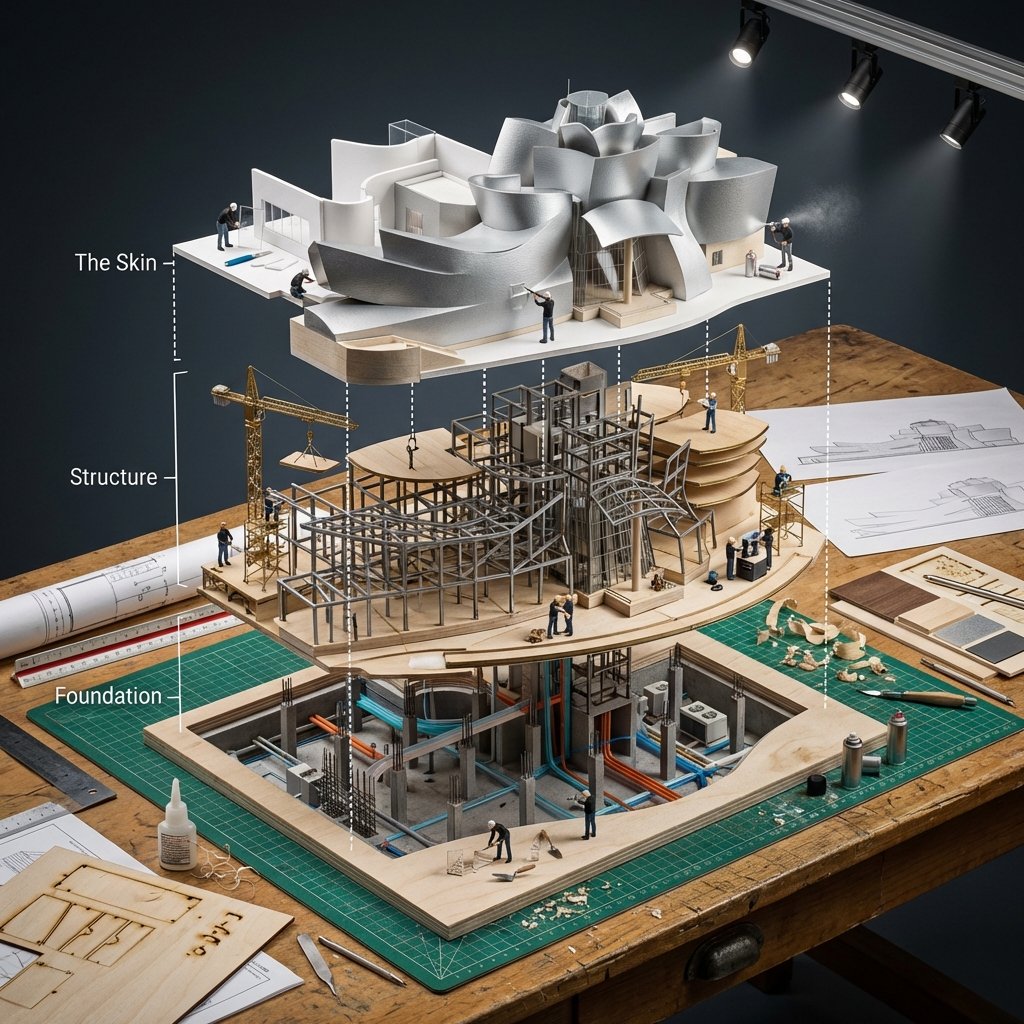
Building Exploded View Architectural Diorama
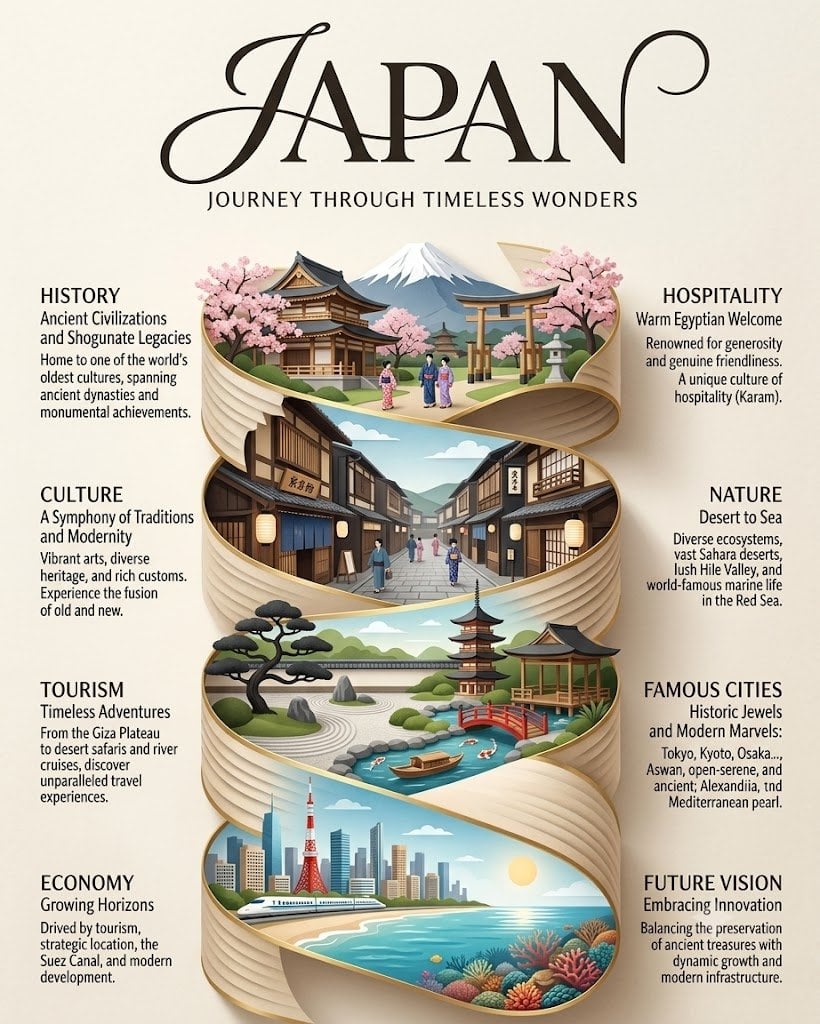
Japan Travel Brochure Poster
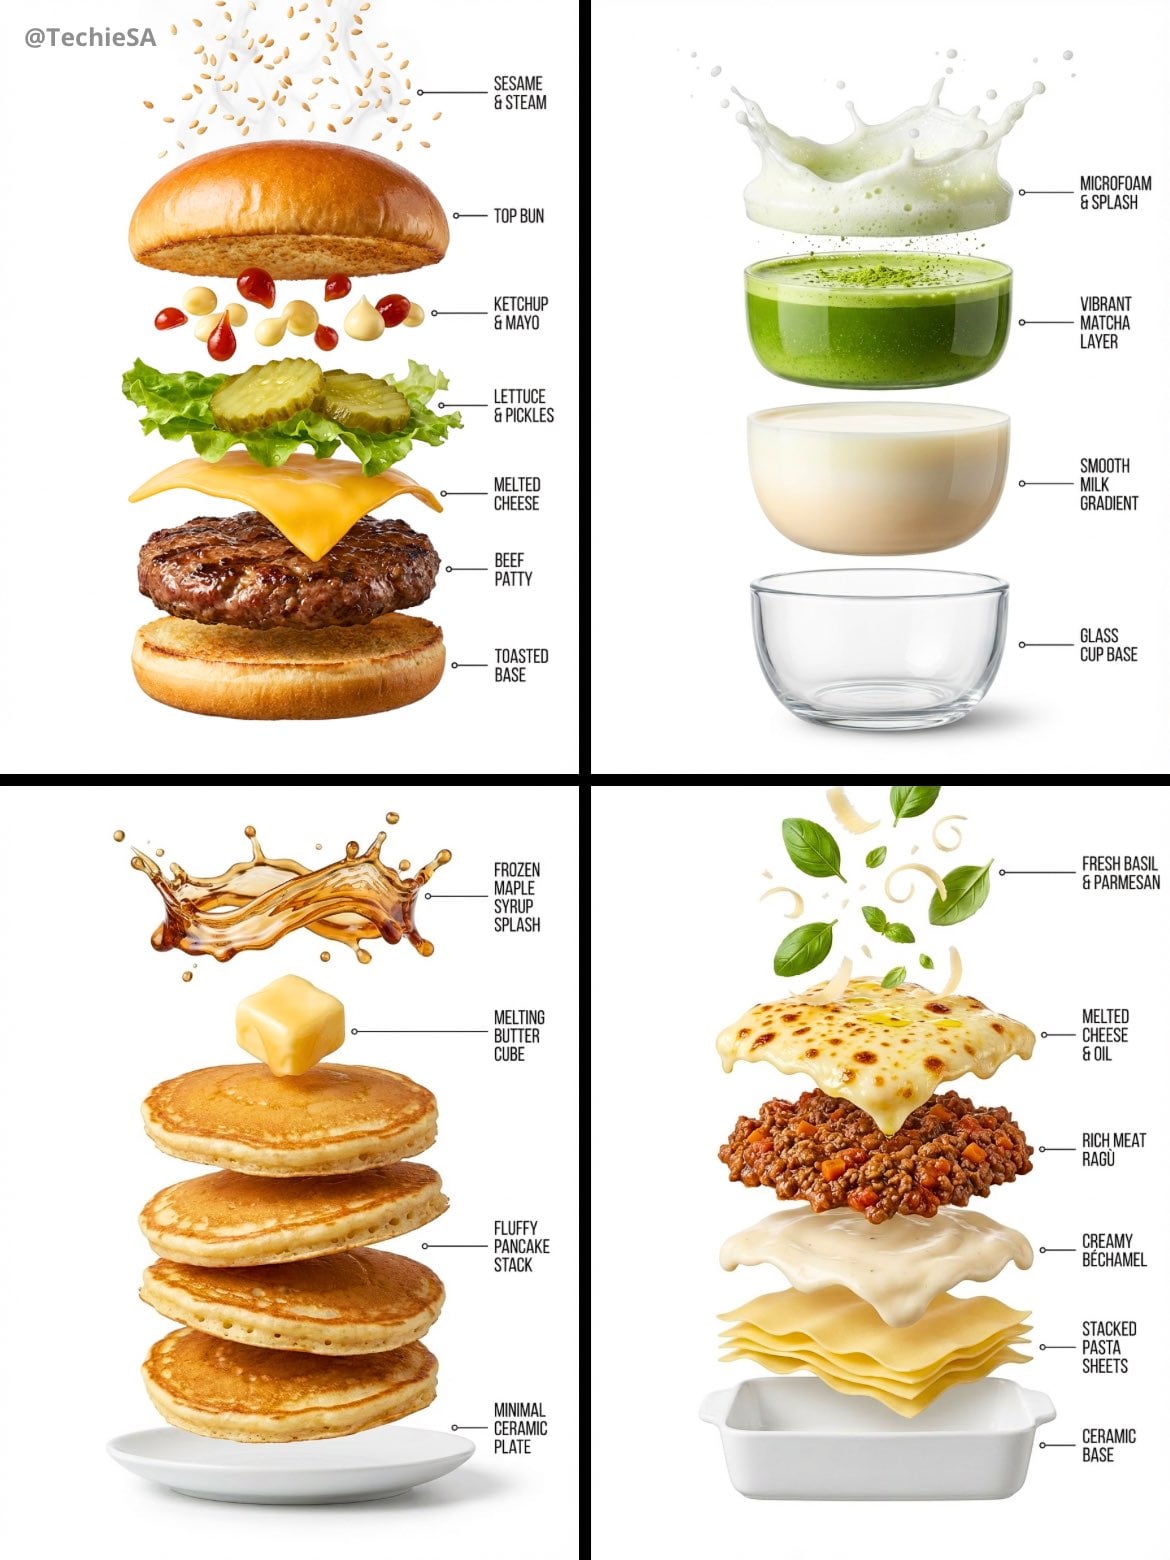
Hyper-realistic exploded vertical infographic composition

Cinematic Street Fashion Photographer Portrait
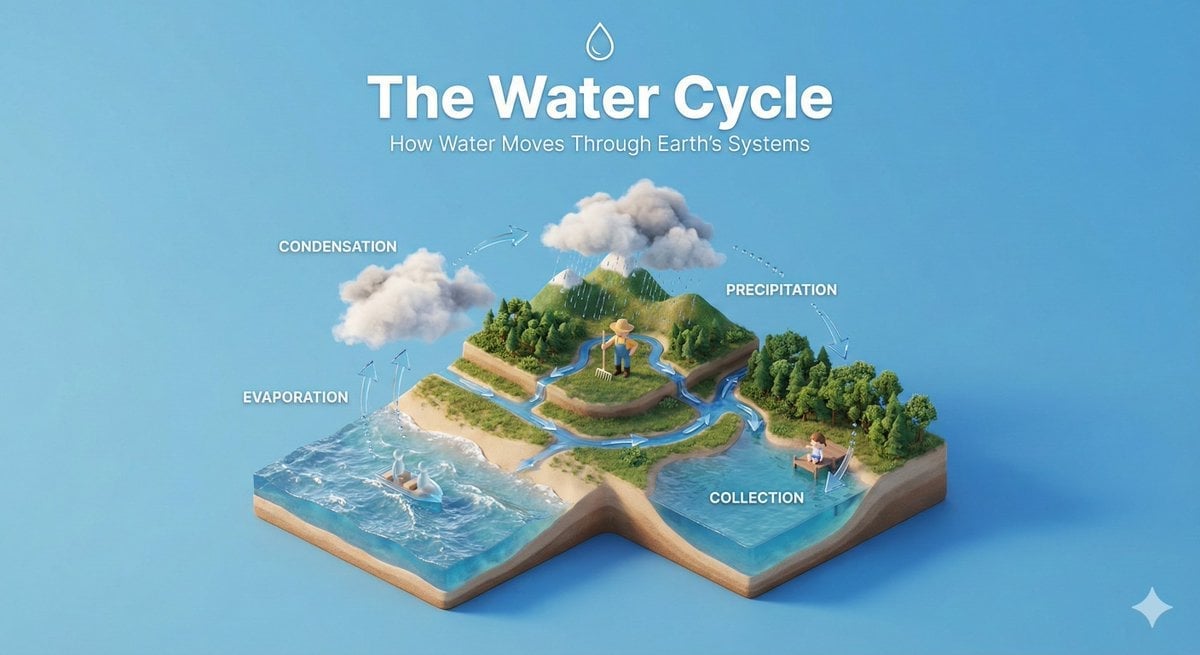
Isometric Process Educational Diorama
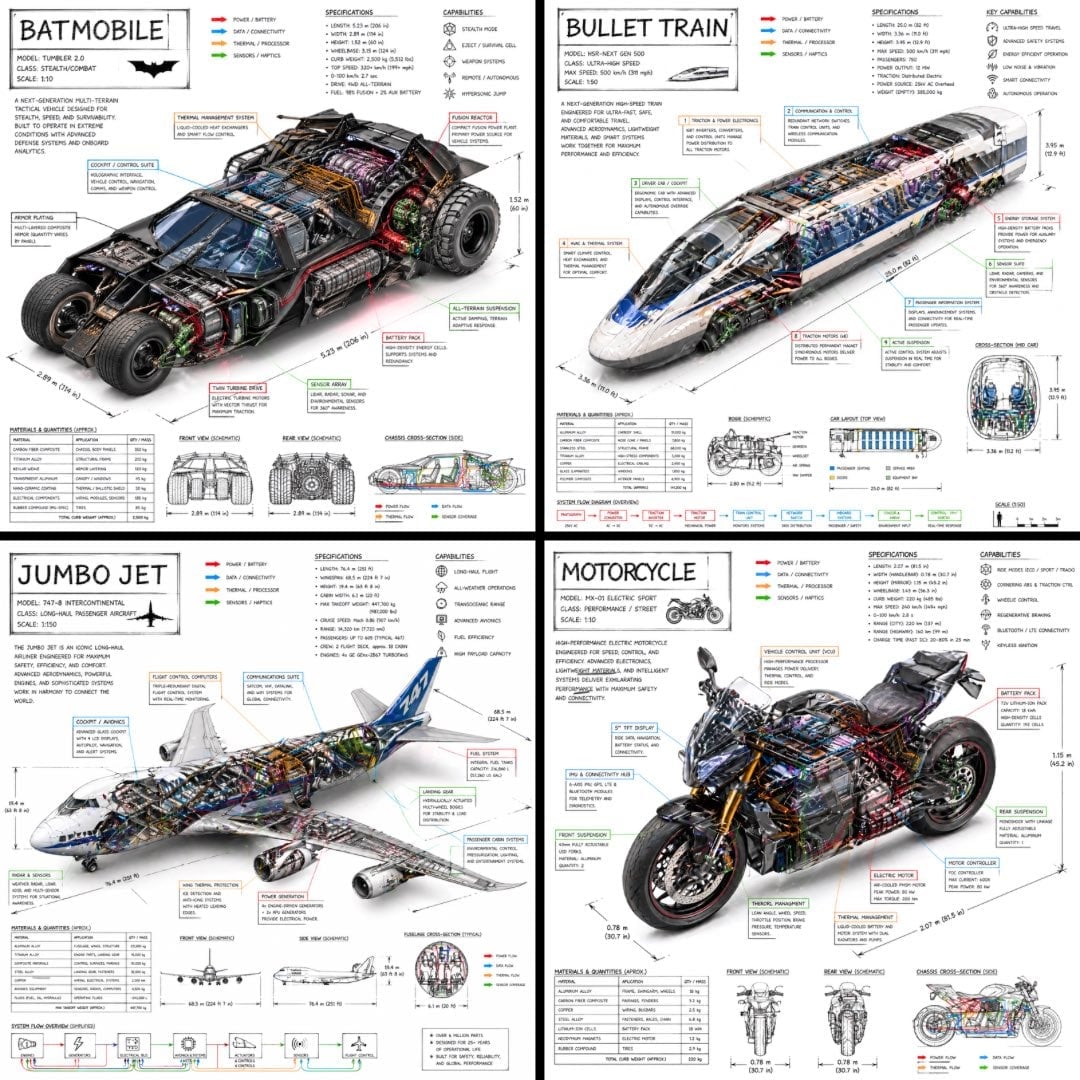
Isometric Vehicle Teardown Infographic Template
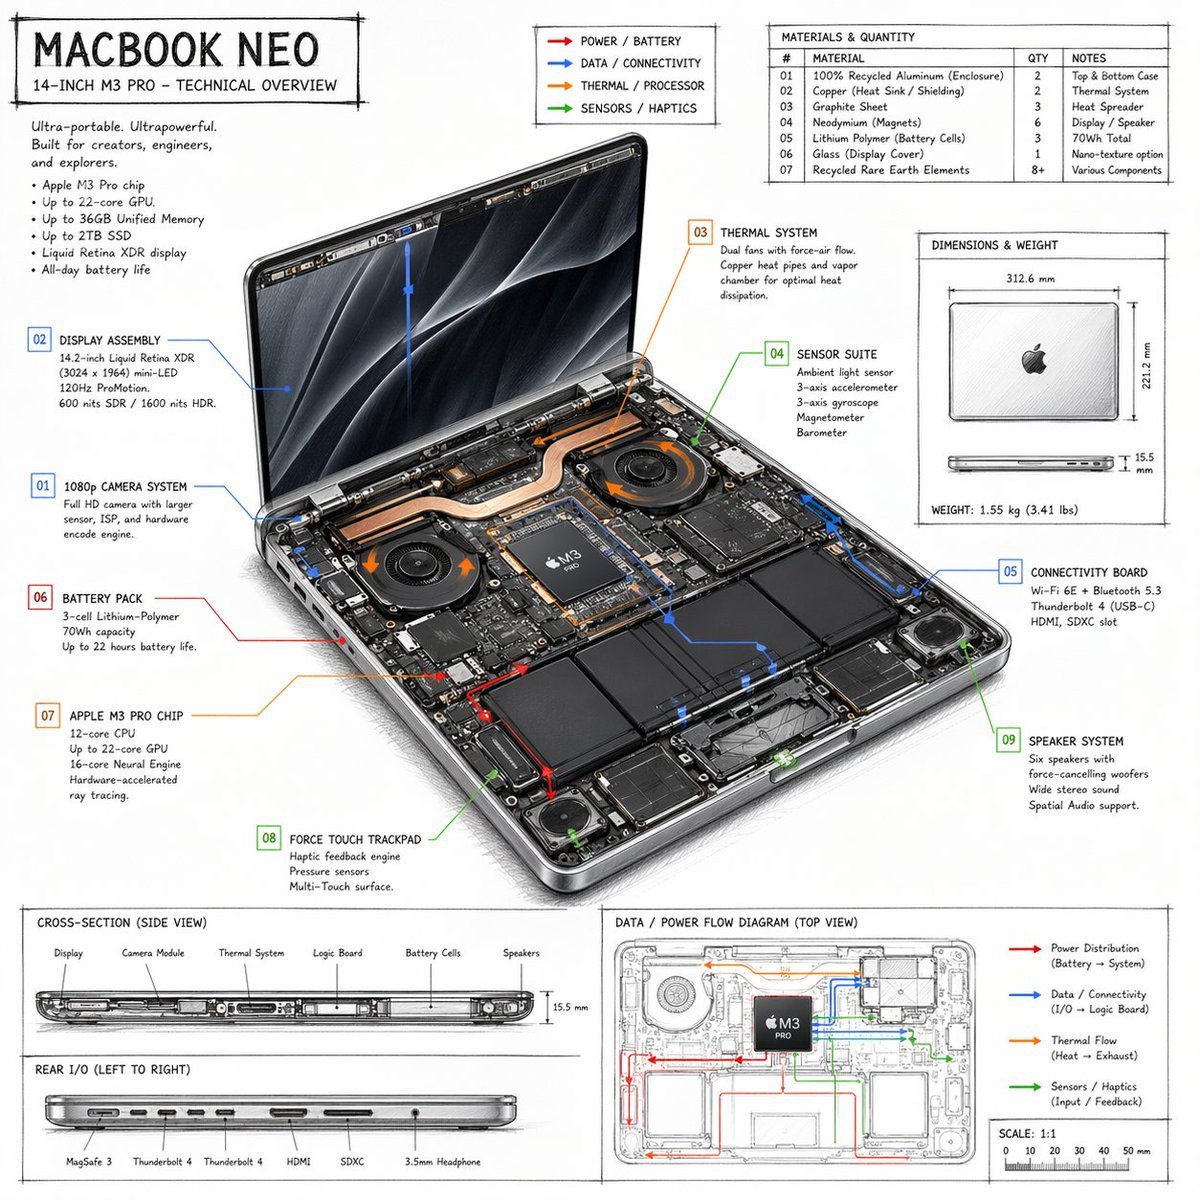
Laptop Technical Overview Infographic
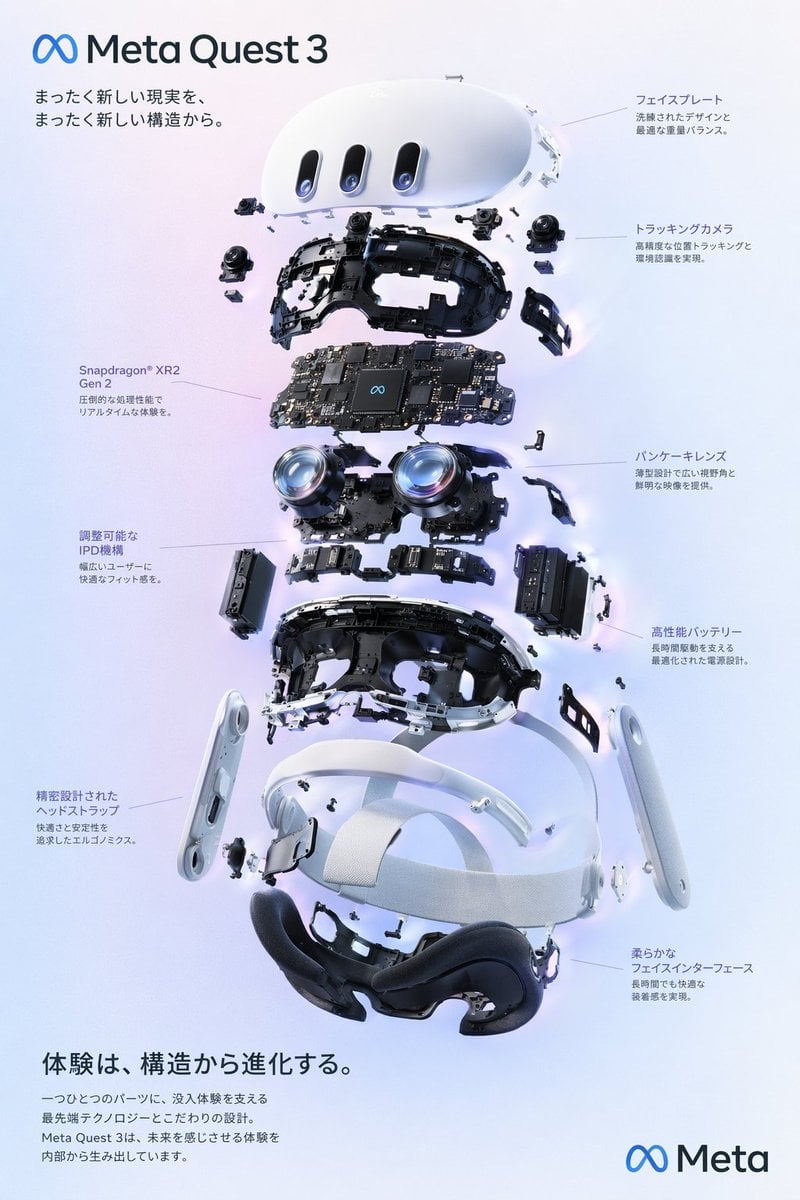
VR Headset Exploded View Poster

Meta Quest 3 Exploded View Poster
Make it yours
Camera Exploded View Infographic works as-is. These are the safest ways to change it without losing the look.
Change one field
Copy a single group, rewrite it, and generate again so you can see what that field is doing.
Keep the frame, change the subject
Hold the composition and light of Camera Exploded View Infographic, then swap wardrobe, props or the person for a new take.
| If the result… | Why | Fix |
|---|---|---|
| The result drifts from the preview | Too many fields changed at once. | Reuse Camera Exploded View Infographic as-is first, then change one group — subject, light, or setting. |
| GPT Image 2 ignores part of the JSON | Some models flatten or skip nested keys. | Keep the same values and paste them as a short paragraph instead. |
More GPT Image 2 templates
Other prompts made for GPT Image 2.

Six VTuber Japanese Logo Sheet

Realistic Portrait of Woman and Deer

The Vista Modular Condo Poster

AI Model Routing Comparison Infographic

2.5D Anime Art Board

Isometric Productivity Desk Scene

New York Double Exposure Poster
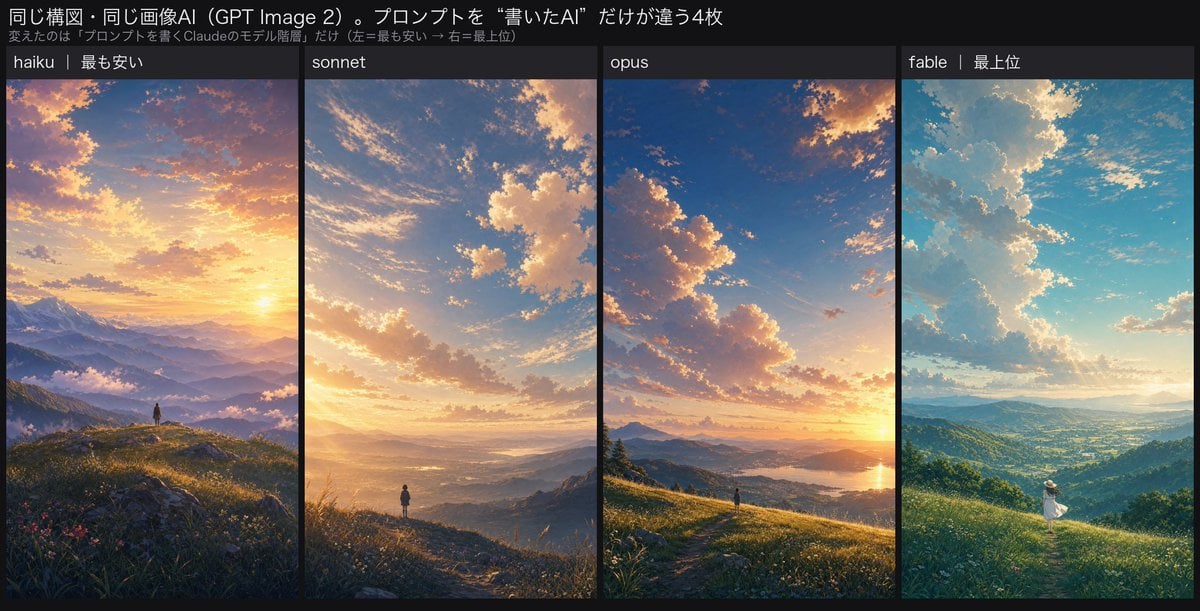
Four-Panel AI Landscape Comparison

Japanese Tatami Lifestyle Magazine Cover

NESCAFÉ Coffee Map Poster
More image prompts
Fresh picks from across the catalog.

Book Visualization Prompt
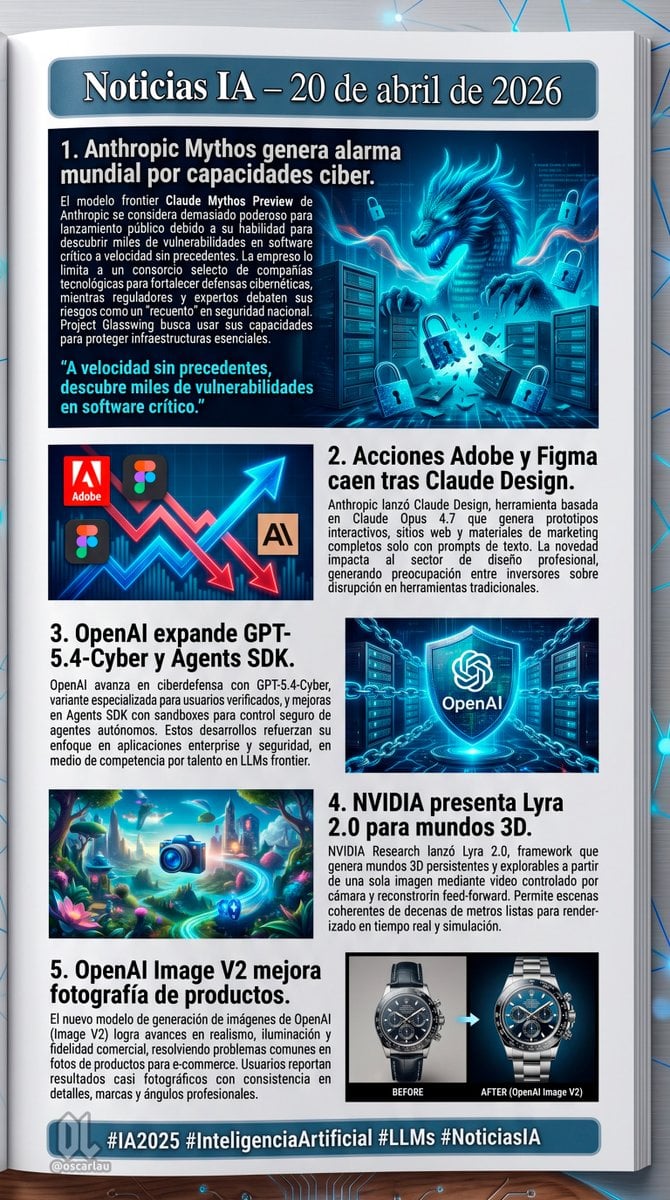
AI News Newsletter Page Layout

Personalized Manga Storyboard Page

Surreal Portrait of Humanoid Covered in Grass and Daisies

Kawaii Journal and Miniature Diorama Styles
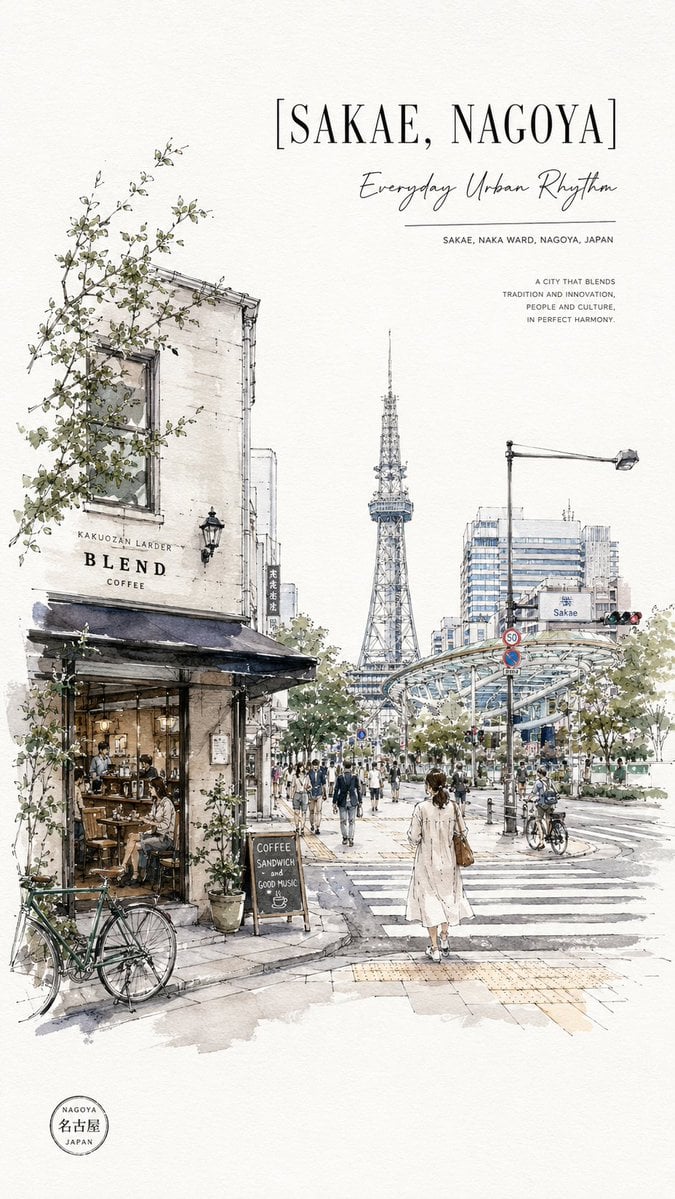
Sakae Nagoya Watercolor Travel Poster

photography

Surreal Porcelain Flora Figure Prompt

Cool Beauty Korean Idol Portrait

Epic Fantasy Warrior and Wolf
Browse template categories
Camera Exploded View Infographic questions
How do I use the Camera Exploded View Infographic template?
Add your photo if the template asks for one, edit the prompt if you like — the template's model and format are already selected — and press Generate. Your version opens in PicX Studio.
Can I customize the Camera Exploded View Infographic template?
Yes. You can change the subject, setting, lighting, mood, format, and available model controls before creating your image.
Is the Camera Exploded View Infographic template free?
Opening and editing this template is free. Generating uses credits, shown on the Generate button when you are signed in.
Which AI model should I use?
Start with GPT Image 2, which is the model associated with this template. You can compare another compatible model for a different finish.
Looking for something else? Browse all templates.

Your photo, any look
Thousands of ready templates for every top image and video model, from one credit balance.