
Storyboard Re-Render Workflow UI
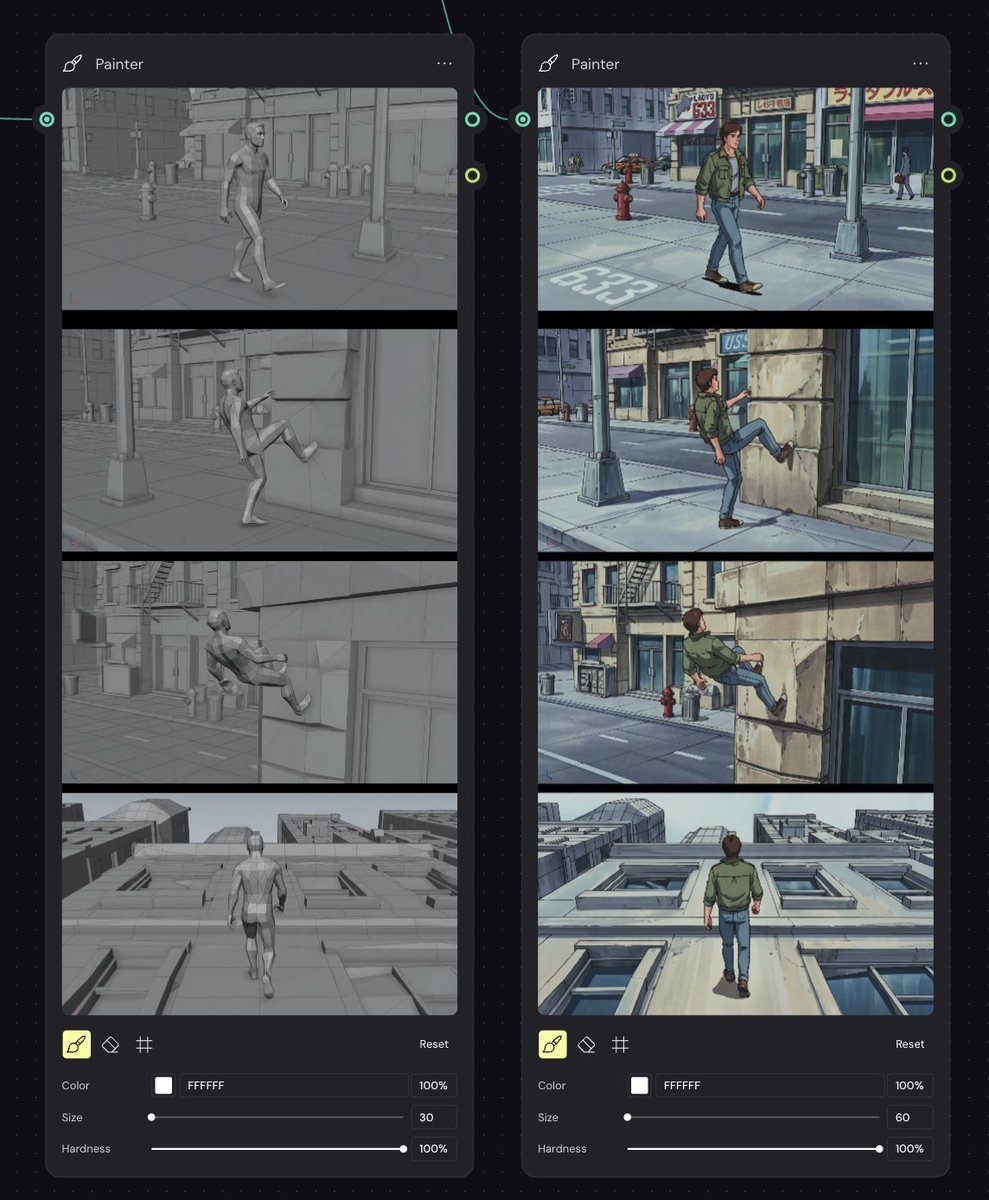
Creates a dark node-graph UI comparing a gray 3D motion storyboard with a 90s anime-style repaint for animation reference workflows.
- Prompt included
- Model and format preset
- Premium template
The prompt behind this image
Copy the exact prompt behind Storyboard Re-Render Workflow UI, or open it in the studio and make it yours.
Goal: Create a dark node-based workflow screenshot showing a side-by-side comparison between a gray 3D animation storyboard and a re-rendered 90s anime-style storyboard, as if inside a visual AI/compositing tool. Canvas: Landscape 4:3 screen capture on a nearly black dotted grid workspace. Add thin teal curved connector lines between nodes, with small circular input/output ports on the node edges. Layout: Place exactly 2 tall rounded-rectangle nodes side by side. Both nodes are titled “Painter” at the top left with a small brush/pen icon, and a three-dot menu at the top right. The left node shows the grayscale source storyboard; the right node shows the stylized output storyboard. Each node contains exactly 4 stacked widescreen storyboard frames separated by thick black dividers, followed by a compact painter control panel at the bottom. Left node storyboard frames: Render all 4 frames as monochrome gray 3D viewport/cinematic previz images with low-saturation clay materials and simple urban geometry. Frame 1: a generic male mannequin walks down a city sidewalk with storefronts, a hydrant, street pole, and road markings. Frame 2: the mannequin raises one leg toward a stone building wall as if beginning to climb. Frame 3: the mannequin is partially up the wall, body leaning back, legs pressed against the facade. Frame 4: rear view of the mannequin walking upward along a vertical building facade, with windows and rooftop perspective visible. Right node storyboard frames: Recreate the same 4 actions and camera angles, but as detailed {argument name="visual style" default="1990s hand-painted anime cel animation"}. Use a young adult male character with {argument name="character outfit" default="green jacket, blue jeans, and brown shoes"}, brown hair, and realistic anime proportions. Frame 1: he walks along a sunny city sidewalk past storefronts, a red fire hydrant, streetlight, and road marking “633”. Frame 2: he lifts his foot onto a stone wall beside a glass storefront. Frame 3: he climbs higher on the building facade, with street, hydrant, fire escape, and shop signs in the background. Frame 4: rear view as he walks vertically up the pale building wall, windows receding below him and rooftops visible ahead. Painter controls: At the bottom of each node show exactly 3 tool icons: a highlighted yellow brush icon, an eraser icon, and a grid/hash icon. Include a small “Reset” label on the right. Under the icons show exactly 3 labeled controls: Color with a white swatch and hex text “FFFFFF” plus “100%”; Size with a slider, left node value “30” and right node value “60”; Hardness with a slider and “100%”. Visual style: Crisp UI mockup, dark charcoal panels, rounded corners, subtle shadows, muted teal connector accents, precise alignment. The left storyboard should look like a gray 3D render, while the right storyboard should look like a polished anime repaint with blue-gray shadows, ink outlines, hand-painted backgrounds, and cinematic framing. Constraints: Use exactly 2 nodes, exactly 4 storyboard frames per node, and exactly 3 controls per node. Keep all visible UI text in English. Do not add extra panels, logos, watermarks, or explanatory captions outside the node interface.
How to use Storyboard Re-Render Workflow UI in 3 steps
- 1Upload ImagePNG, JPG or paste
Add your photo
Upload the photo the template builds on. The prompt, model and format are already set.
- 2…a portrait of your subject in softgolden-hour light, 85mm…
Personalize
Edit the subject and creative details for your destination.
- 3Generate
Generate
Press Generate — your image is created in PicX Studio, so you can compare it with the original and refine one variable at a time.
More like this
Templates with the same subject, style or setup. Open one to see its prompt.
Headphones Lifestyle Nine Panel Grid
Workflow for Style Transfer and Storyboard Generation
Seedance - Storyboard to Movie
Editable PPT Workflow Infographic
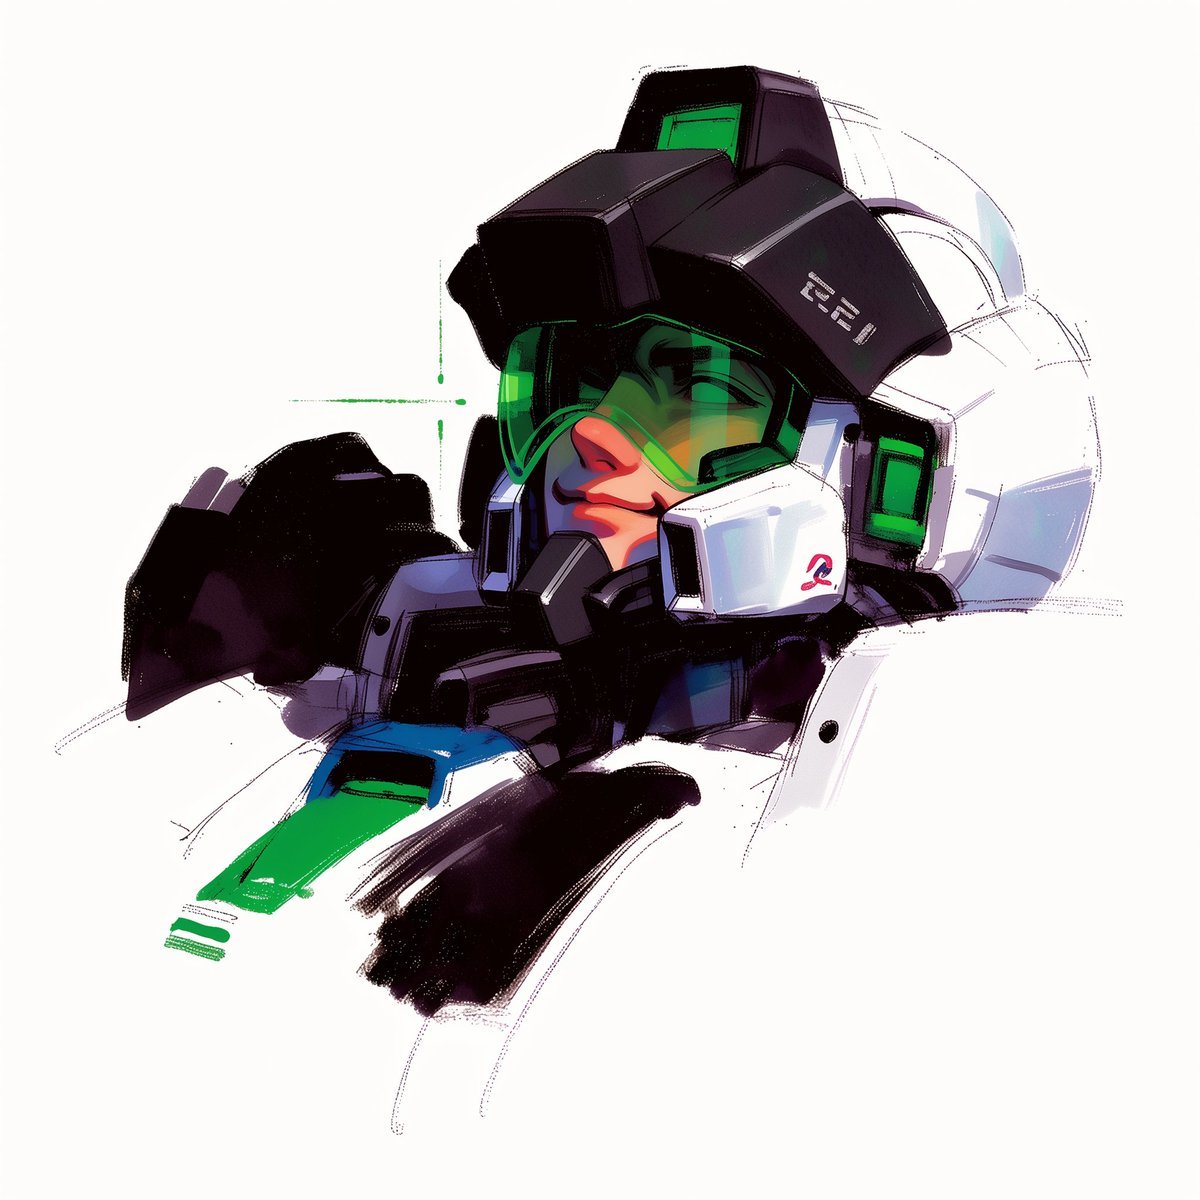
To hyper-realistic 3D CGI collectible figurine render

Isometric Workflow Automation Illustration
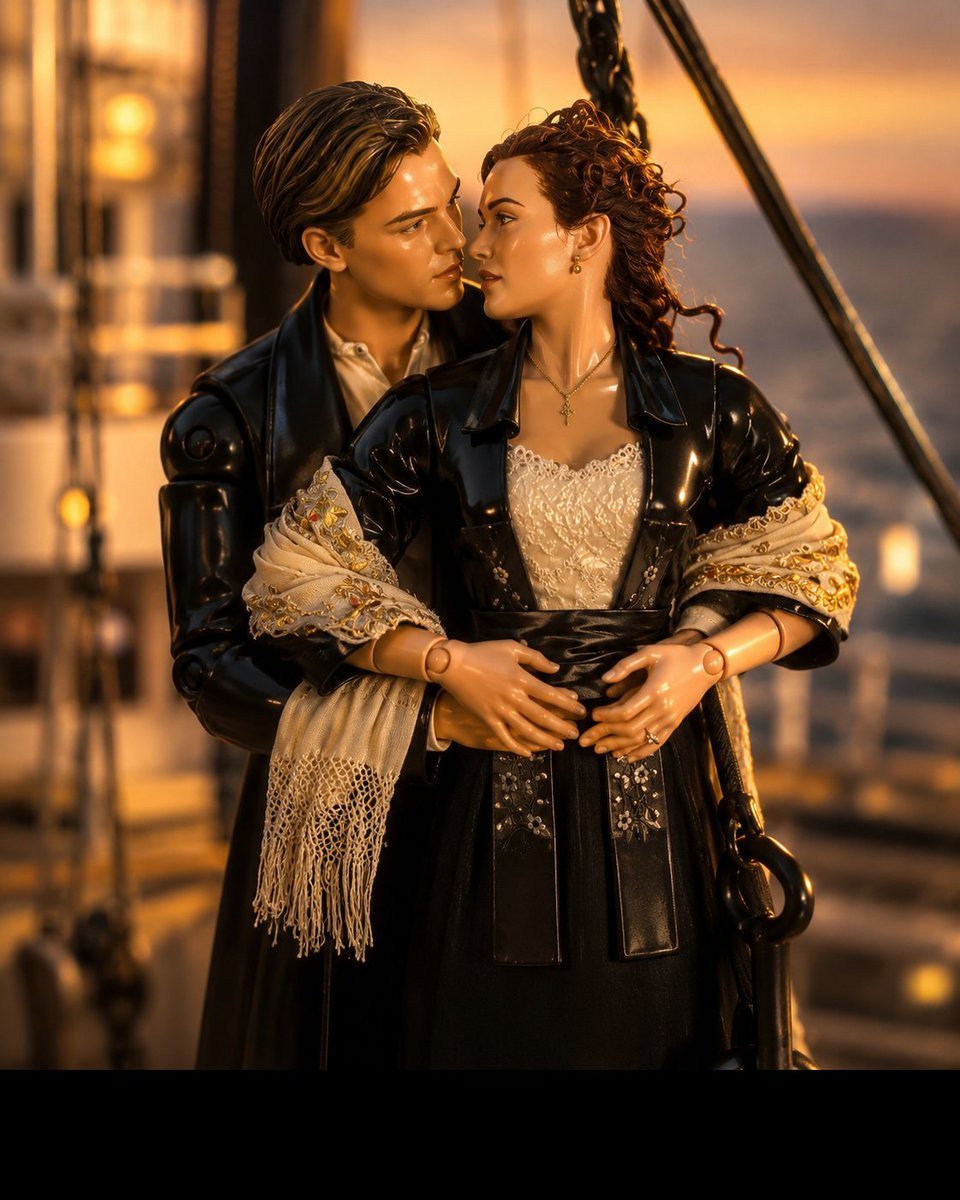
3D Collectible Toy Ocean Liner Render
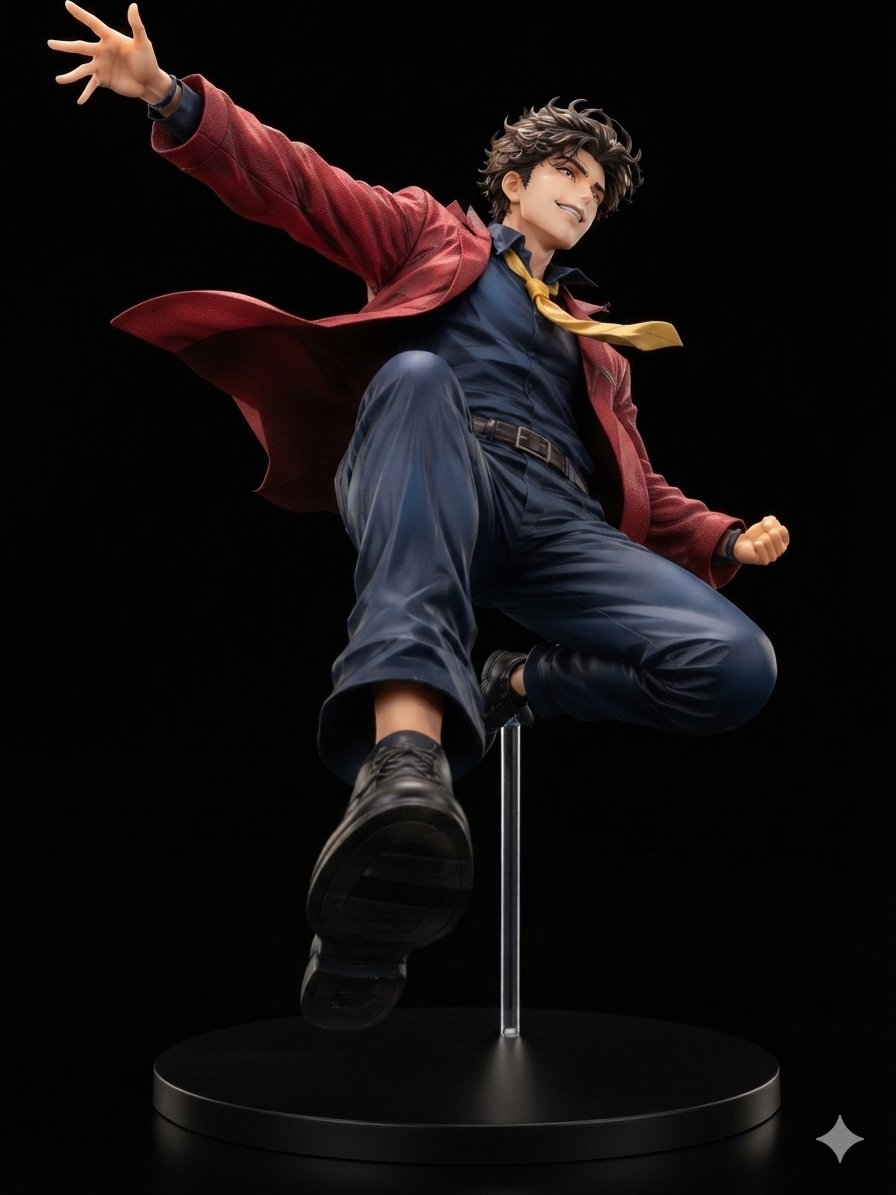
Dynamic Anime Hero Figure Render
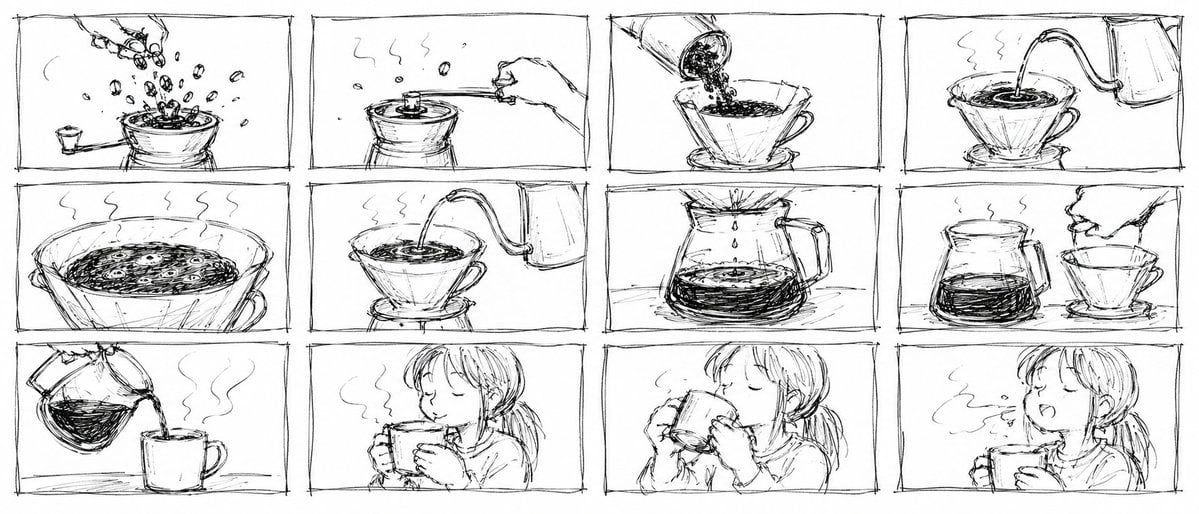
Pencil Sketch Coffee Storyboard
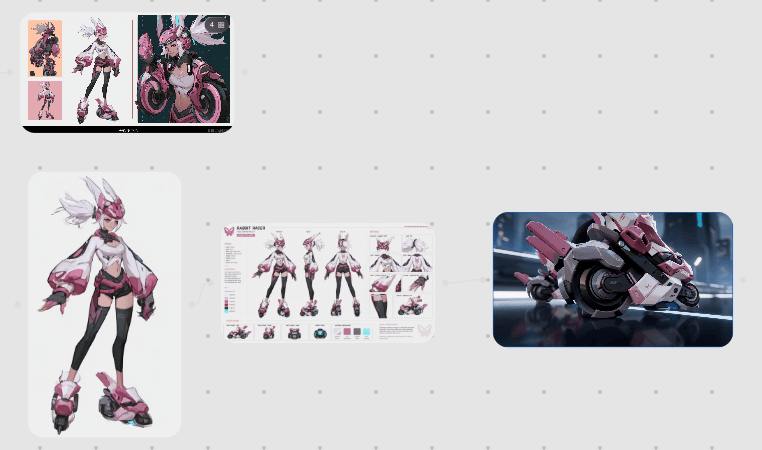
Rabbit Racer Workflow Board
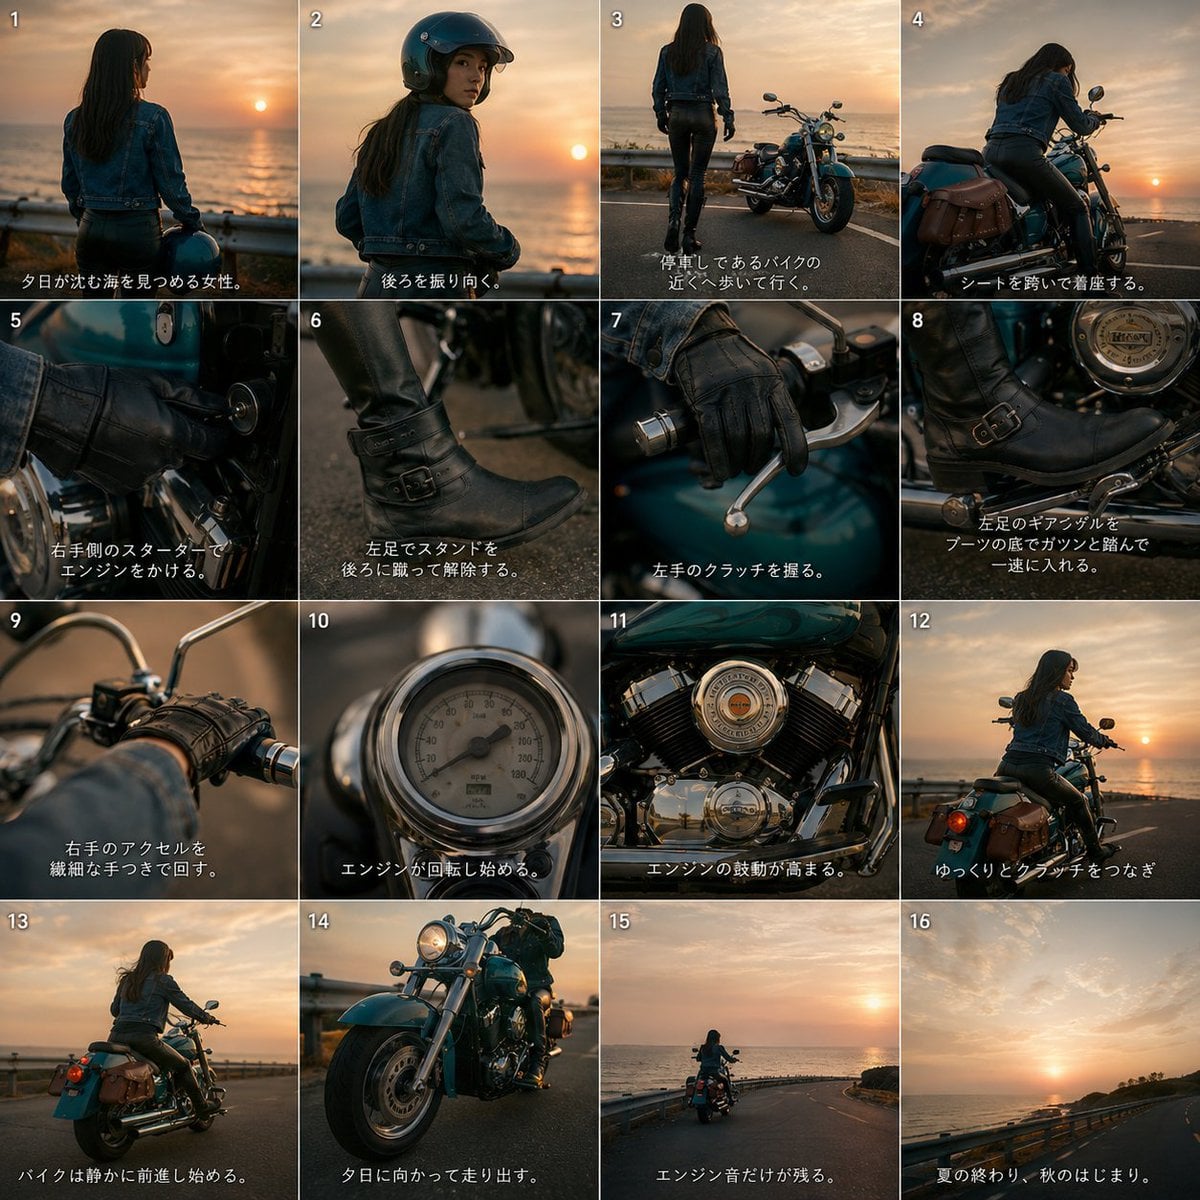
Cinematic Motorcycle Storyboard
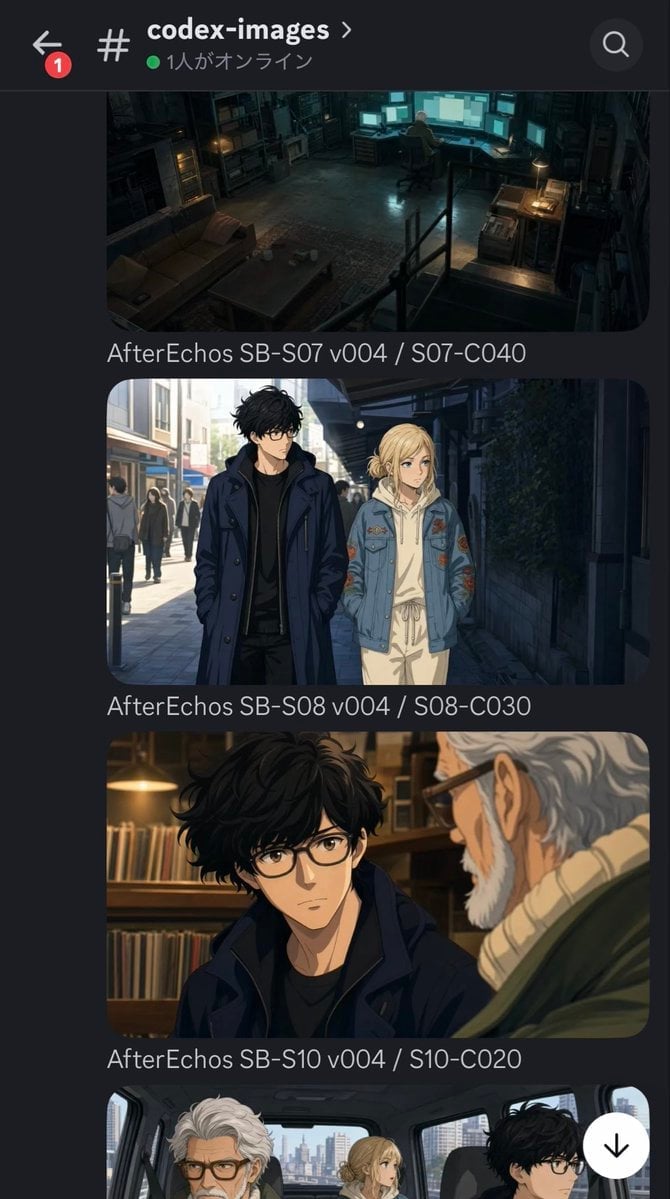
Discord Anime Storyboard Feed
Make it yours
Storyboard Re-Render Workflow UI works as-is. These are the safest ways to change it without losing the look.
Change one field
Copy a single group, rewrite it, and generate again so you can see what that field is doing.
Keep the frame, change the subject
Hold the composition and light of Storyboard Re-Render Workflow UI, then swap wardrobe, props or the person for a new take.
| If the result… | Why | Fix |
|---|---|---|
| The result drifts from the preview | Too many fields changed at once. | Reuse Storyboard Re-Render Workflow UI as-is first, then change one group — subject, light, or setting. |
| The model over-stylizes the scene | The prose prompt leaves finish and camera underspecified. | Add one camera or lighting sentence and stay on GPT Image 2. |
More GPT Image 2 templates
Other prompts made for GPT Image 2.
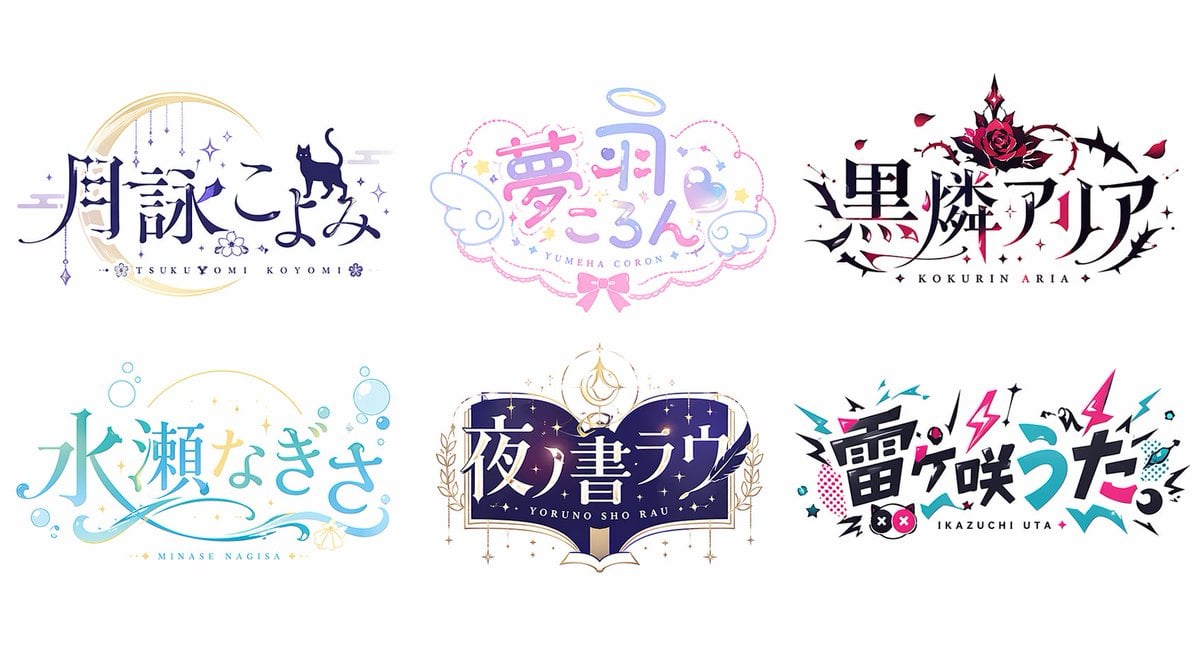
Six VTuber Japanese Logo Sheet
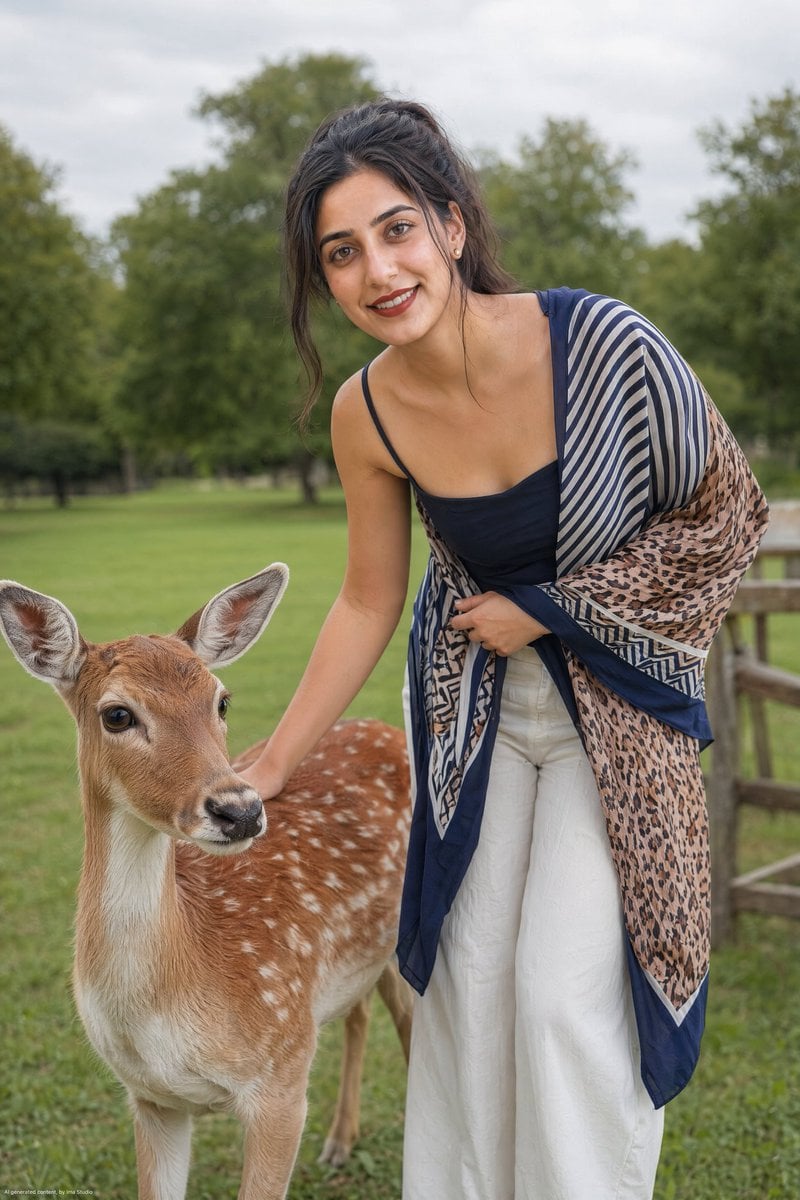
Realistic Portrait of Woman and Deer
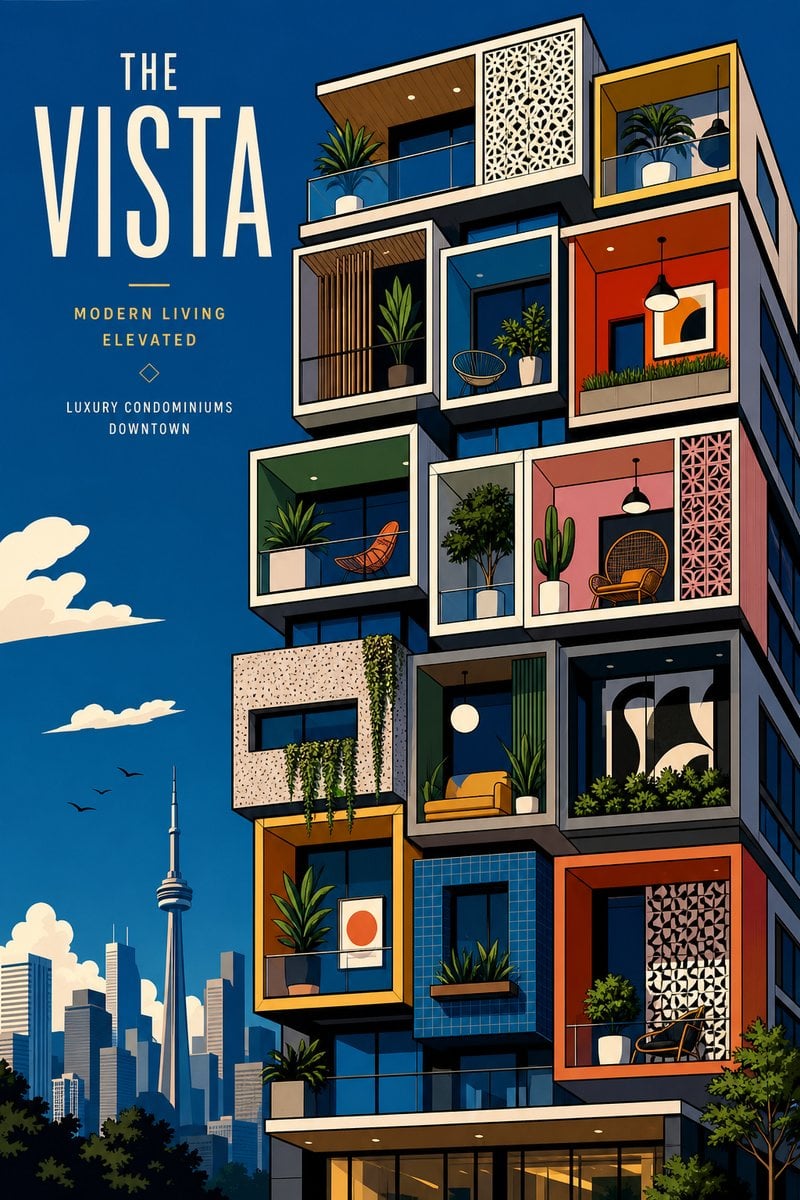
The Vista Modular Condo Poster
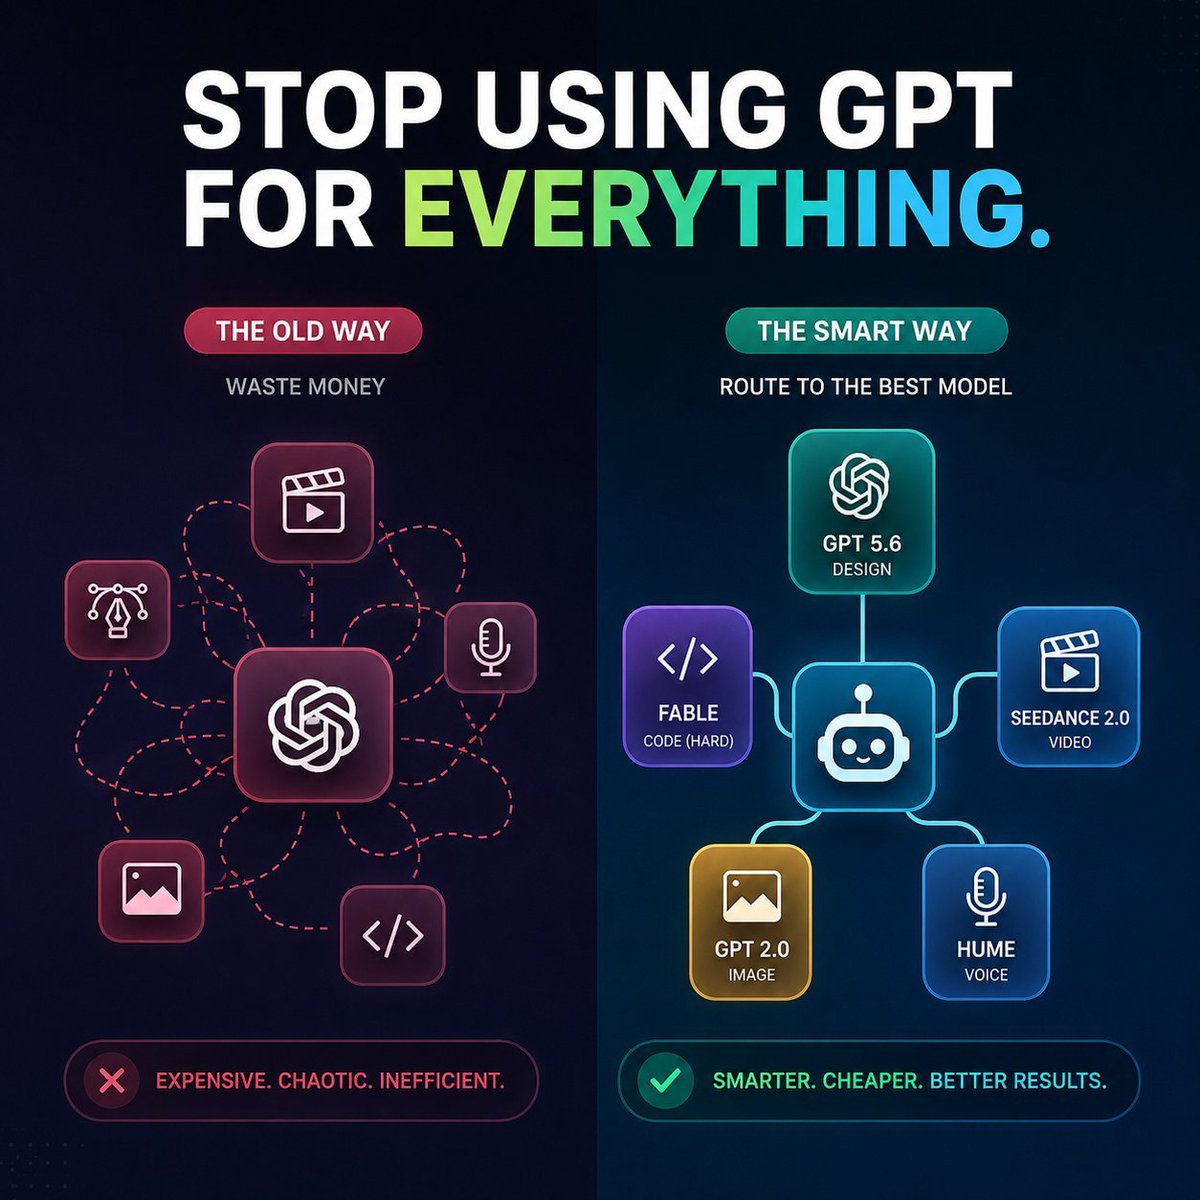
AI Model Routing Comparison Infographic
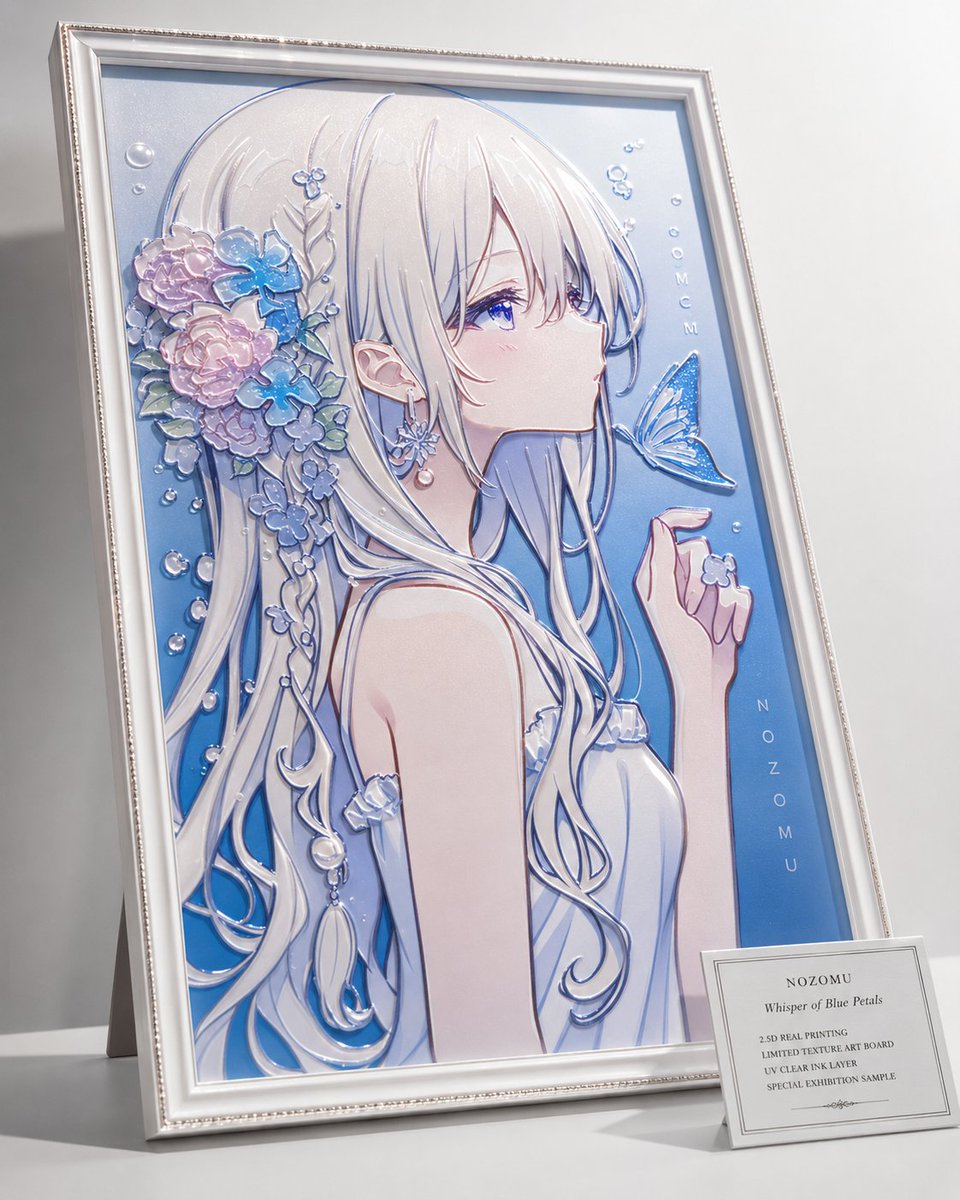
2.5D Anime Art Board
Isometric Productivity Desk Scene
New York Double Exposure Poster
Four-Panel AI Landscape Comparison
Japanese Tatami Lifestyle Magazine Cover
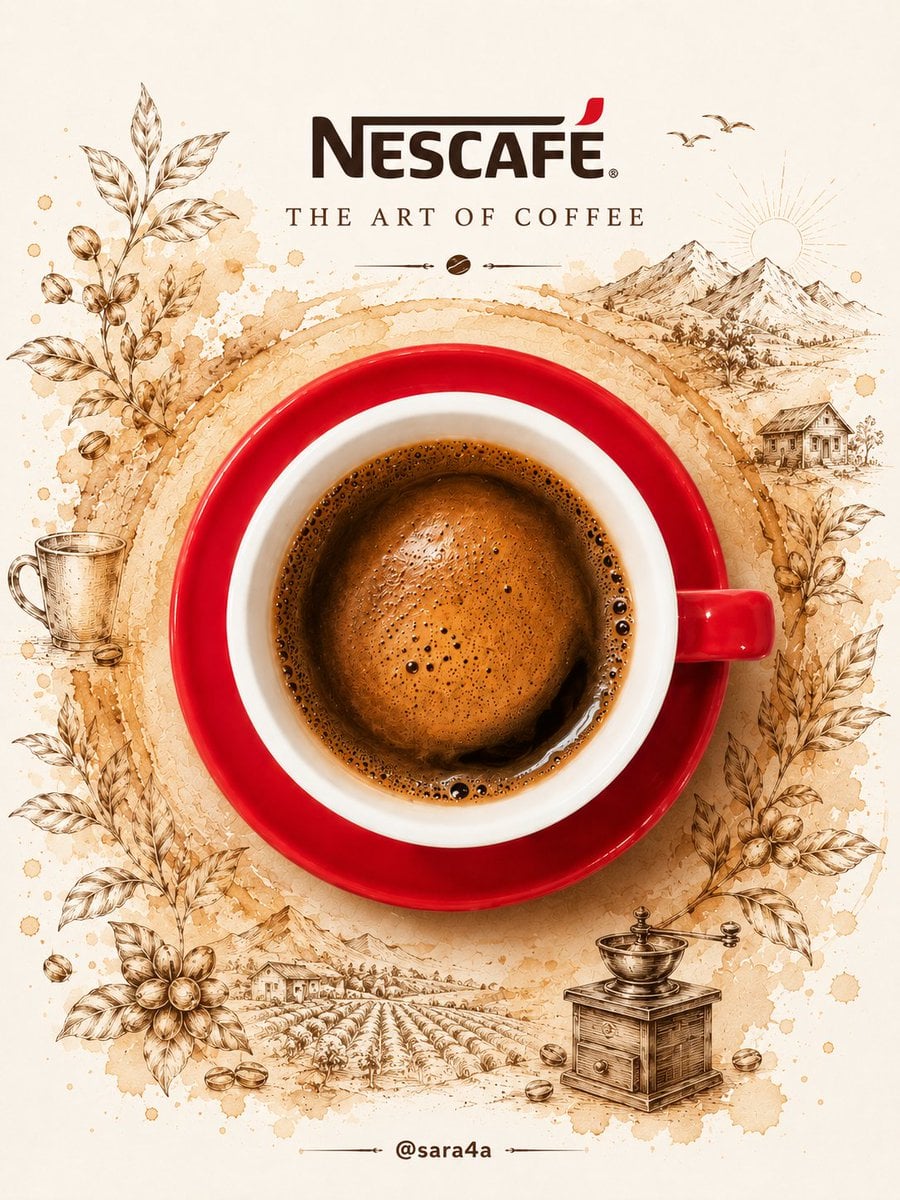
NESCAFÉ Coffee Map Poster
More image prompts
Fresh picks from across the catalog.
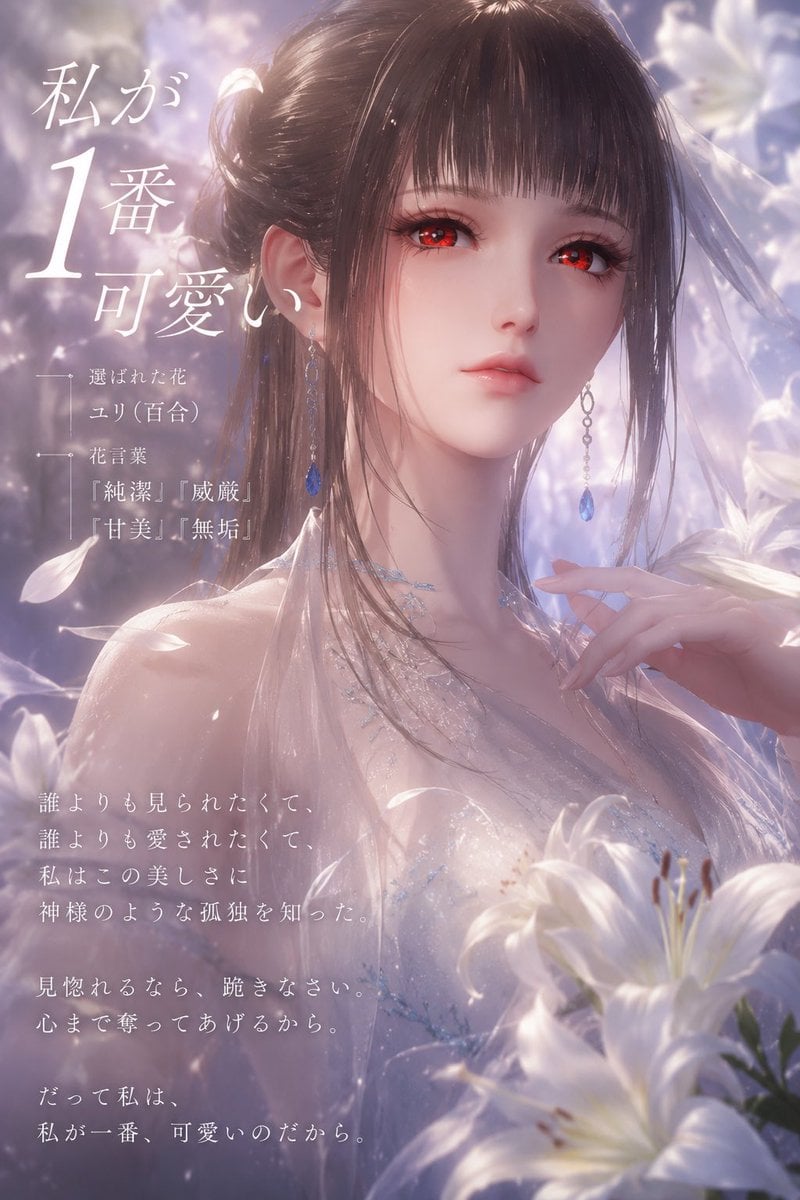
Dreamy Lily Flower-Language Poster
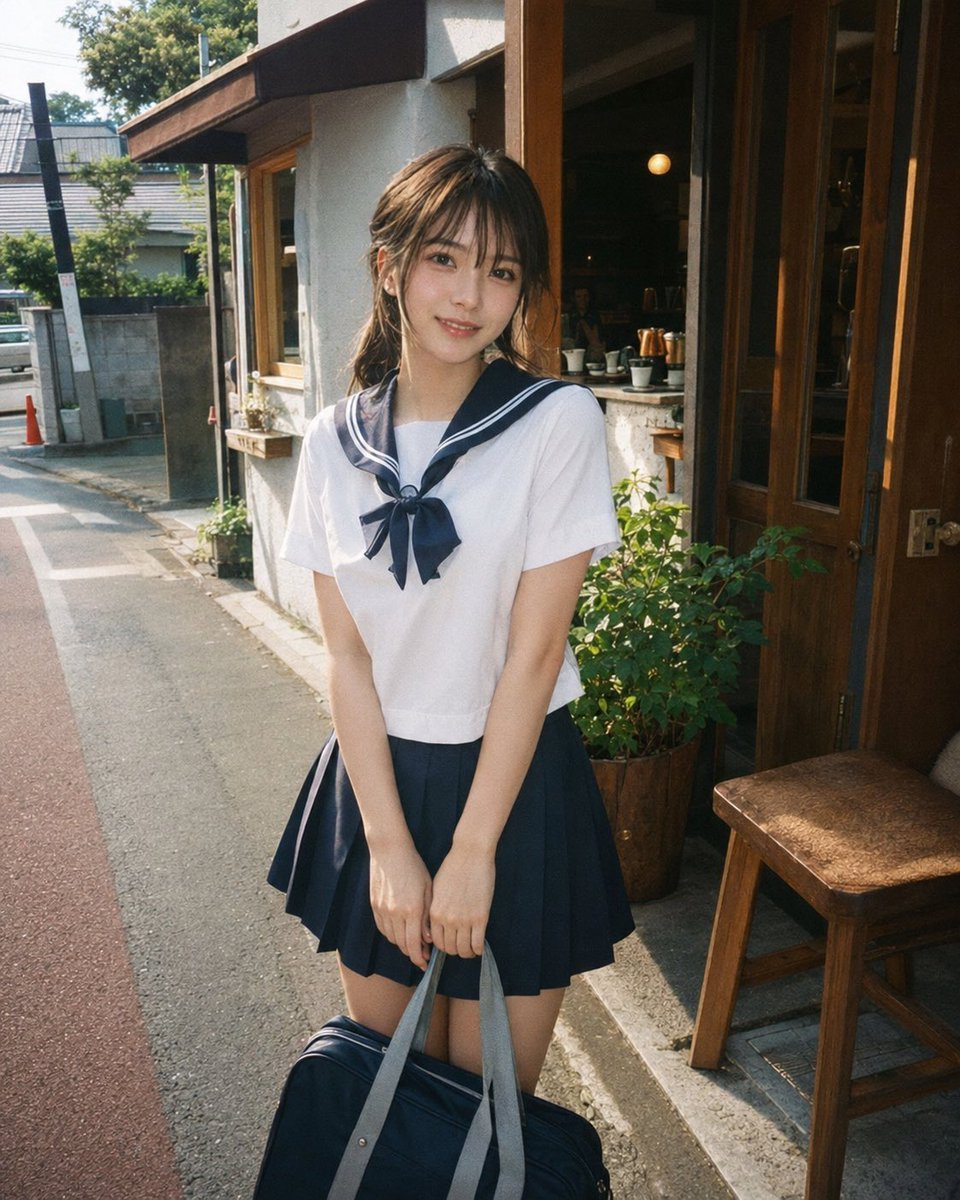
Disposable Film Sailor Cosplay Portrait
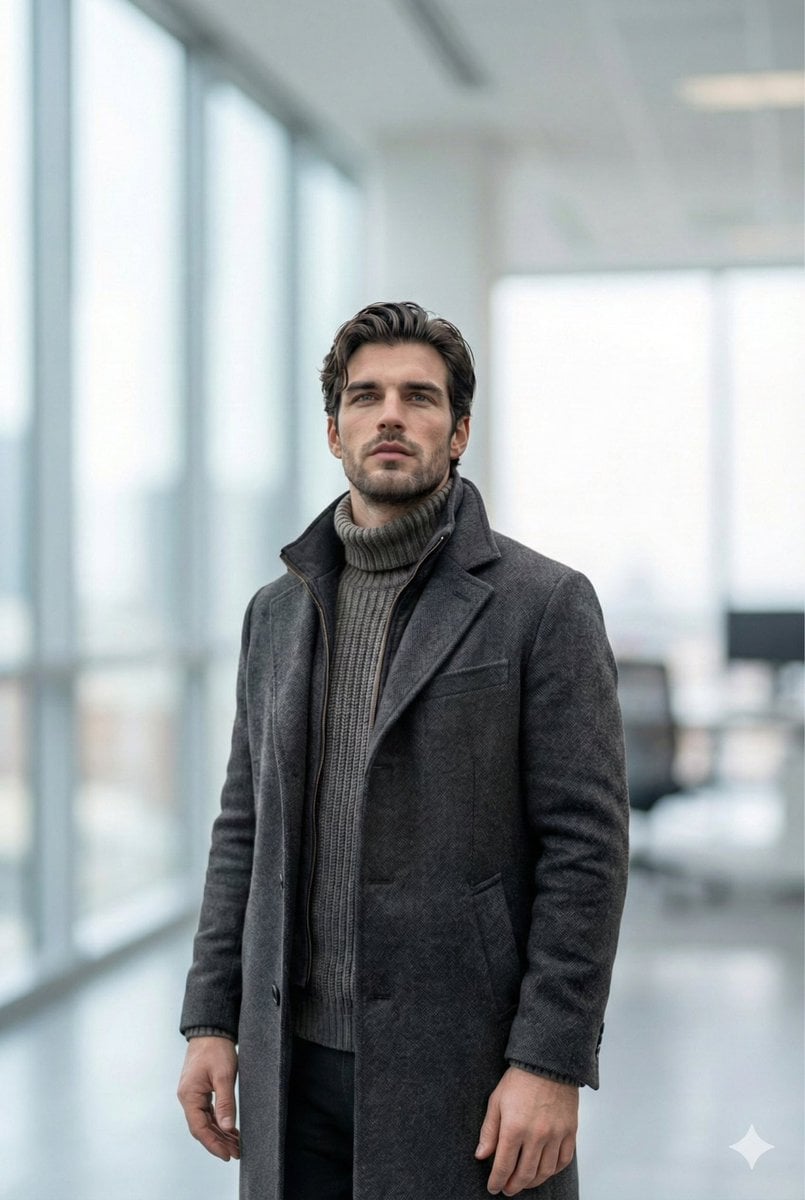
Selfie to Professional LinkedIn Headshot Conversion
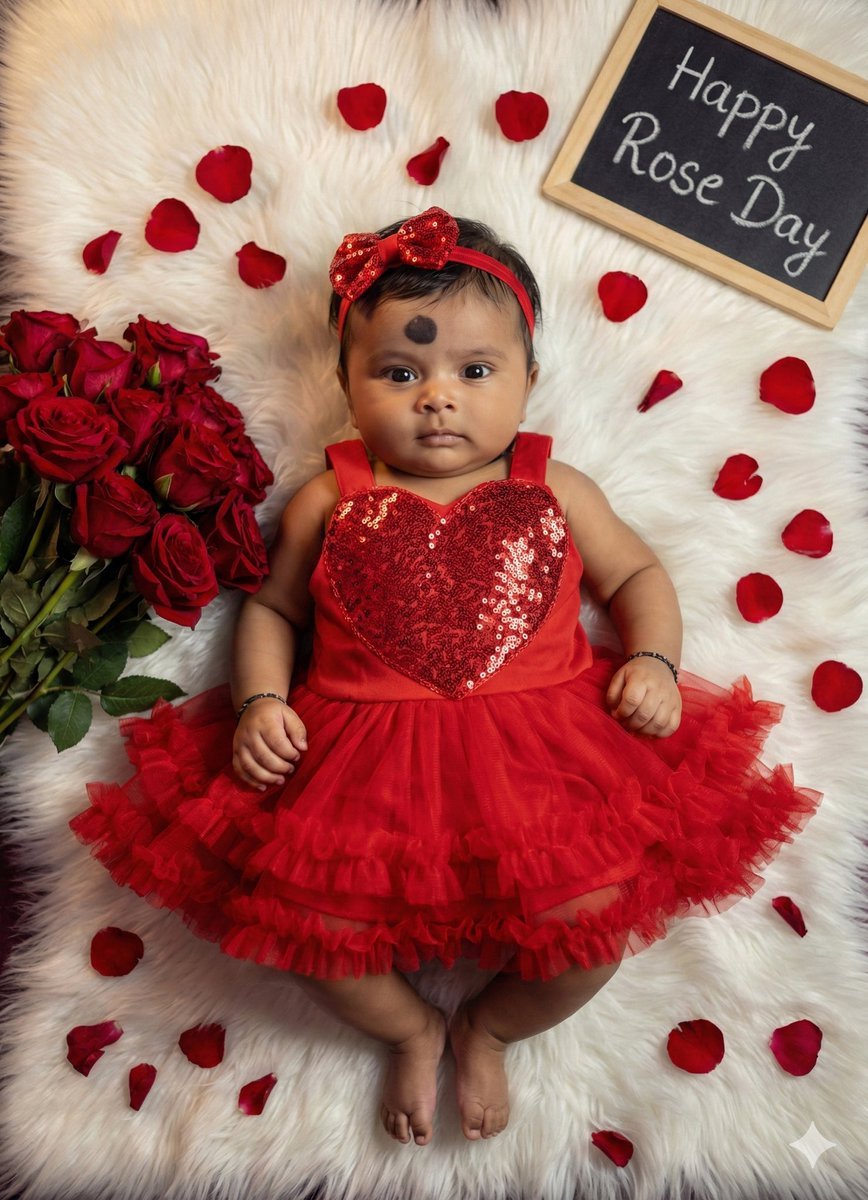
Valentine's Day Baby Girl Portrait Prompt
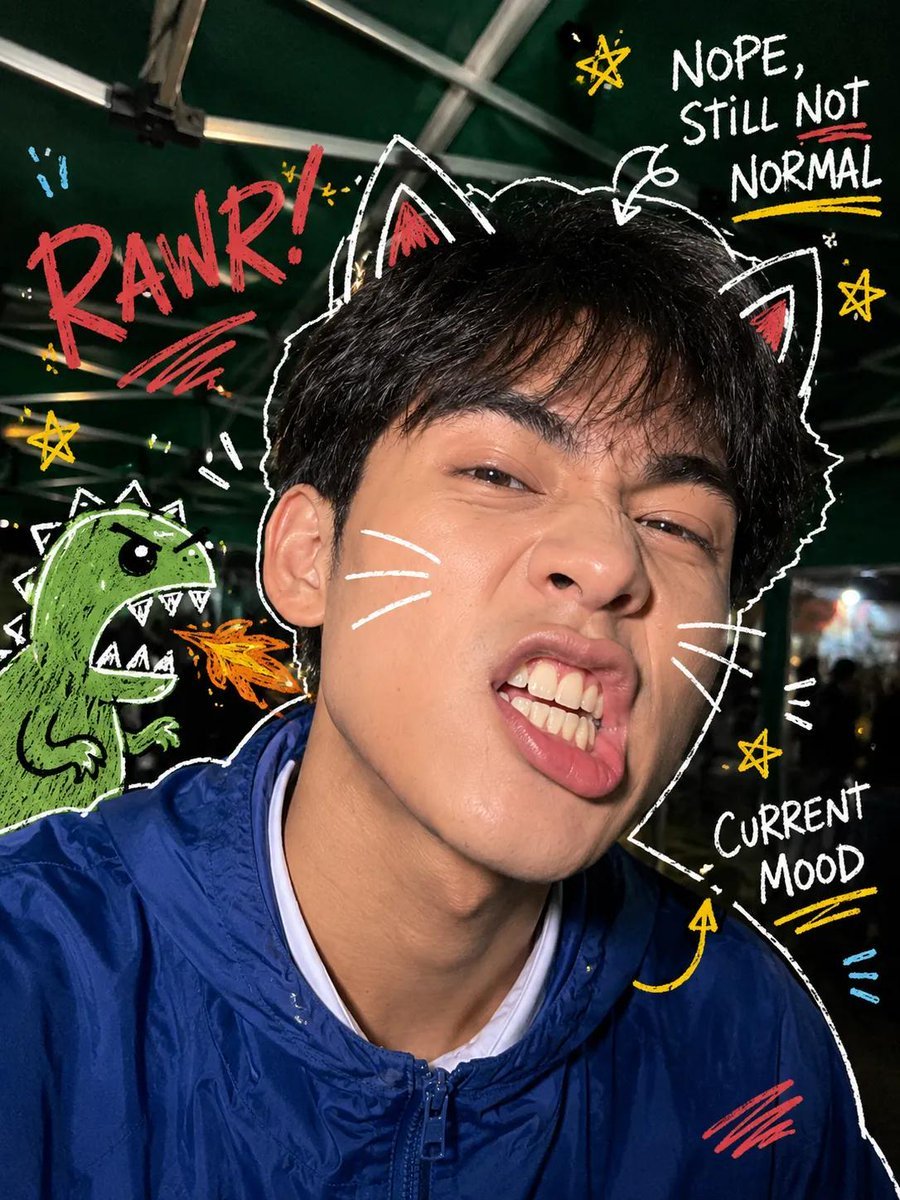
Y2K Nighttime Selfie with Doodles
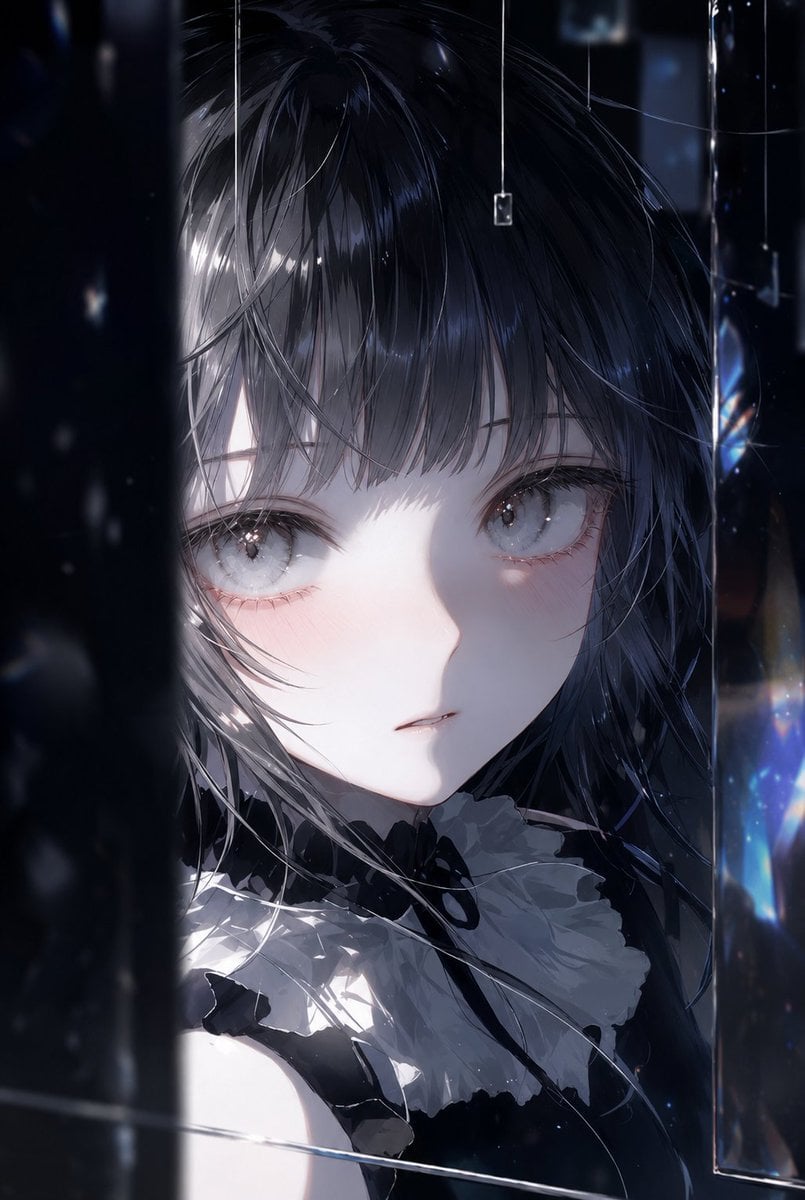
Illustration Refinement and Quality Upgrade
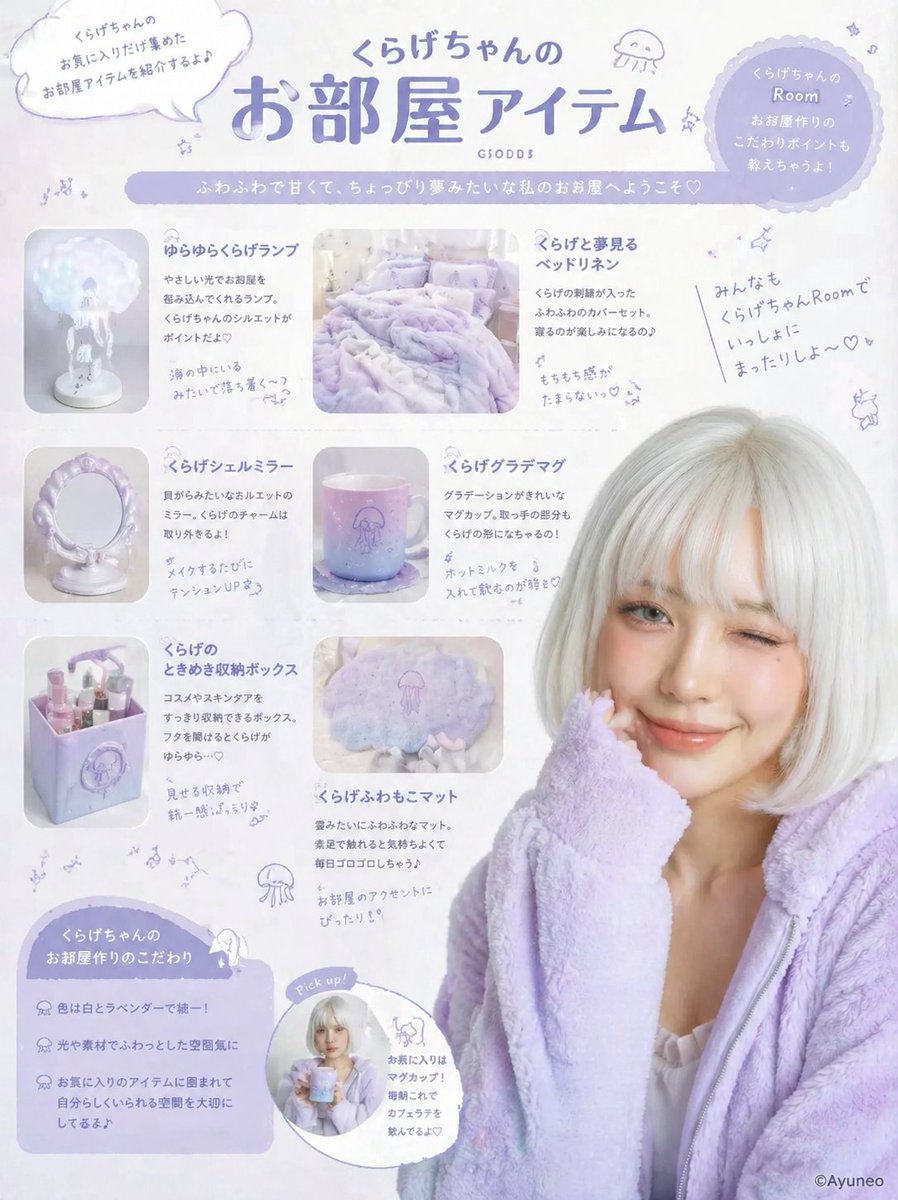
Gpt2 Product Marketing Pastel Jellyfish Room Goods Poster
Exaggerated Hourglass Figure in Grocery Aisle
Detailed Cityscape Pencil Sketch
Classical Chinese Phone Case Design
Browse template categories
Storyboard Re-Render Workflow UI questions
How do I use the Storyboard Re-Render Workflow UI template?
Add your photo if the template asks for one, edit the prompt if you like — the template's model and format are already selected — and press Generate. Your version opens in PicX Studio.
Can I customize the Storyboard Re-Render Workflow UI template?
Yes. You can change the subject, setting, lighting, mood, format, and available model controls before creating your image.
Is the Storyboard Re-Render Workflow UI template free?
Opening and editing this template is free. Generating uses credits, shown on the Generate button when you are signed in.
Which AI model should I use?
Start with GPT Image 2, which is the model associated with this template. You can compare another compatible model for a different finish.
Looking for something else? Browse all templates.
Your photo, any look
Thousands of ready templates for every top image and video model, from one credit balance.