
Dark UI Character Sheet Evaluation
Generates a Japanese dark-mode comparison dashboard for evaluating character-sheet creation routes from a reference image.
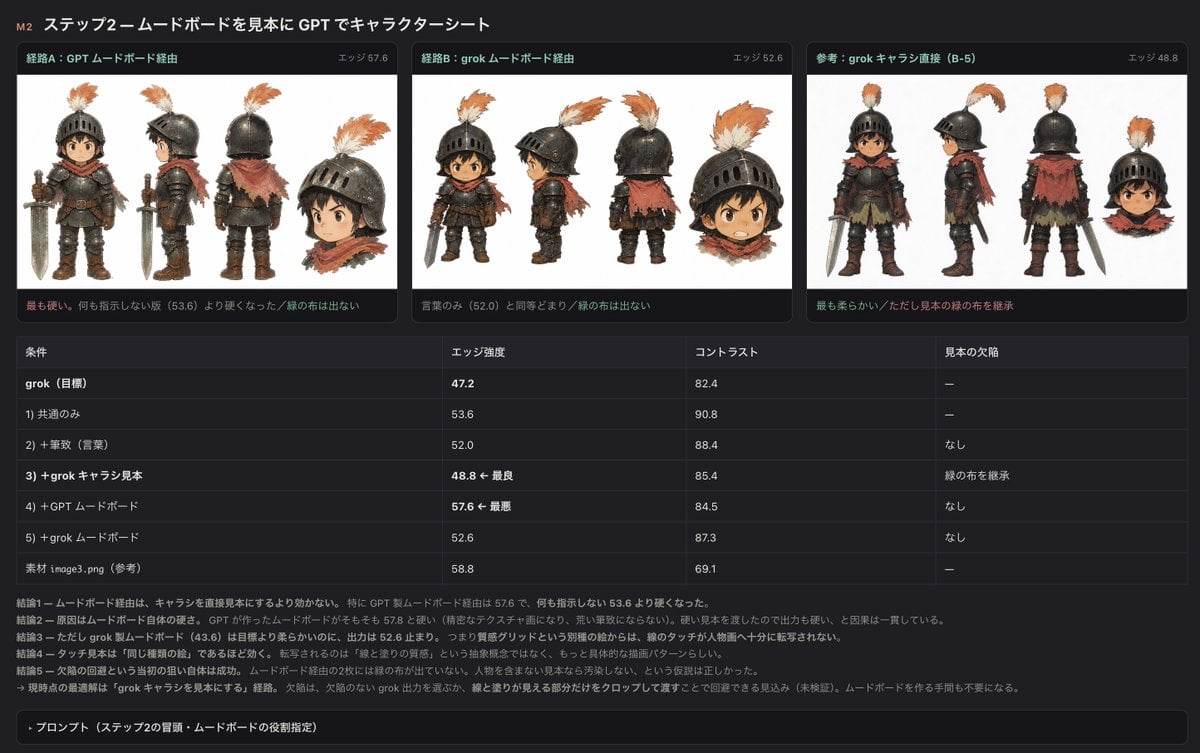
- Prompt included
- Model and format preset
- Free template
The prompt behind this image
Copy the exact prompt behind Dark UI Character Sheet Evaluation, or open it in the studio and make it yours.
Using REFERENCE_0 as the source material, create a dark-mode Japanese evaluation report slide that compares attempts to generate a character sheet while preserving the same rough watercolor/ink illustration style. Goal: Turn the reference into a structured experiment-summary dashboard titled 「M2 ステップ2—ムードボードを見本に GPT でキャラクターシート」. Keep the subject as the small armored child character from the reference, but present the result as an analysis screen rather than a single illustration. Canvas and style: Use a wide 16:9 dark UI layout with charcoal background, thin dividers, rounded cards, small Japanese UI text, orange/green accent labels, and embedded white image panels. Make it look like a screenshot of an internal comparison report. Top section: Create exactly 3 comparison cards across the top. Each card contains a white character-sheet panel showing the same character in multiple views and a small detached head/bust crop. Use these card titles and edge scores: 1. 「経路A:GPT ムードボード経由」 with 「エッジ 57.6」 2. 「経路B:grok ムードボード経由」 with 「エッジ 52.6」 3. 「参考:grok キャラ直接(B-5)」 with 「エッジ 48.8」 Under each card add one short Japanese note line; the third card should mention that it is the softest and inherits the sample’s green cloth. Middle section: Add a comparison table with exactly 4 columns labeled 「条件」, 「エッジ強度」, 「コントラスト」, 「見本の欠陥」. Include exactly 7 data rows: 1. 「grok(目標)」 — 47.2 — 82.4 — 「—」 2. 「1) 共通のみ」 — 53.6 — 90.8 — 「—」 3. 「2) + 筆致(言葉)」 — 52.0 — 88.4 — 「なし」 4. 「3) + grok キャラ見本」 — 「48.8 ← 最良」 — 85.4 — 「緑の布を継承」 5. 「4) + GPT ムードボード」 — 「57.6 ← 最悪」 — 84.5 — 「なし」 6. 「5) + grok ムードボード」 — 52.6 — 87.3 — 「なし」 7. 「素材 image3.png(参考)」 — 58.8 — 69.1 — 「—」 Bottom section: Add several short Japanese conclusion lines beginning with 「結論1」 through 「結論5」, explaining that moodboard routes are not very effective, direct character reference works better, and the practical workaround is to avoid moodboards and use the Grok output with cropping. Finish with a collapsible dark bar labeled 「プロンプト(ステップ2の冒頭:ムードボードの役割指定)」. Constraints: Preserve the character identity and rough painted look from REFERENCE_0 in the embedded panels, but do not recreate the full original reference screenshot. Do not add unrelated characters. Use crisp UI typography and readable Japanese labels. The main title topic may be customized as {argument name="report title" default="M2 ステップ2—ムードボードを見本に GPT でキャラクターシート"}; the three route labels may be customized as {argument name="route labels" default="経路A:GPT ムードボード経由 / 経路B:grok ムードボード経由 / 参考:grok キャラ直接(B-5)"}; the character-sheet subject may be customized as {argument name="character subject" default="the small armored child knight from the reference"}; the table metric emphasis may be customized as {argument name="best and worst edge notes" default="48.8 ← 最良, 57.6 ← 最悪"}.
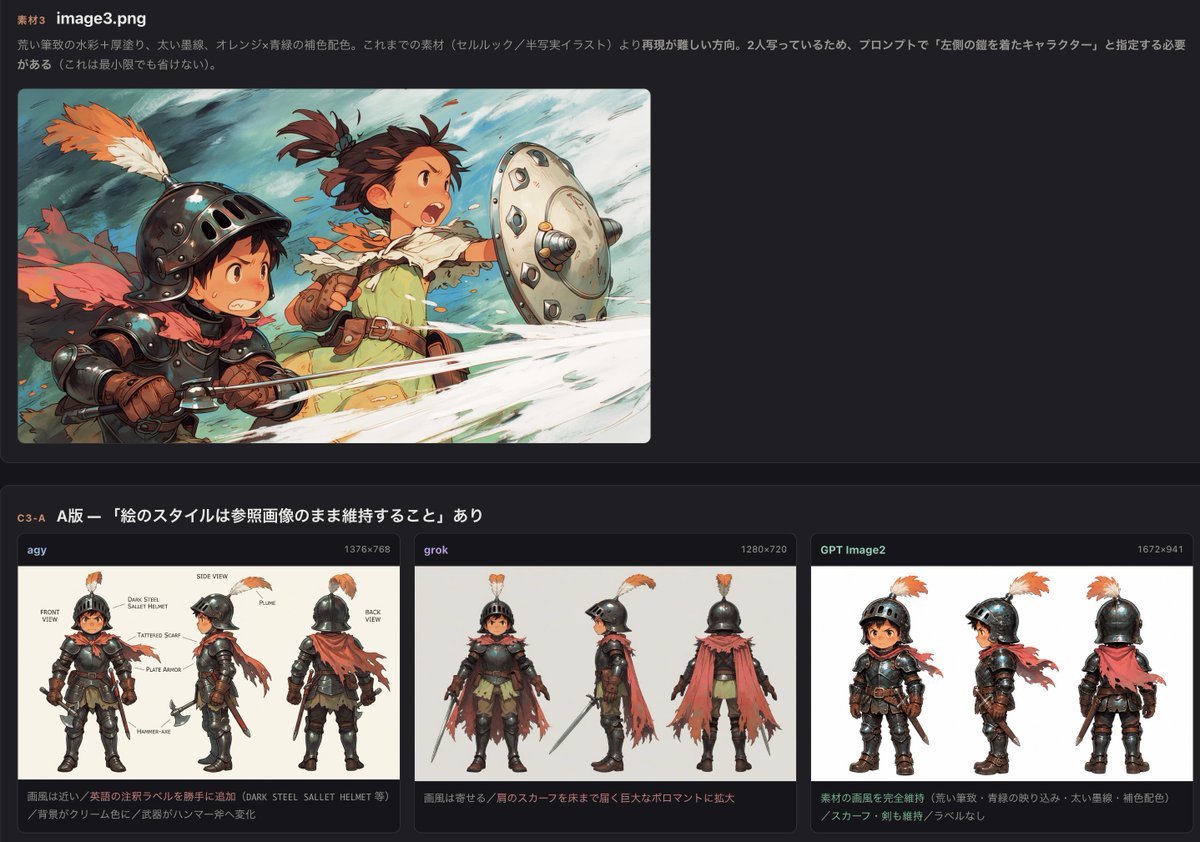
Reference images included
Dark UI Character Sheet Evaluation needs input media to work. They load alongside the prompt when you open it in the studio.
How to use Dark UI Character Sheet Evaluation in 3 steps
- 1Upload ImagePNG, JPG or paste
Add your photo
Upload the photo the template builds on. The prompt, model and format are already set.
- 2…a portrait of your subject in softgolden-hour light, 85mm…
Personalize
Edit the subject and creative details for your destination.
- 3Generate
Generate
Press Generate — your image is created in PicX Studio, so you can compare it with the original and refine one variable at a time.
More like this
Templates with the same subject, style or setup. Open one to see its prompt.
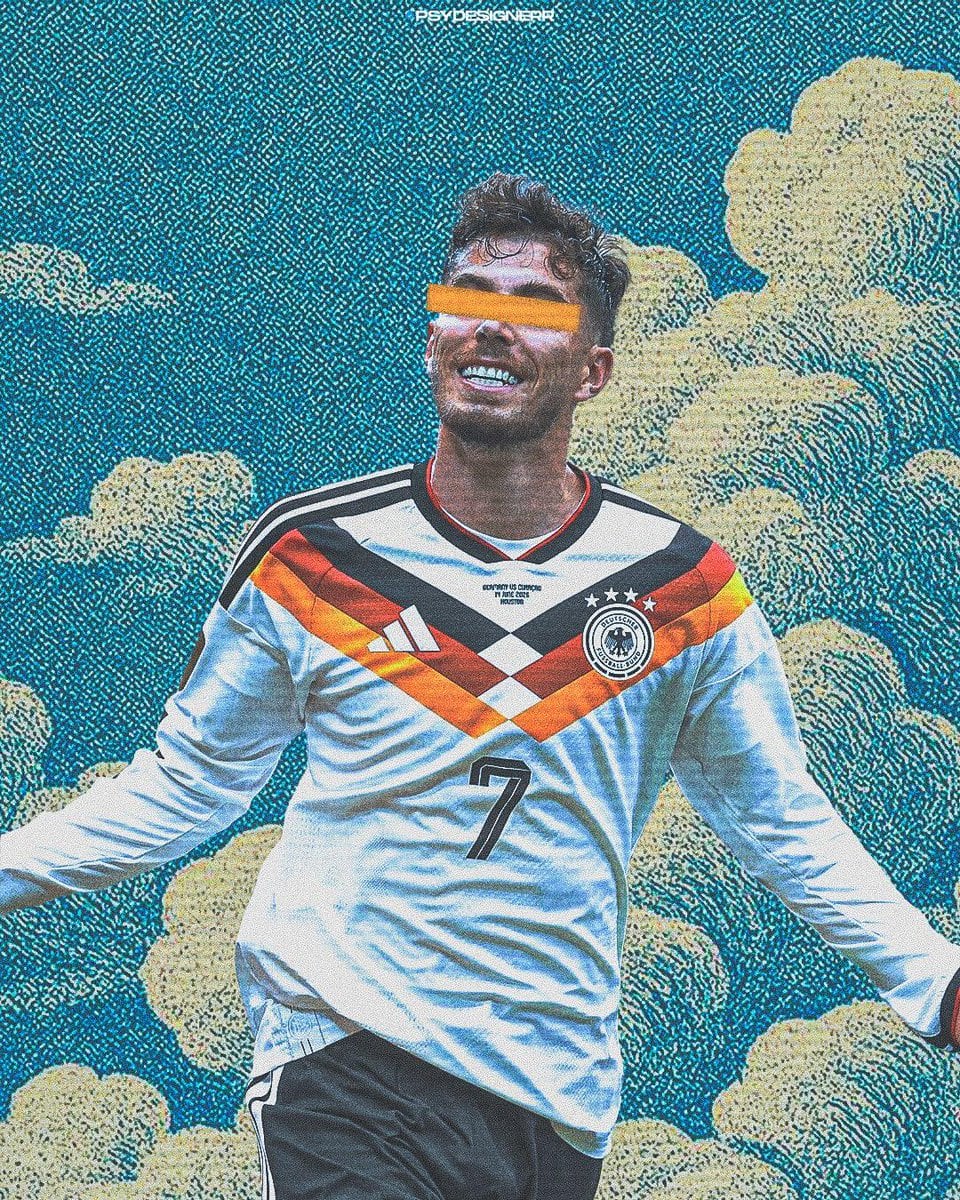
Selective Color Monochrome Football Poster
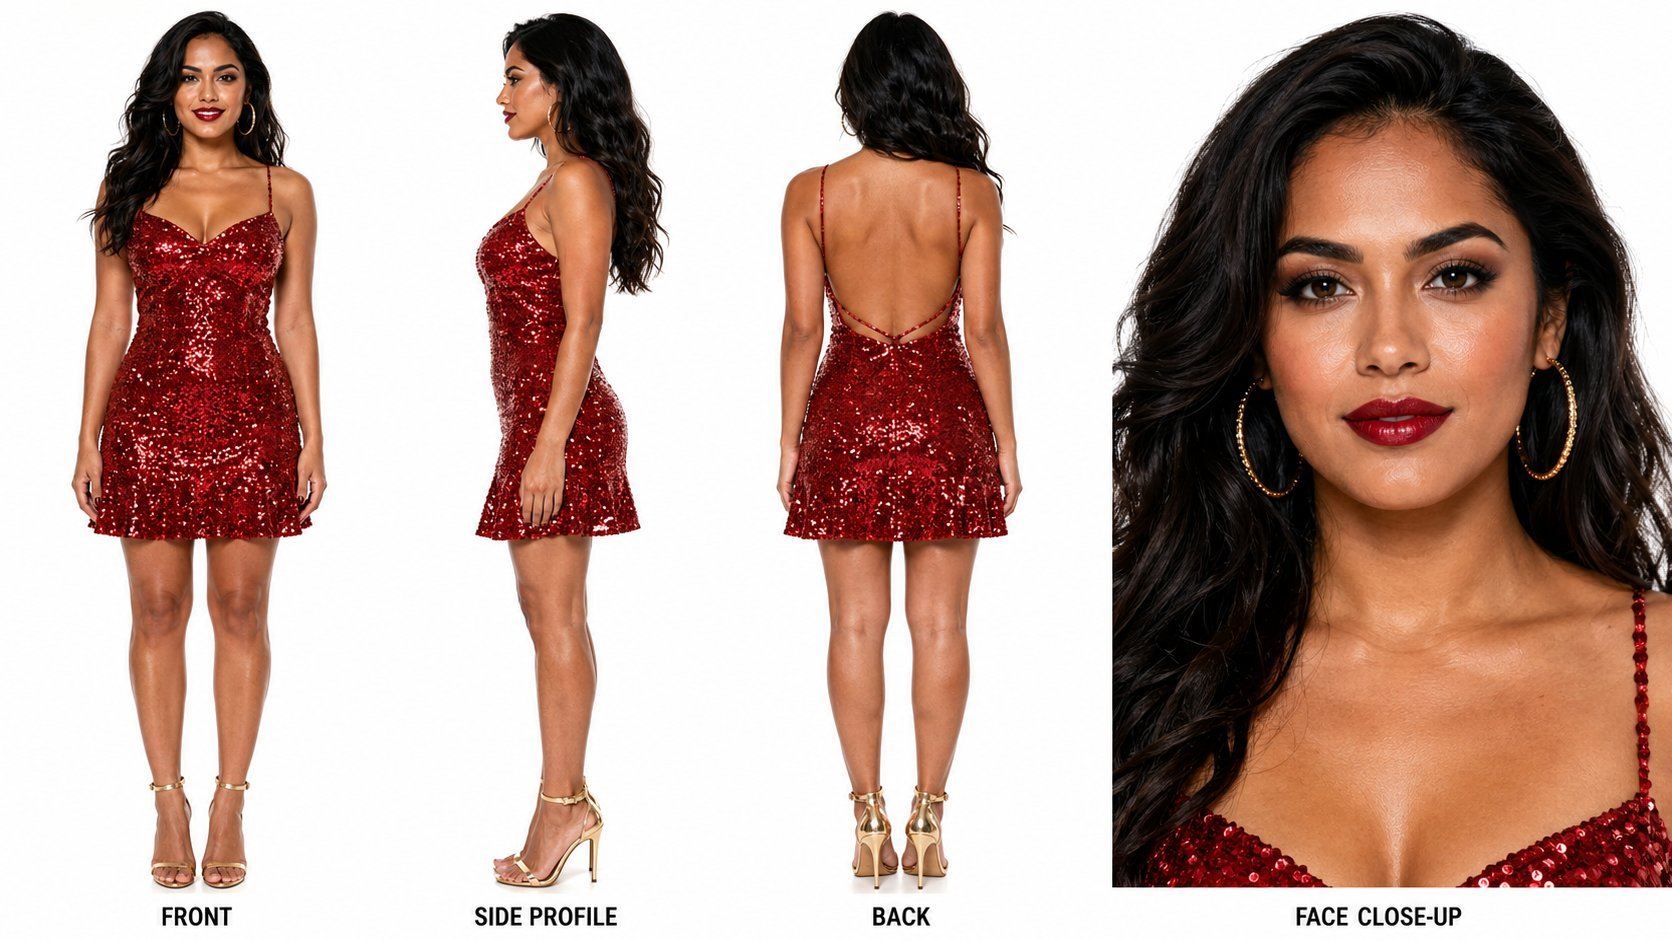
Dancer Character - Four View Reference Sheet
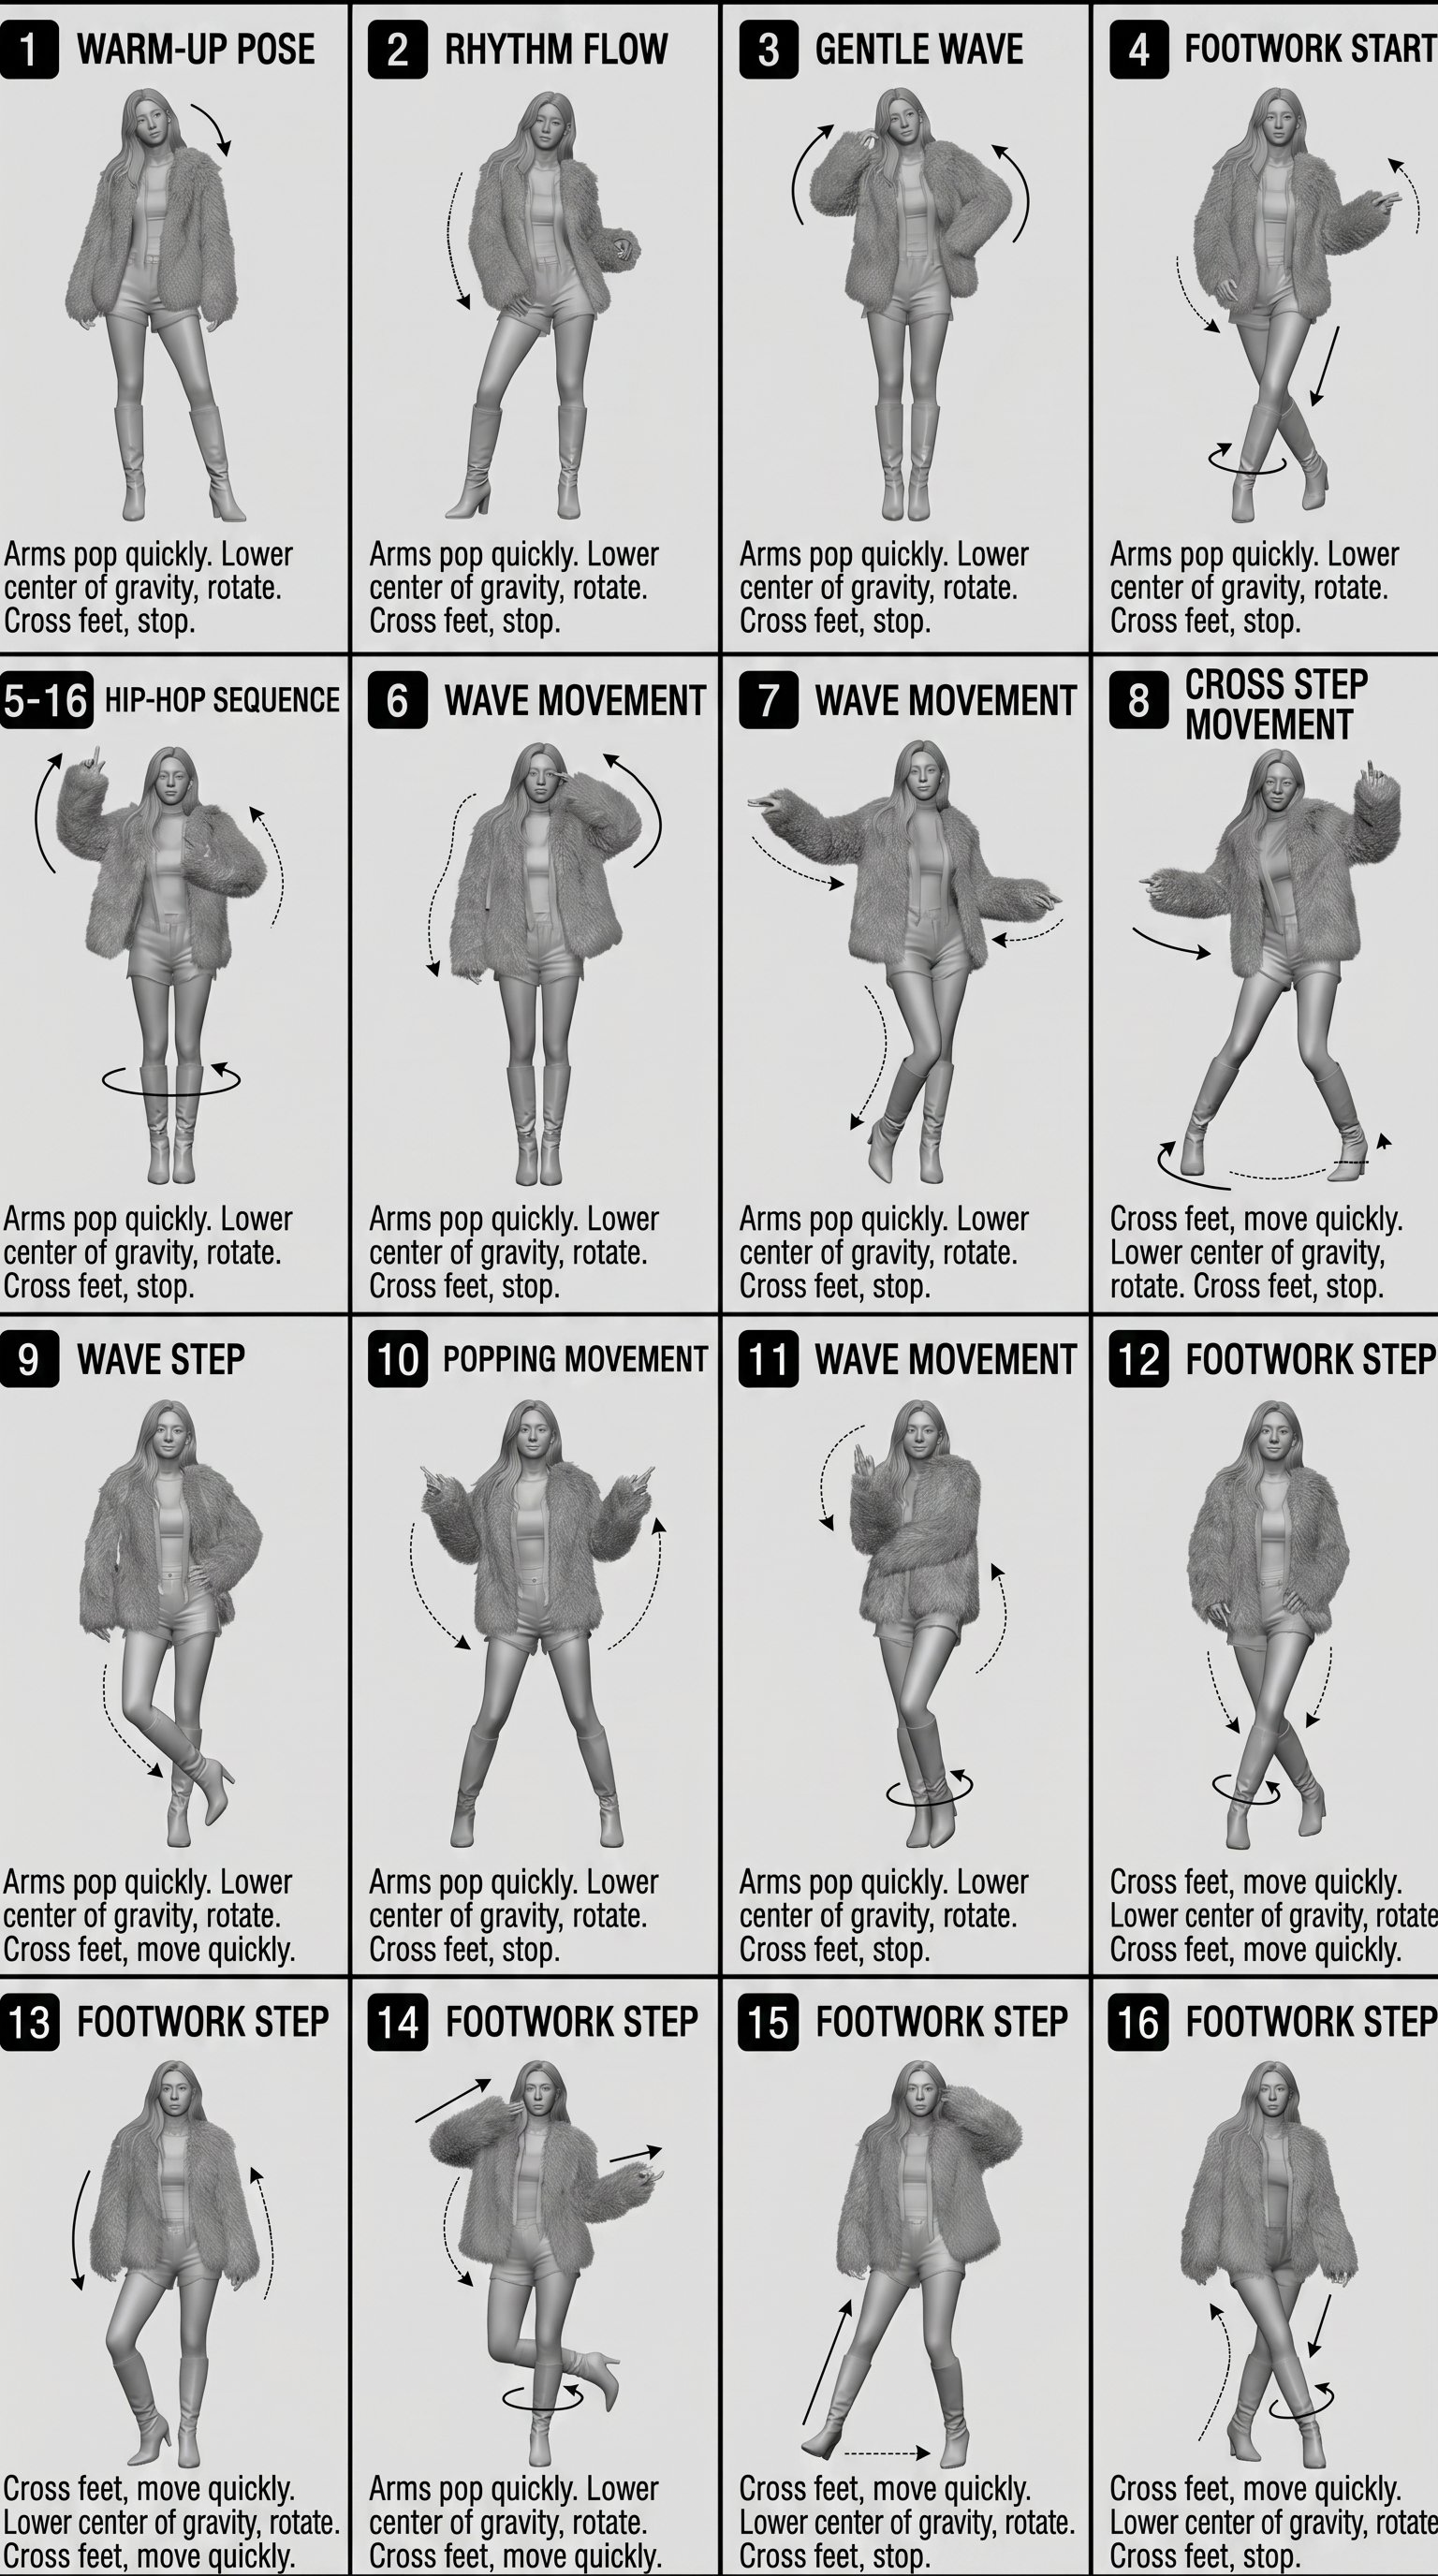
Movement Sheet - Dance Reference (Seedance 2.0)
Night Sports Car Portrait — Cinematic Moody
Cinematic Eye Light Portraits — 3 Nano Banana Prompts
Horror Cinematic Portrait
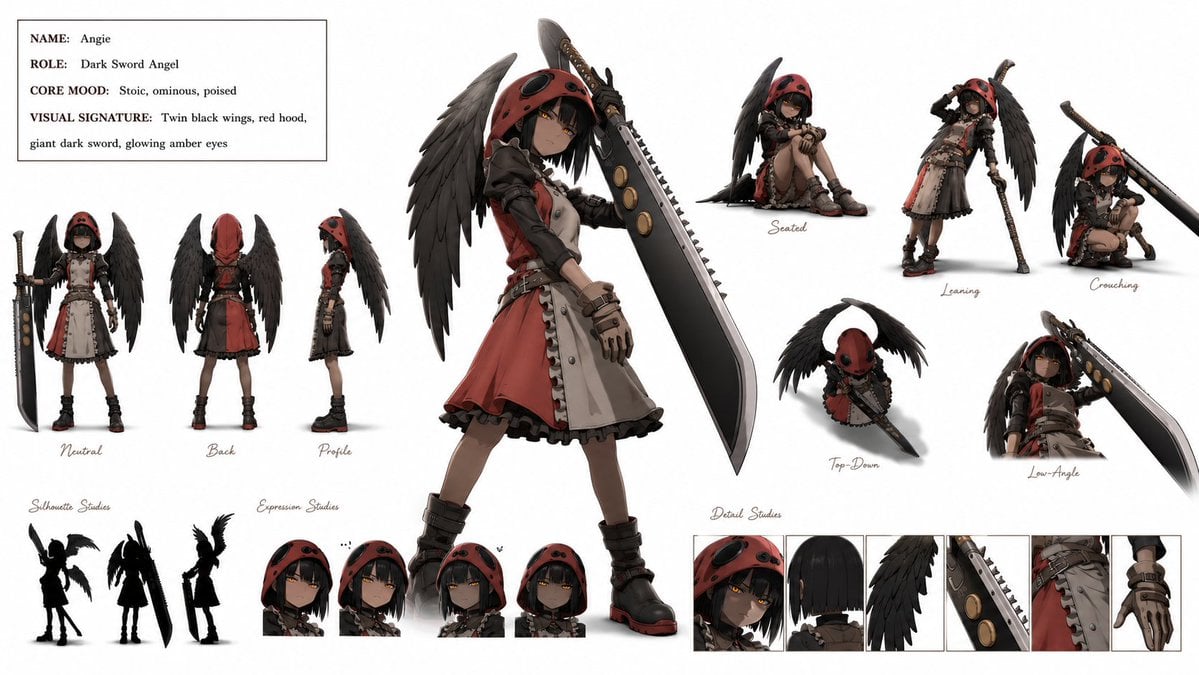
Dark Sword Angel Character Sheet
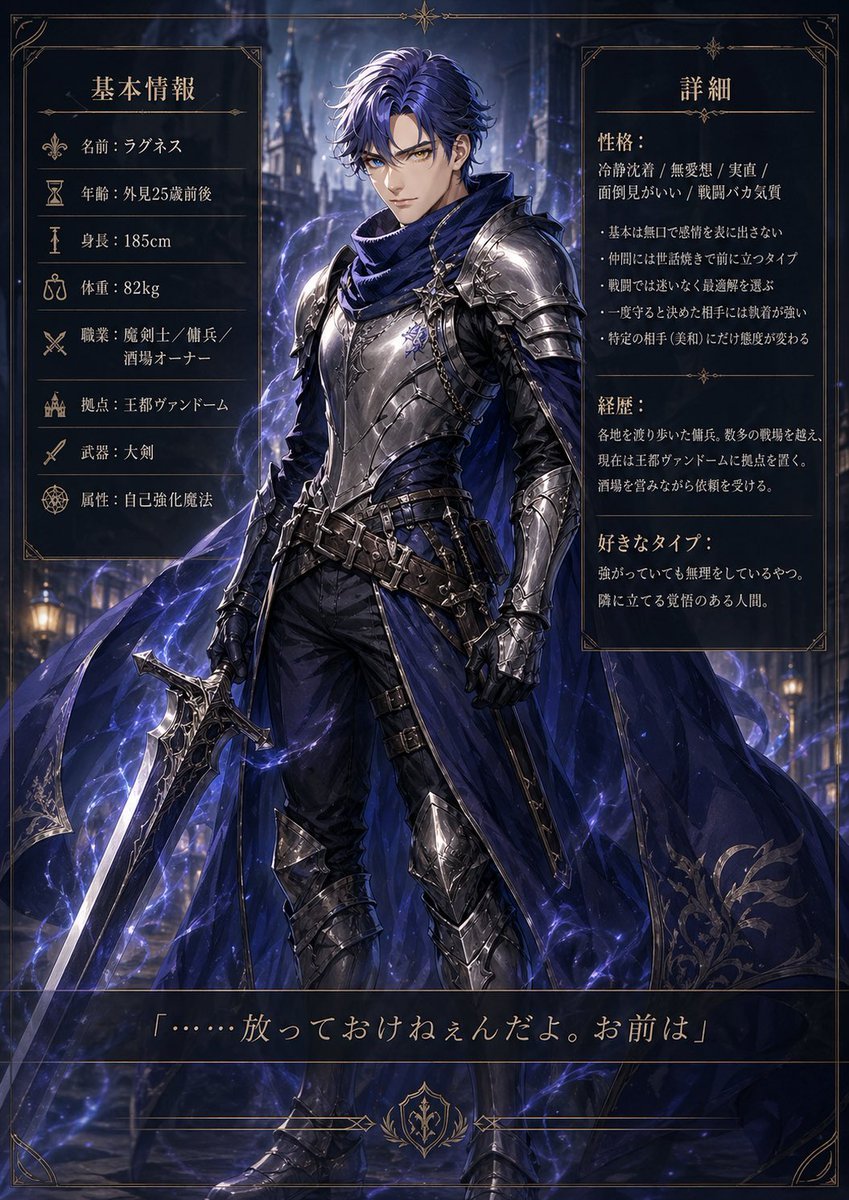
Dark Fantasy Knight Character Sheet
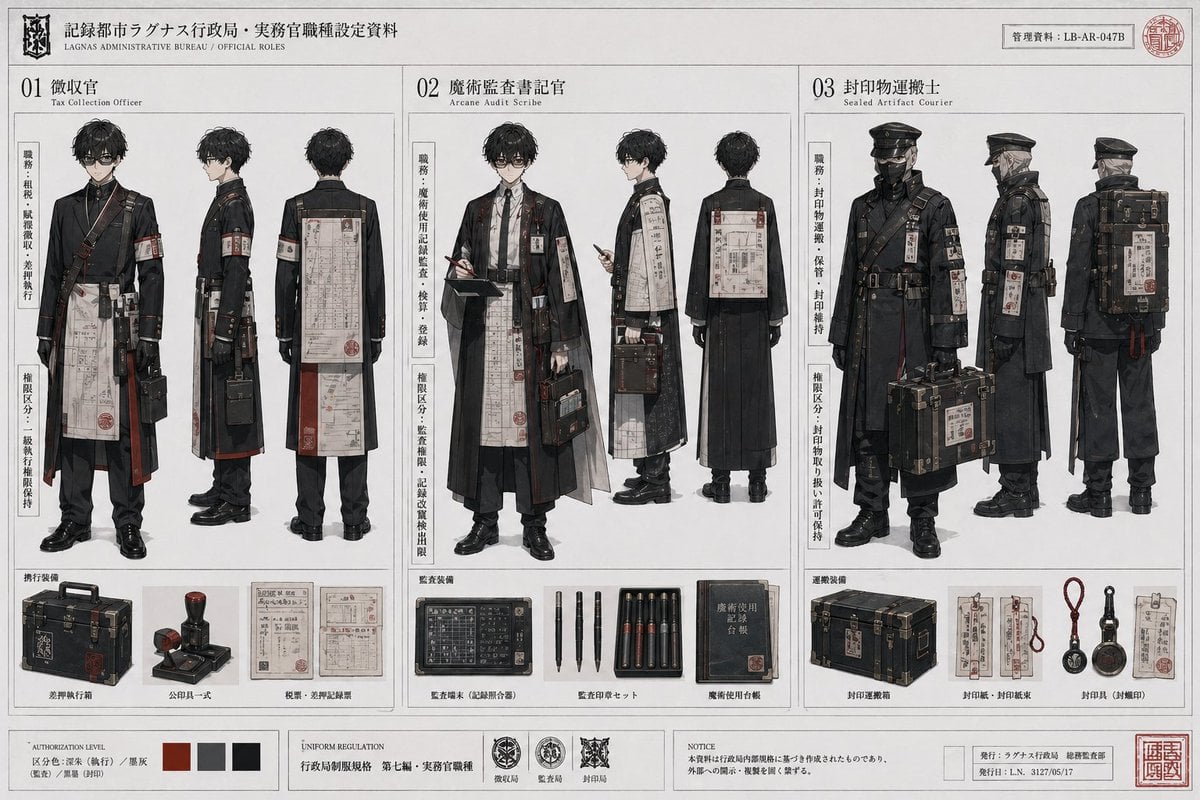
Dark Fantasy Bureau Role Sheet
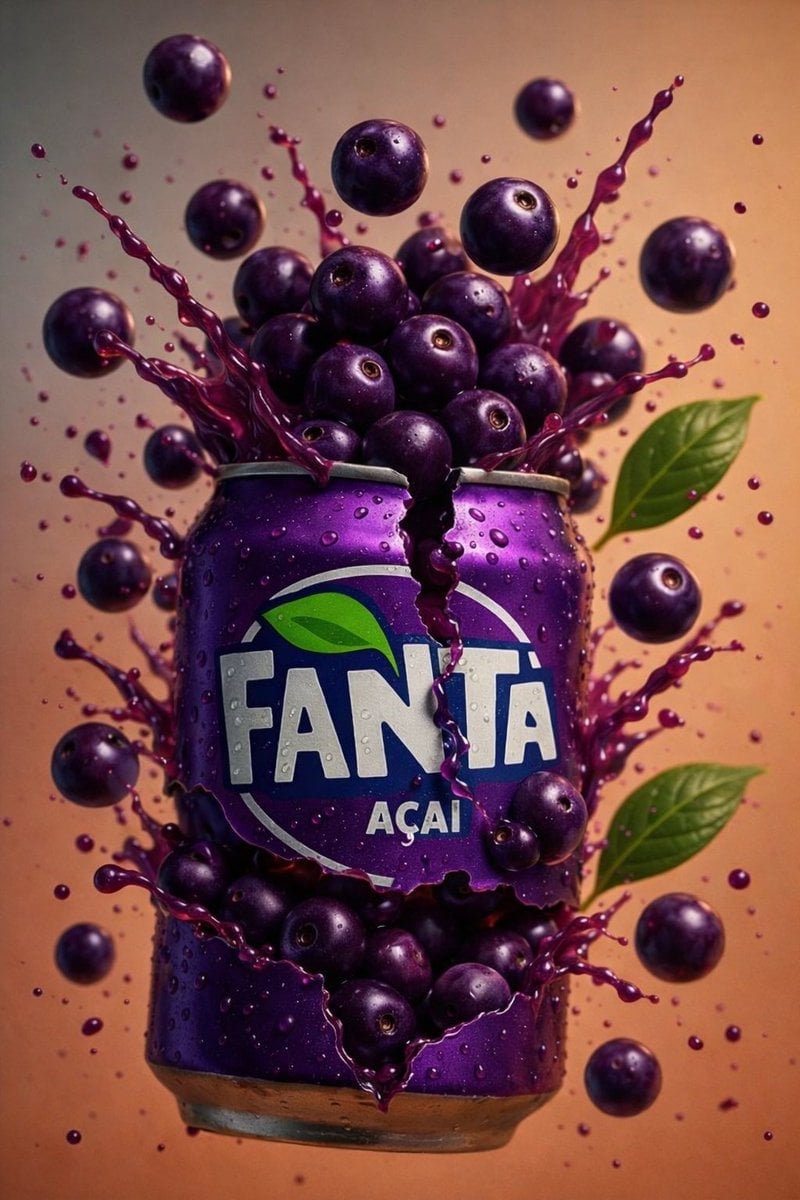
Multiple dark purple berries erupting from inside the can
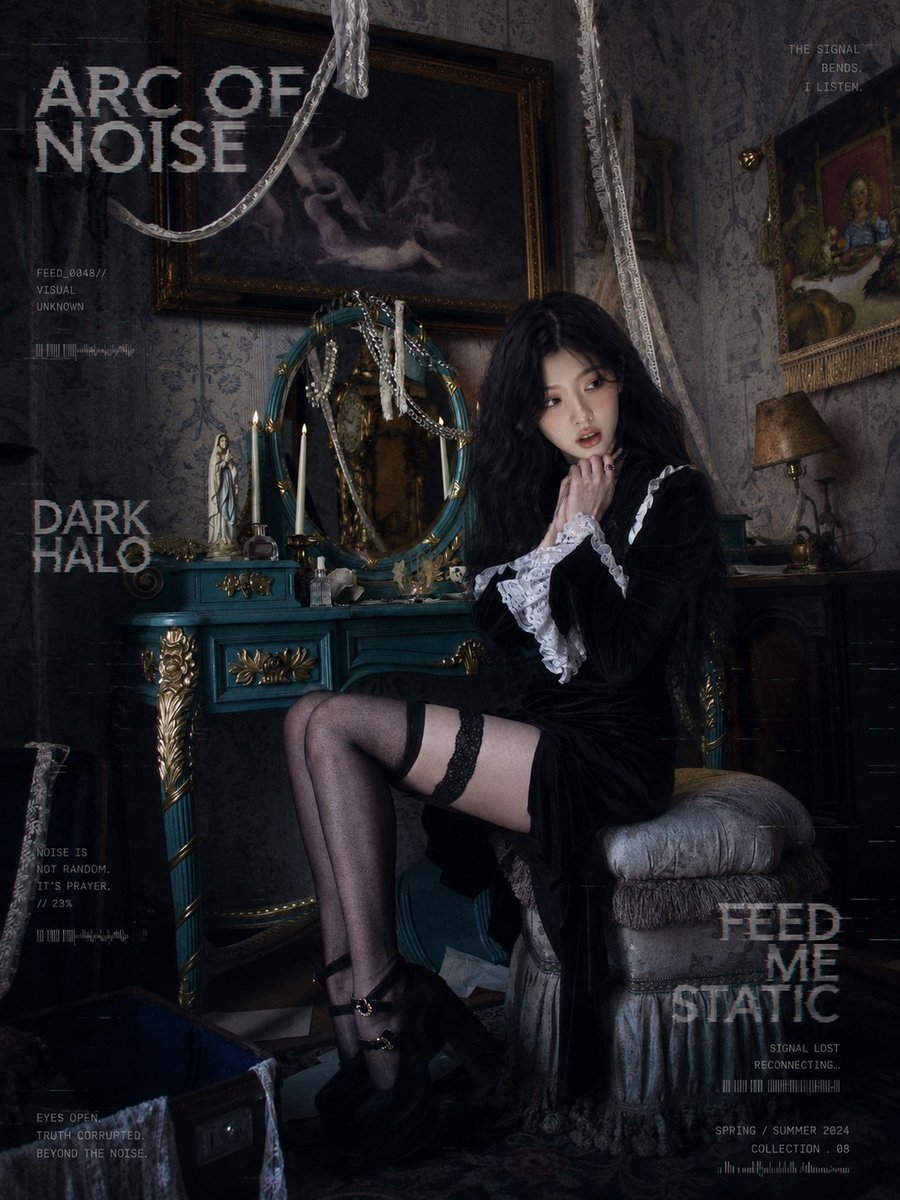
Dark Gothic Lolita Static Portrait
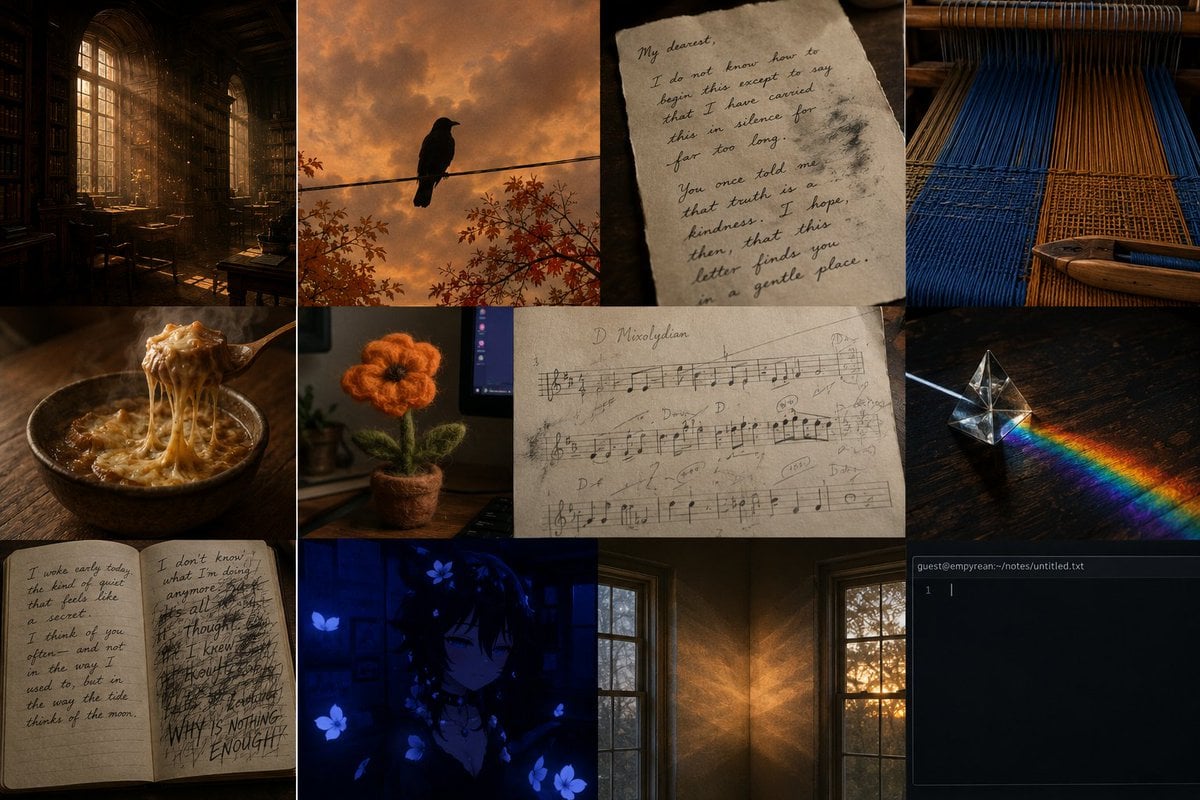
Dark Academia AI Moodboard Collage
Make it yours
Dark UI Character Sheet Evaluation works as-is. These are the safest ways to change it without losing the look.
Change one field
Copy a single group, rewrite it, and generate again so you can see what that field is doing.
Keep the frame, change the subject
Hold the composition and light of Dark UI Character Sheet Evaluation, then swap wardrobe, props or the person for a new take.
| If the result… | Why | Fix |
|---|---|---|
| The result drifts from the preview | Too many fields changed at once. | Reuse Dark UI Character Sheet Evaluation as-is first, then change one group — subject, light, or setting. |
| The model over-stylizes the scene | The prose prompt leaves finish and camera underspecified. | Add one camera or lighting sentence and stay on GPT Image 2. |
More GPT Image 2 templates
Other prompts made for GPT Image 2.

Six VTuber Japanese Logo Sheet
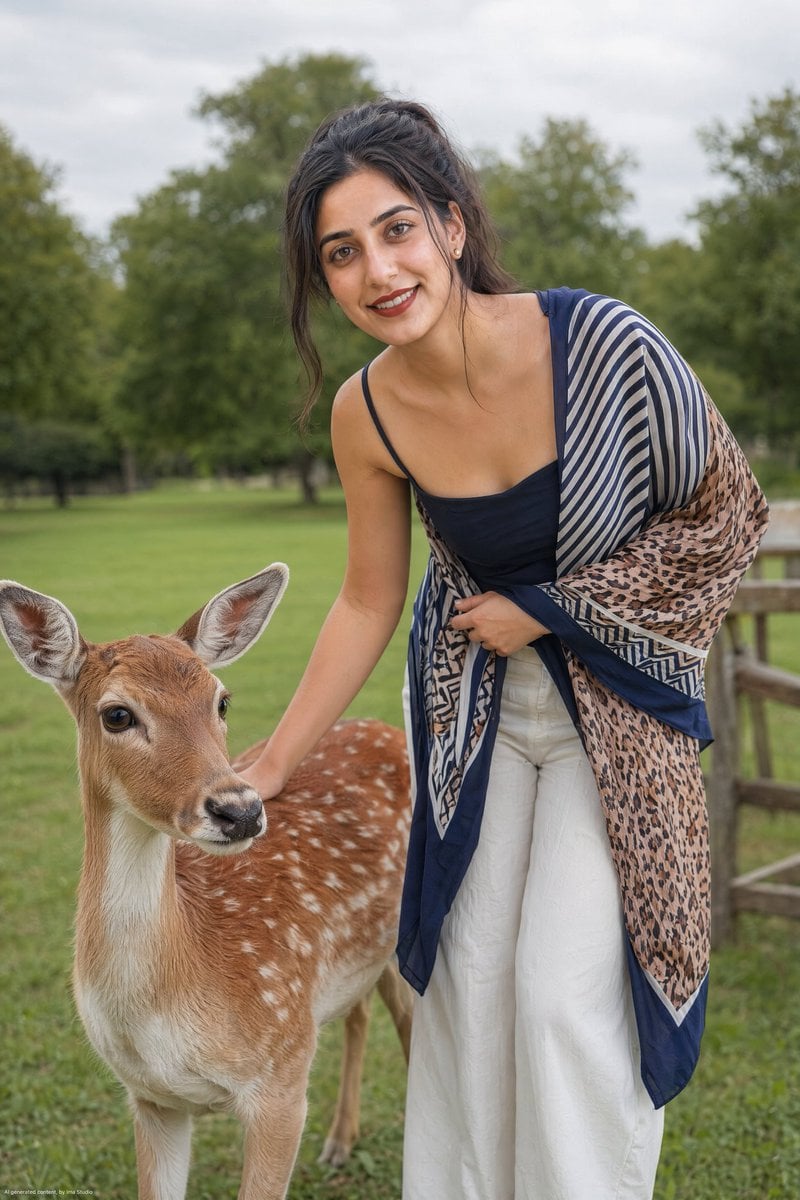
Realistic Portrait of Woman and Deer

The Vista Modular Condo Poster
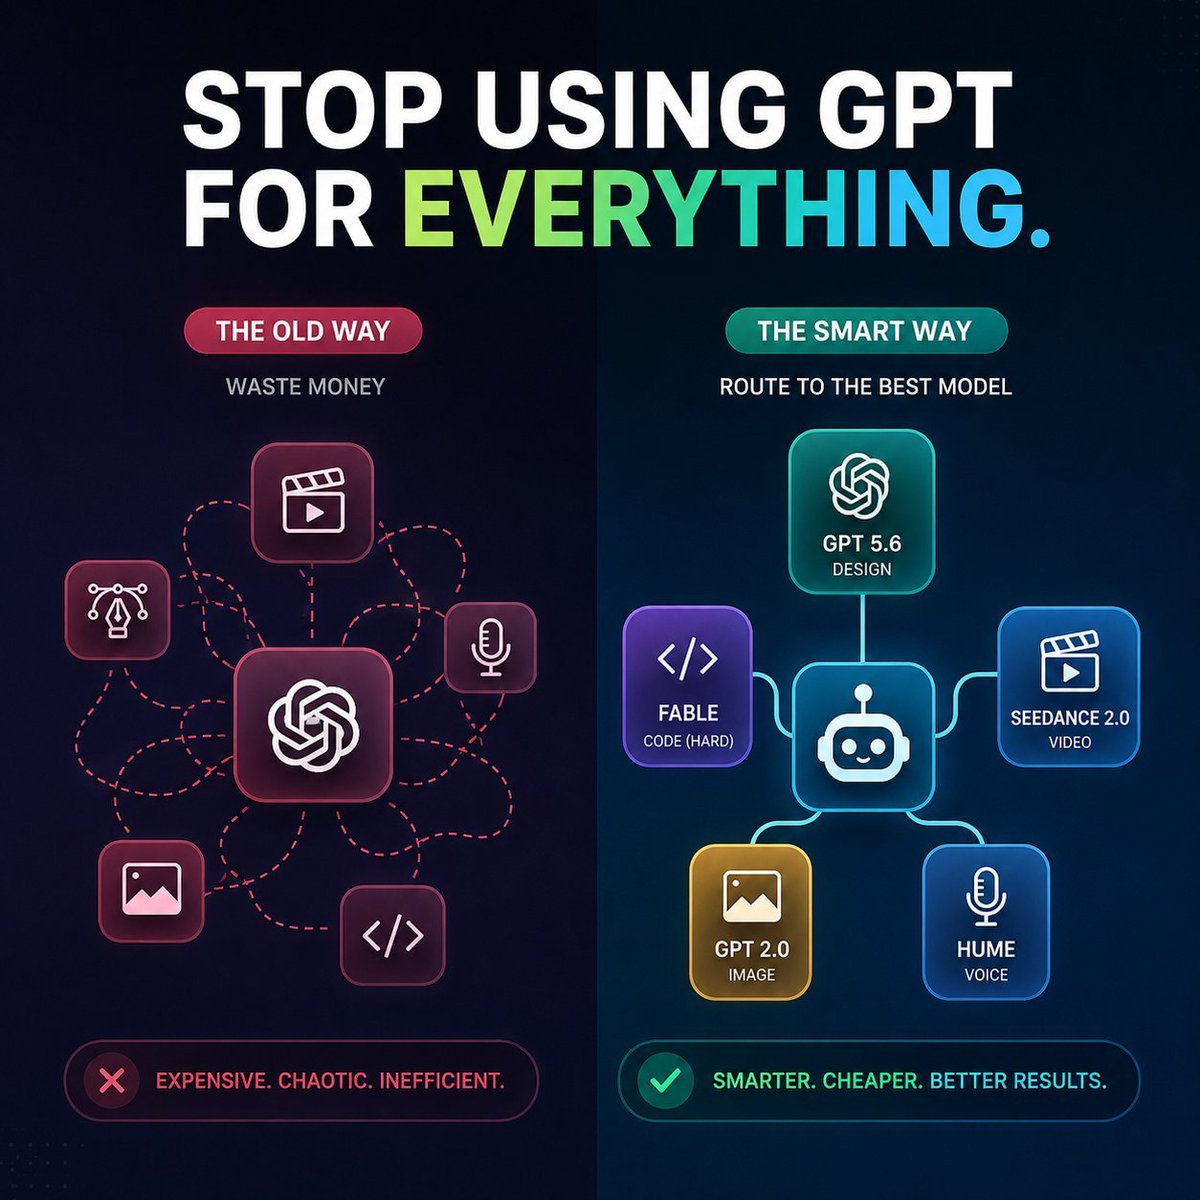
AI Model Routing Comparison Infographic
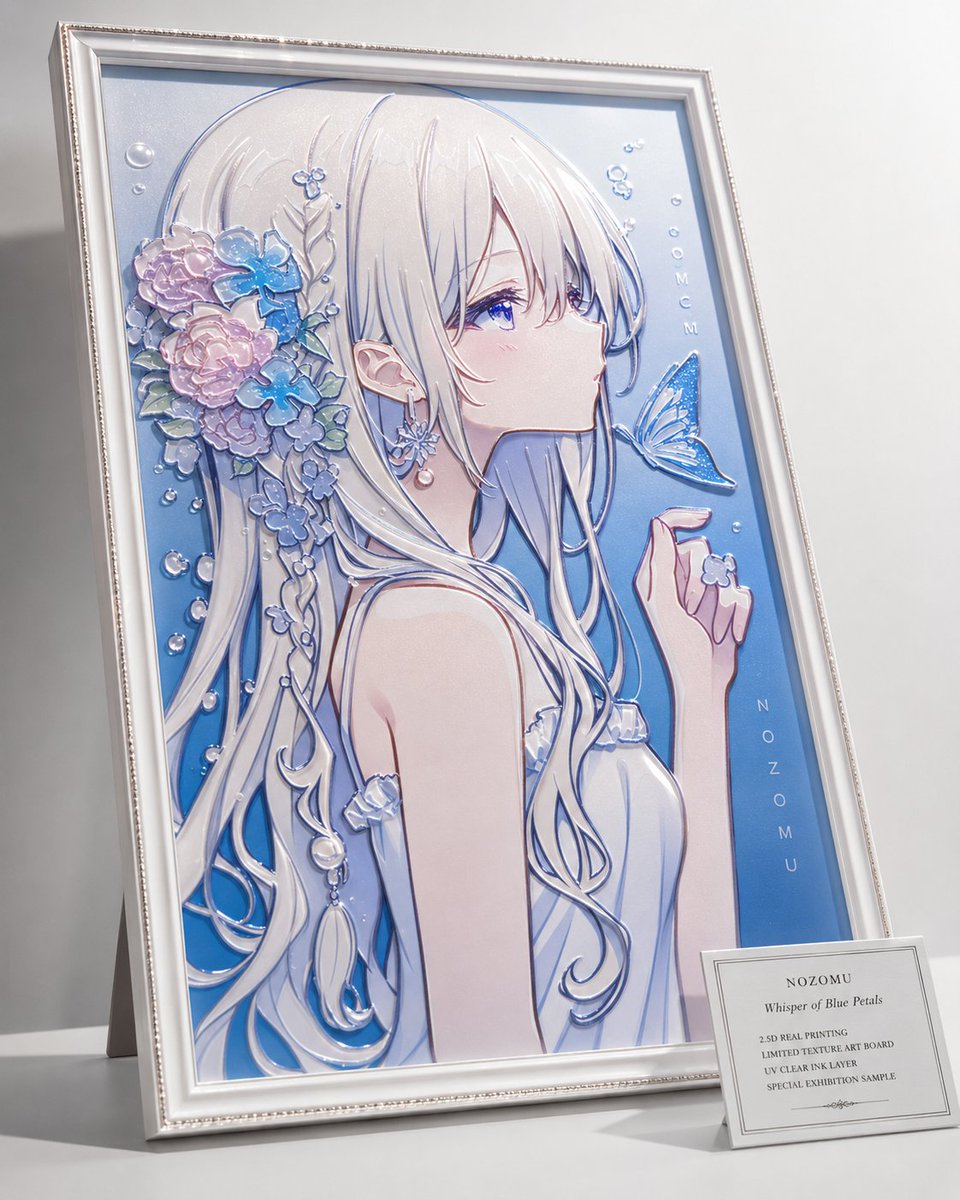
2.5D Anime Art Board

Isometric Productivity Desk Scene
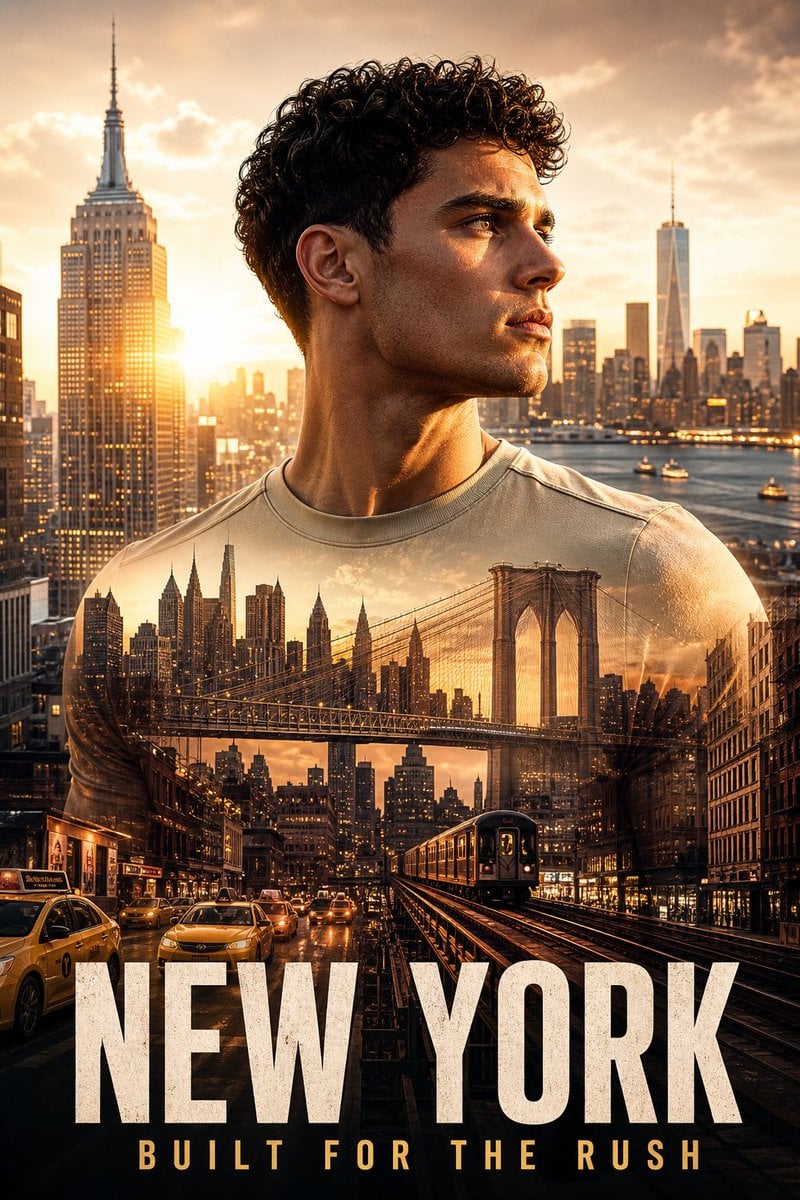
New York Double Exposure Poster
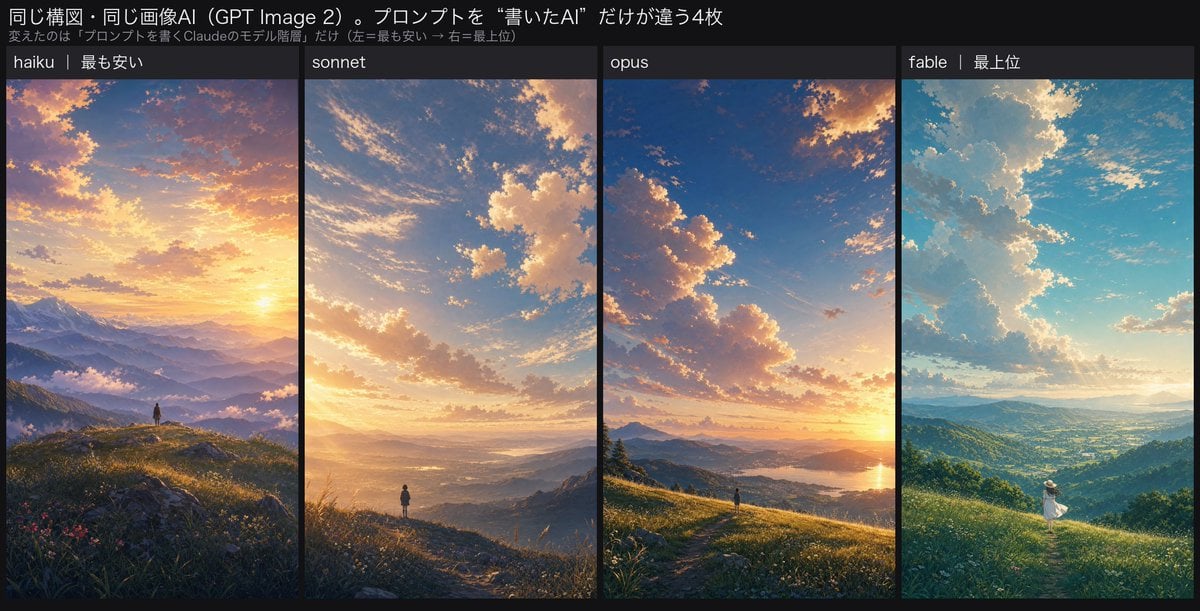
Four-Panel AI Landscape Comparison
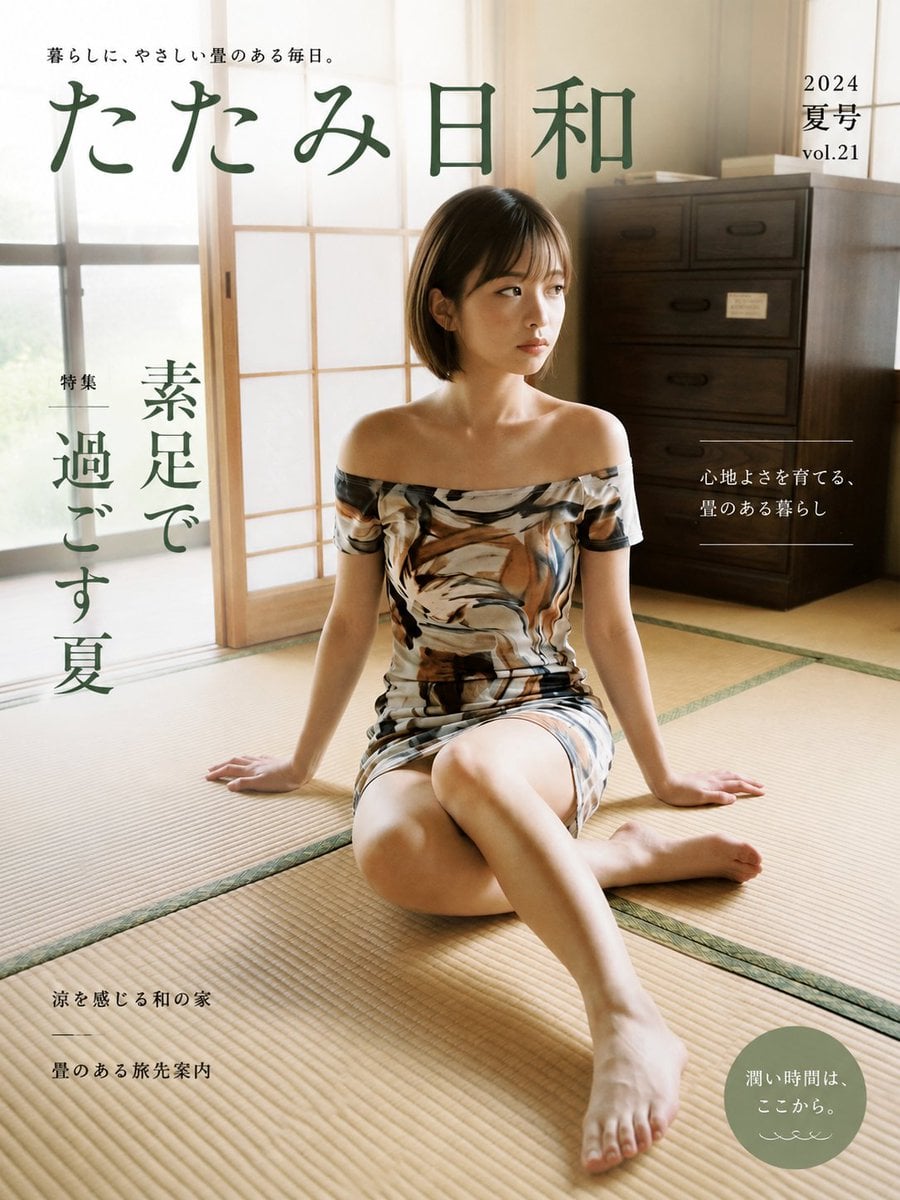
Japanese Tatami Lifestyle Magazine Cover

NESCAFÉ Coffee Map Poster
More image prompts
Fresh picks from across the catalog.
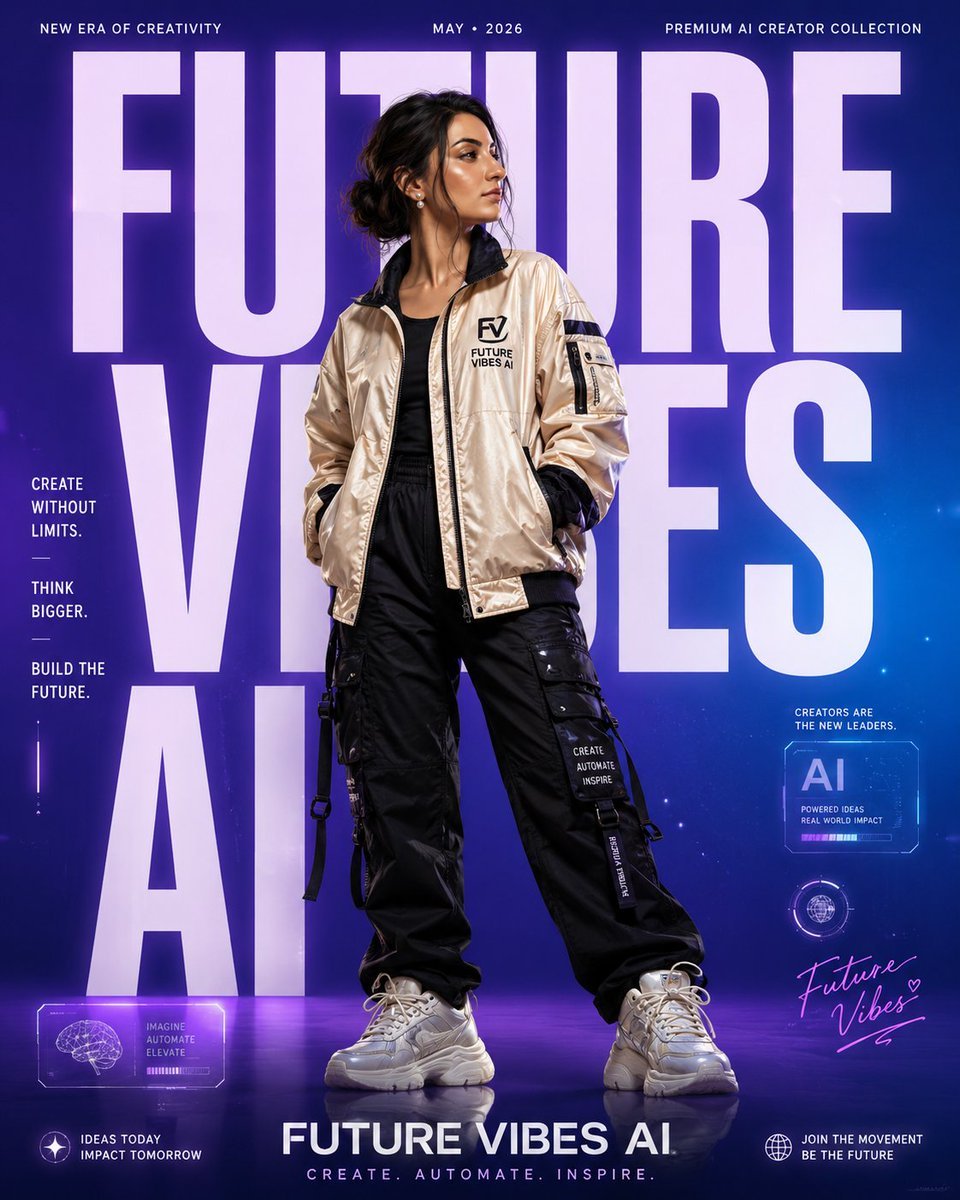
Premium Streetwear Campaign Poster

Two-Story Japanese House Floor Plan
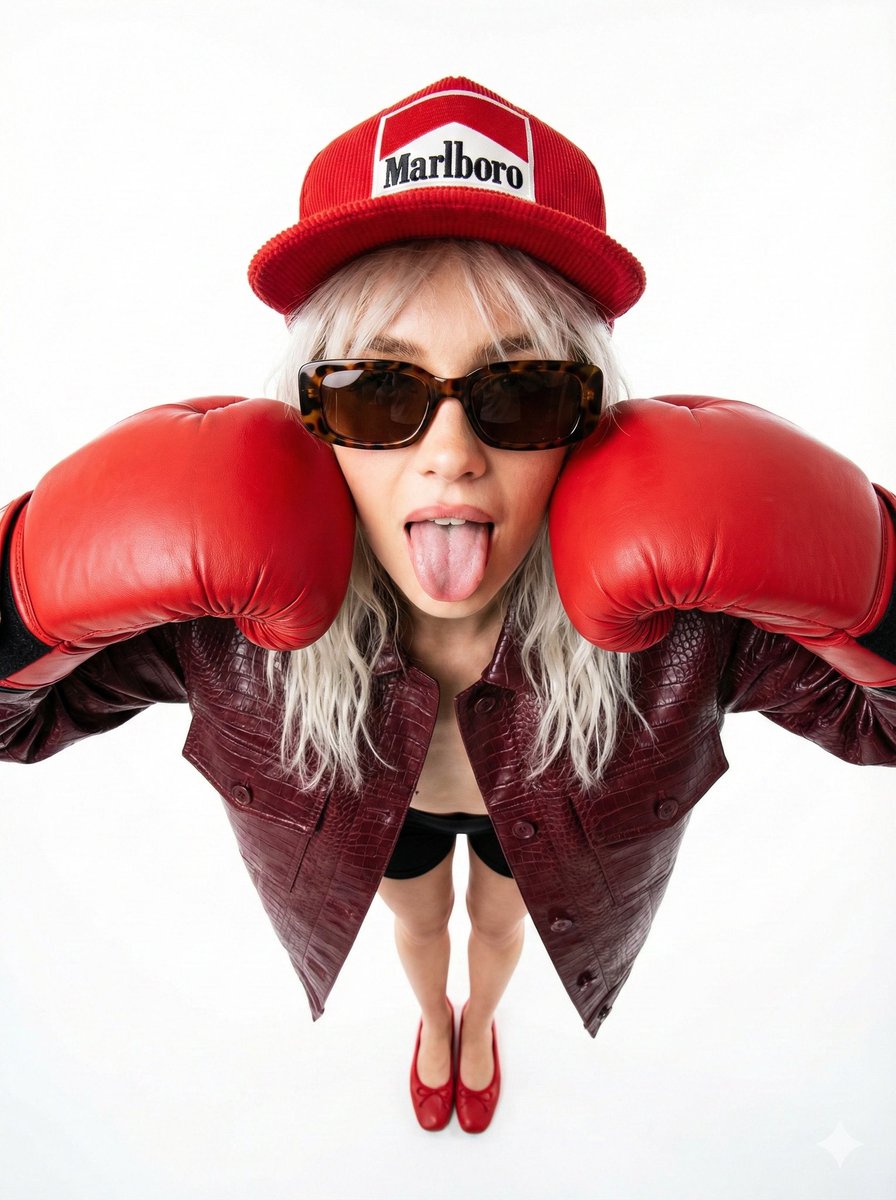
90s Fashion Editorial: Boxing Pose
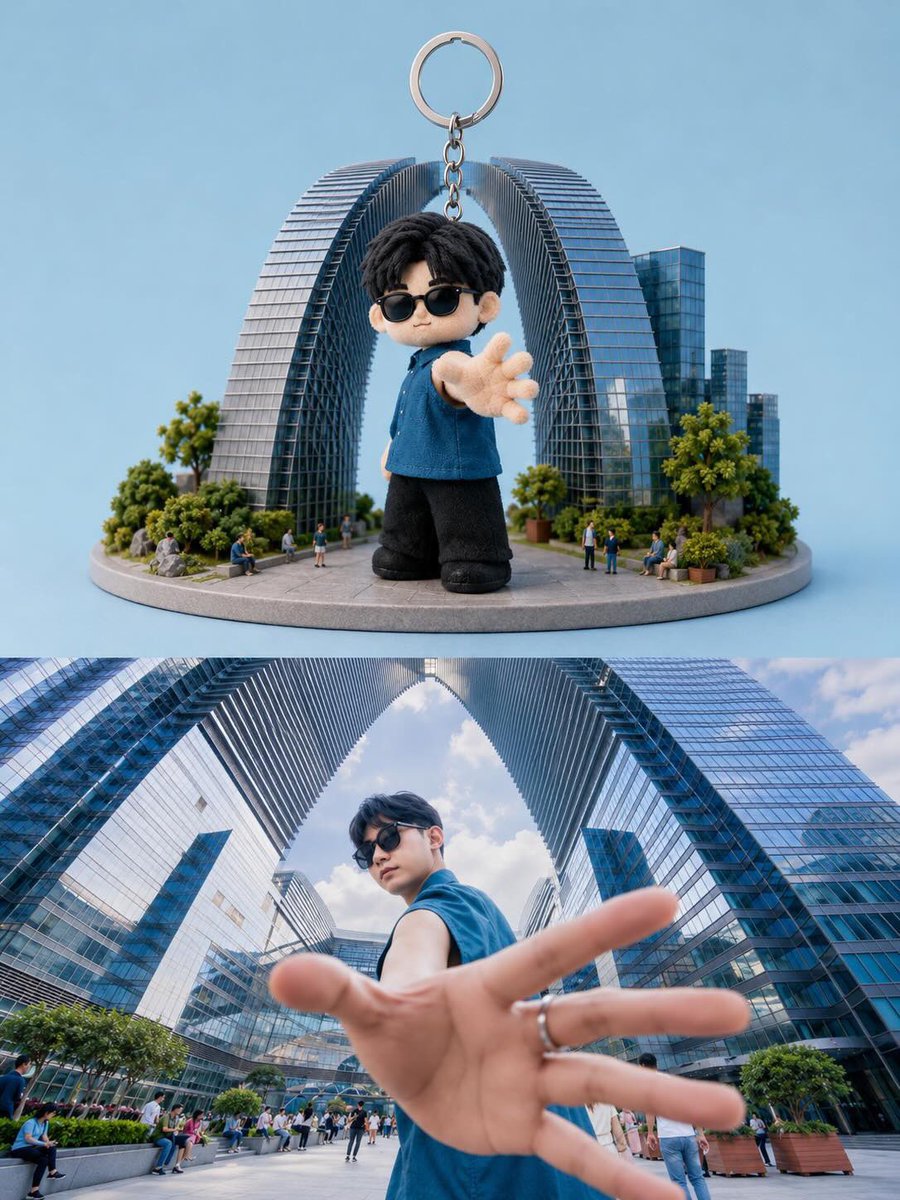
Toy Keychain vs Real Life Comparison
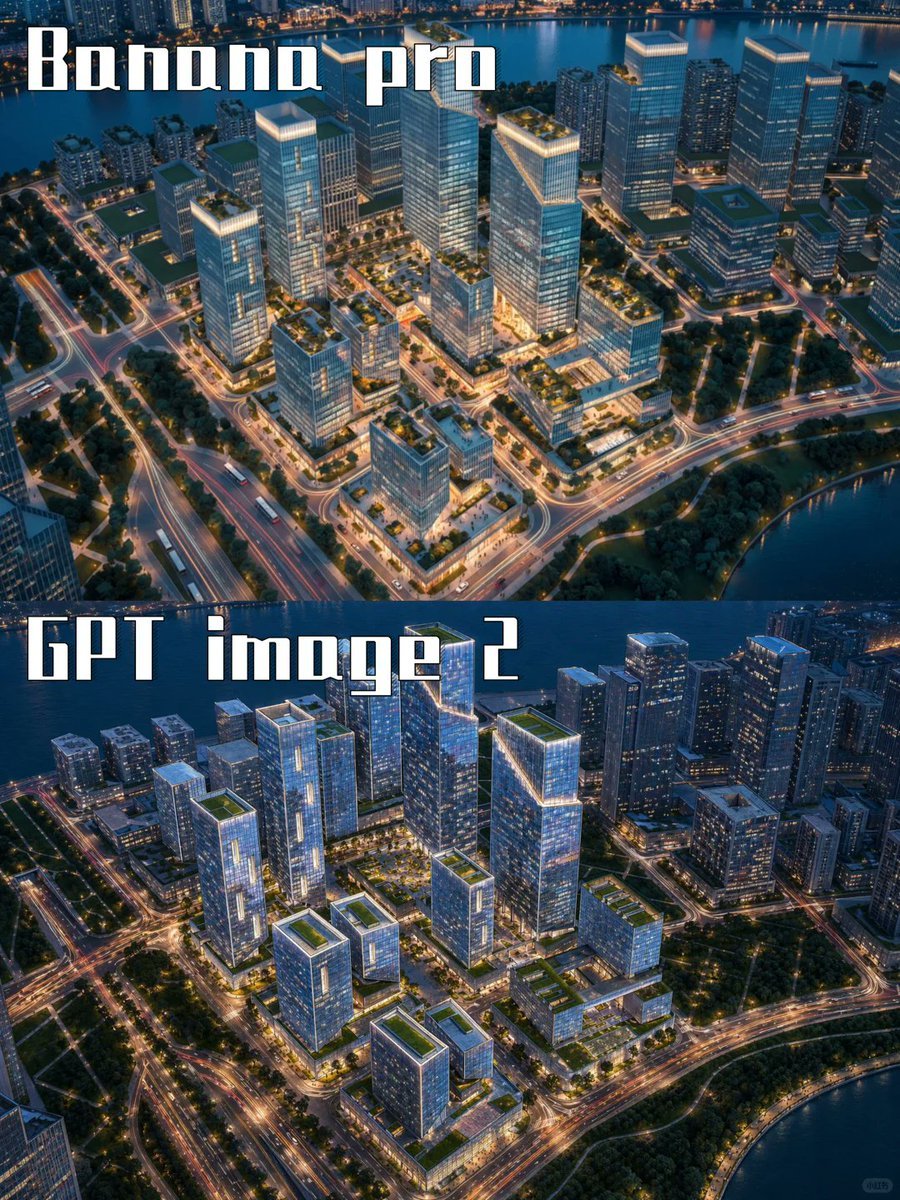
AI City Rendering Comparison Poster
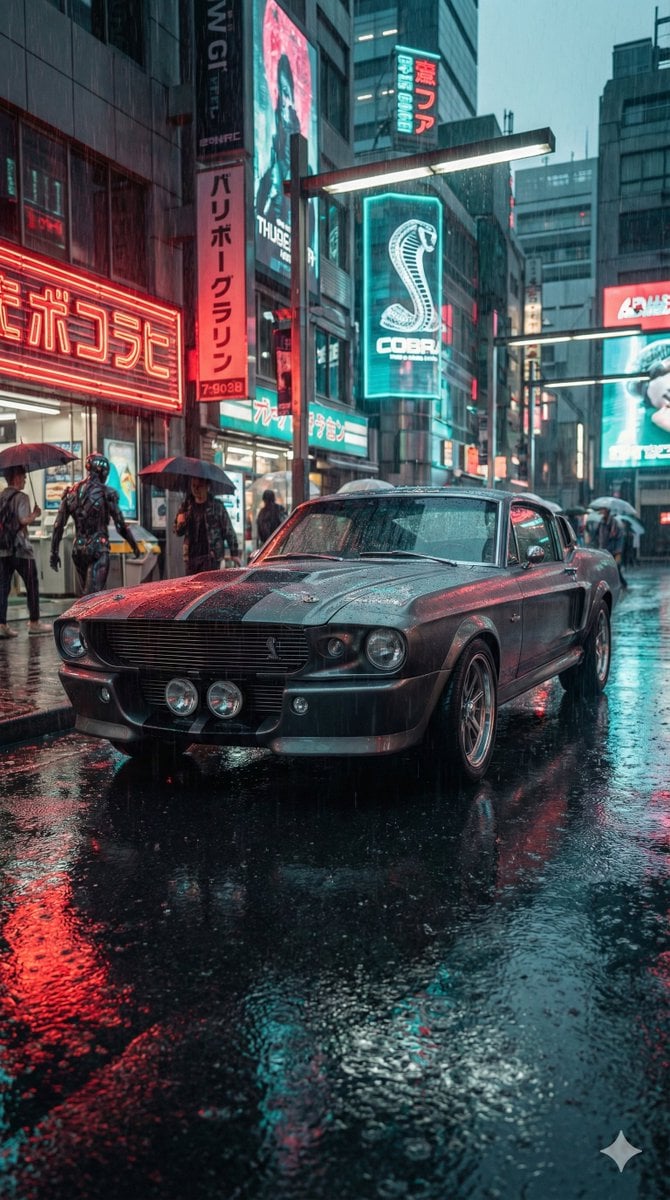
Cyberpunk Muscle Car Cinematic Prompt
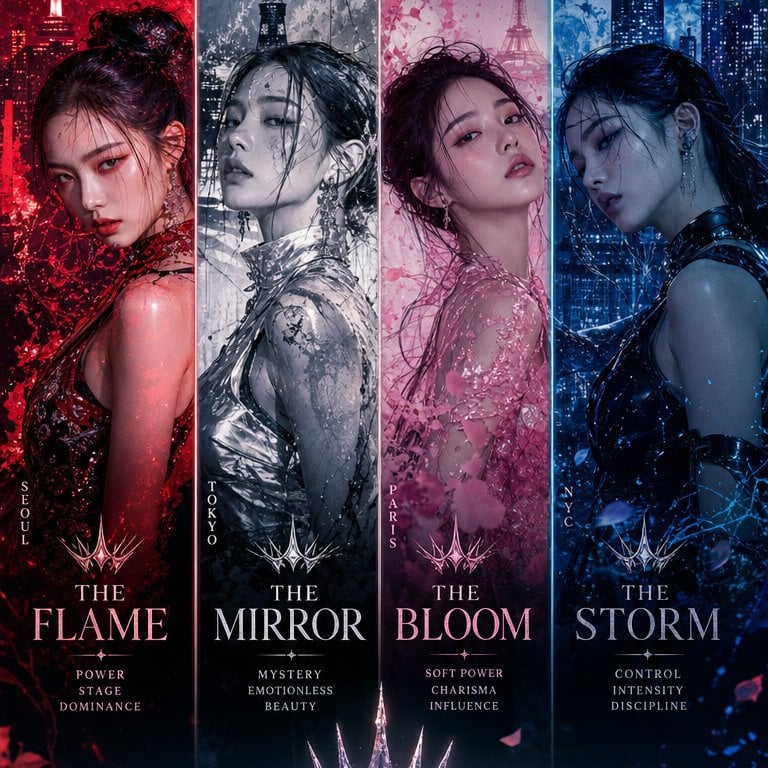
K-Pop Girl Group Comeback Concept

Cinematic Golden Hour Sunset Hangout on a Pier
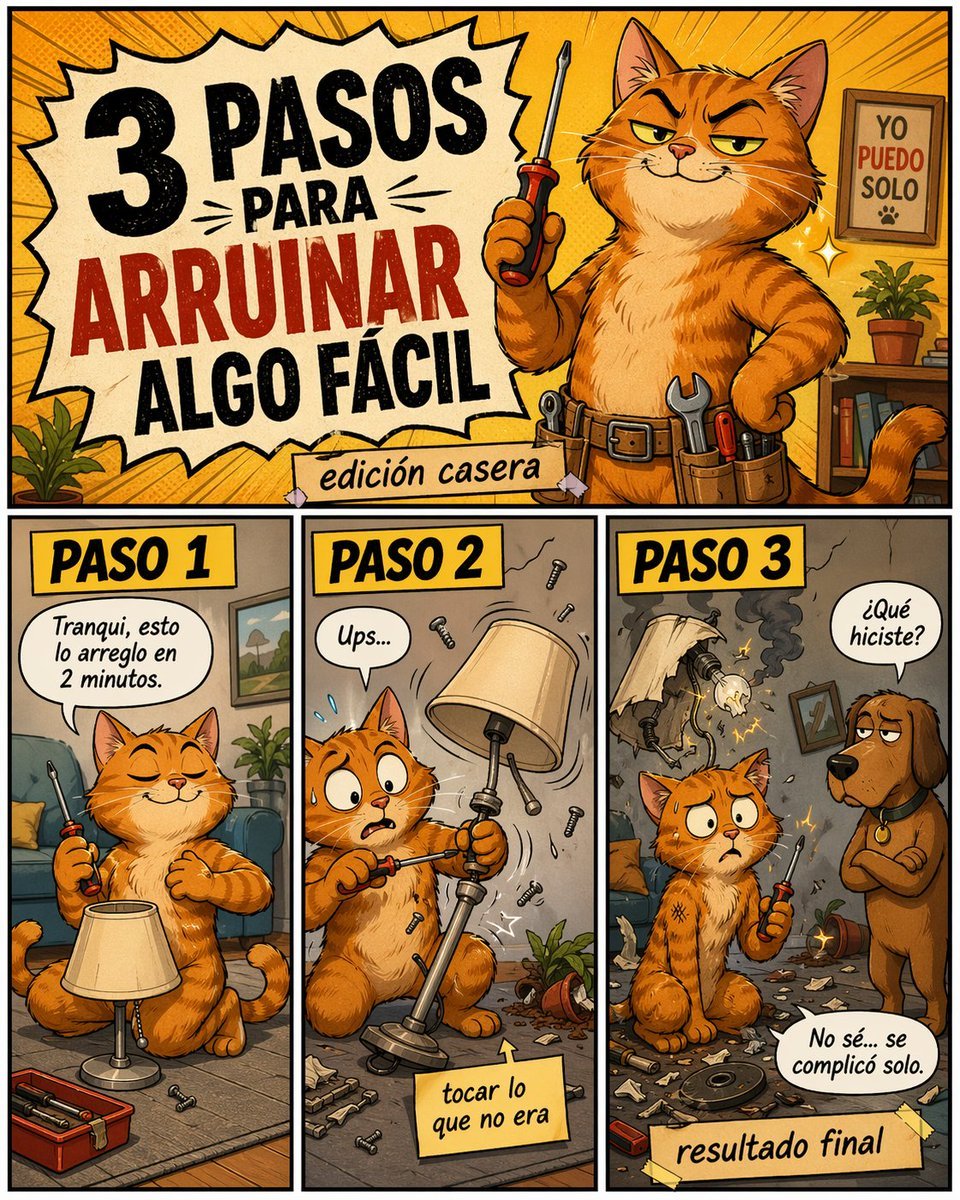
Funny DIY Disaster Cat Comic
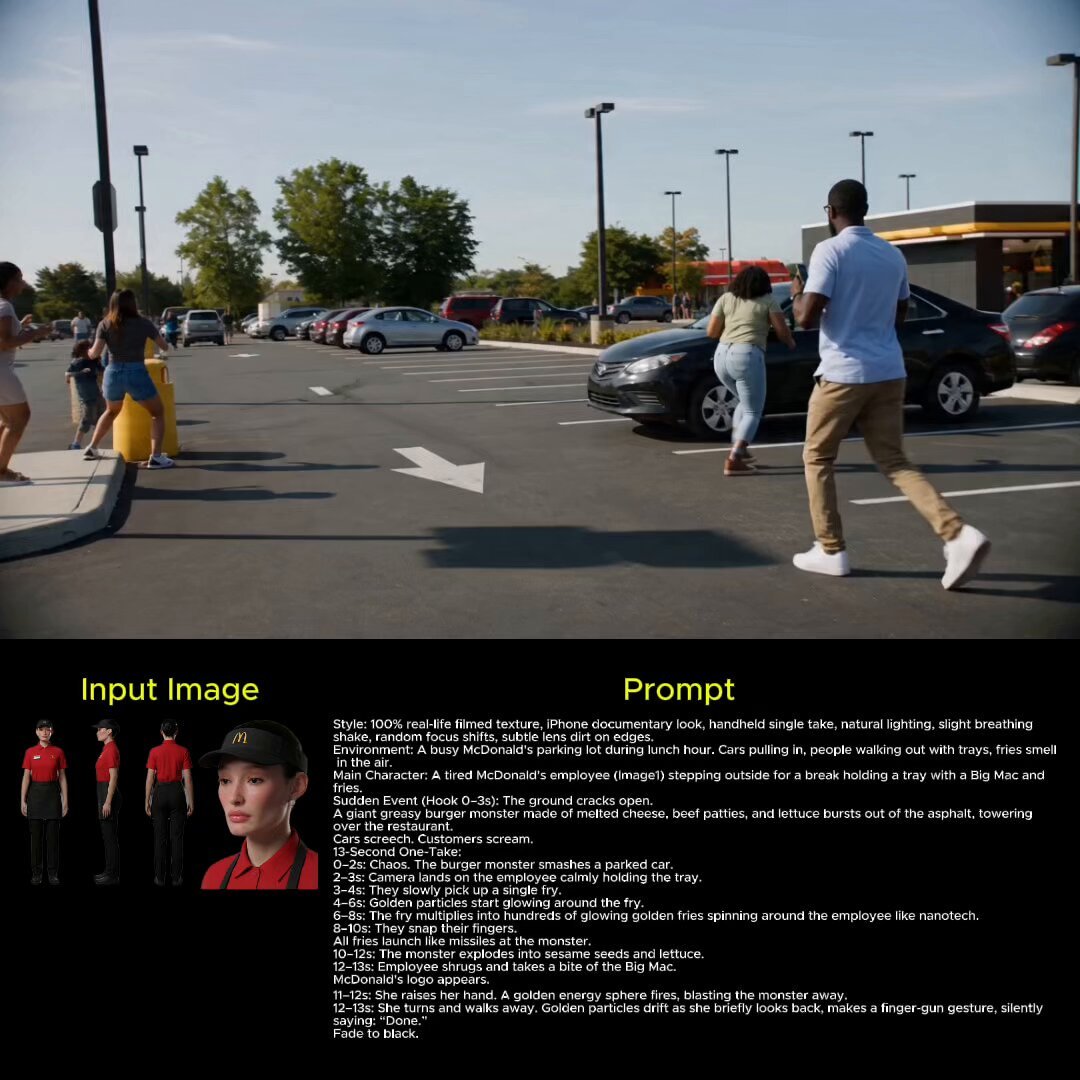
untitled
Browse template categories
Dark UI Character Sheet Evaluation questions
How do I use the Dark UI Character Sheet Evaluation template?
Add your photo if the template asks for one, edit the prompt if you like — the template's model and format are already selected — and press Generate. Your version opens in PicX Studio.
Can I customize the Dark UI Character Sheet Evaluation template?
Yes. You can change the subject, setting, lighting, mood, format, and available model controls before creating your image.
Is the Dark UI Character Sheet Evaluation template free?
Opening and editing this template is free. Generating uses credits, shown on the Generate button when you are signed in.
Which AI model should I use?
Start with GPT Image 2, which is the model associated with this template. You can compare another compatible model for a different finish.
Looking for something else? Browse all templates.

Your photo, any look
Thousands of ready templates for every top image and video model, from one credit balance.