How do I use the Clean Authenticator Onboarding UI template?
Choose the primary action to open PicX Studio with the available template settings. Review the model and format, personalize the creative direction, and generate when ready.
Generates a polished four-screen mobile authenticator onboarding mockup from photographed UI references for app presentation or design iteration. Change the subject, setting, or lighting one variable at a time.
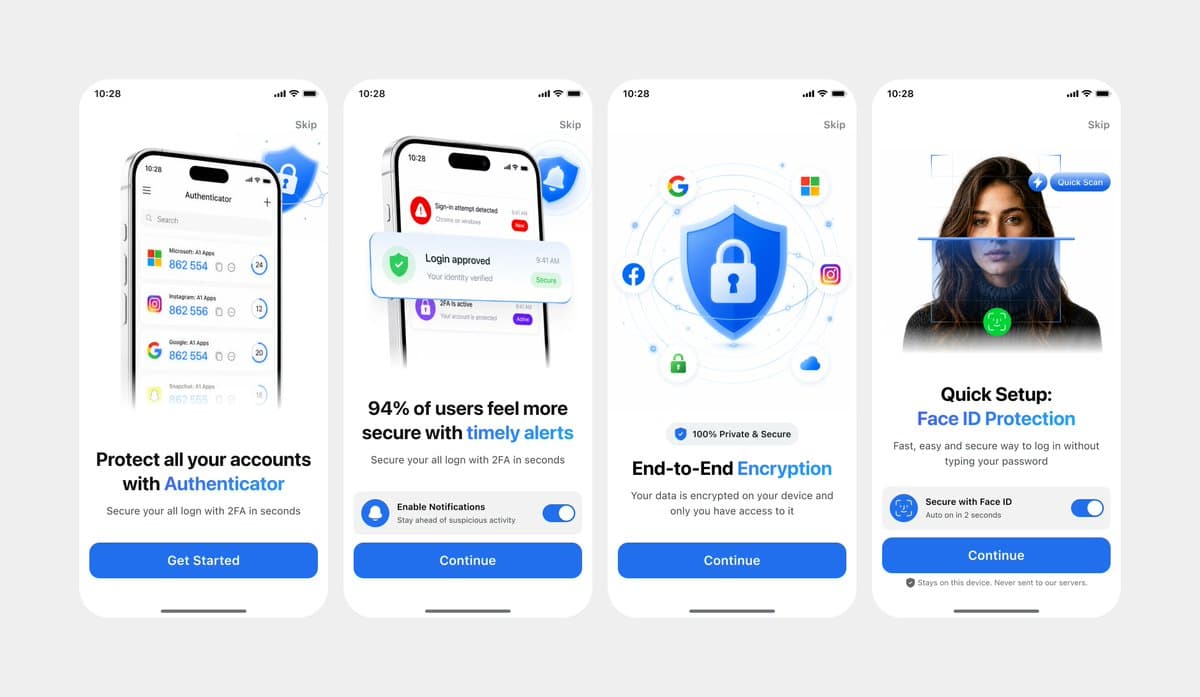
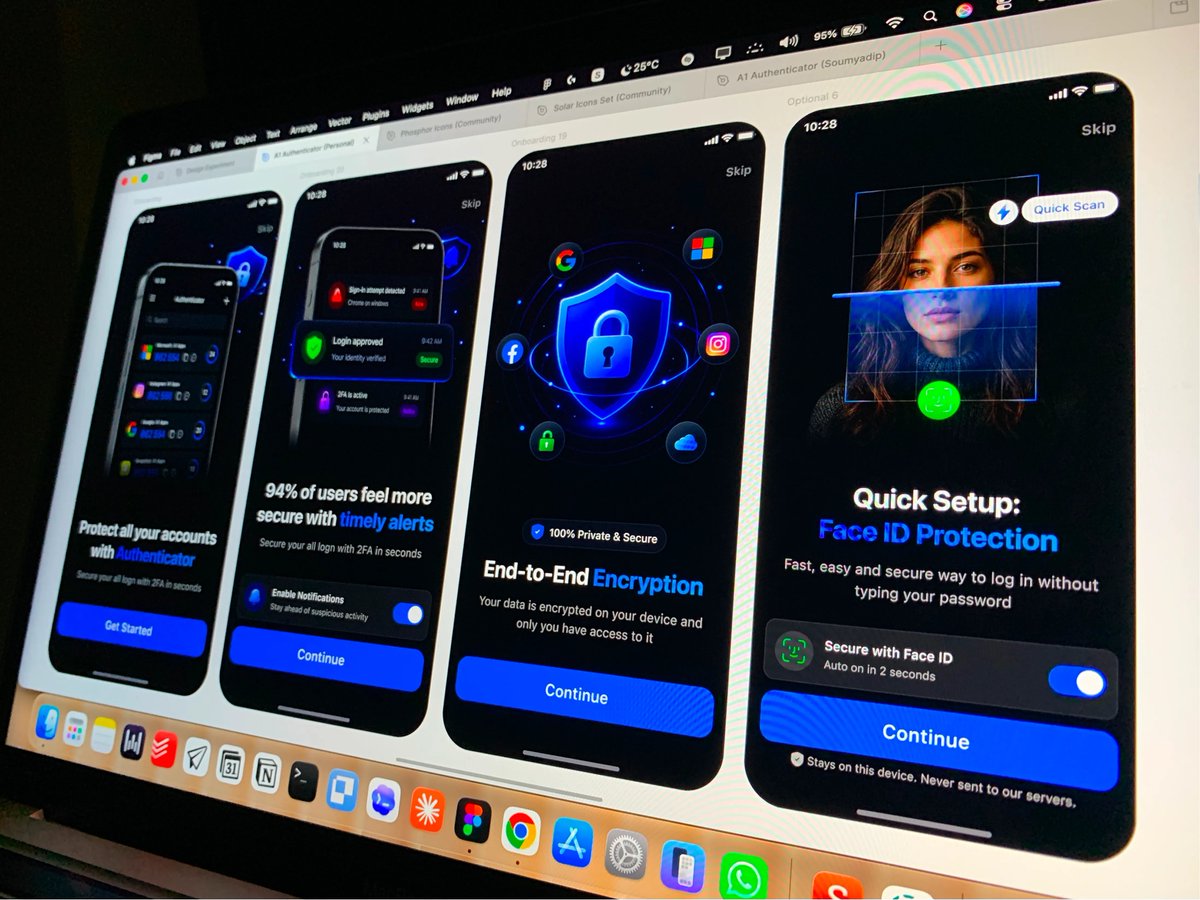
Using REFERENCE_1 as the primary UI reference and REFERENCE_0 only for the darker variant details if needed, recreate the mobile onboarding flow as a clean, front-facing design mockup instead of a photographed laptop screen. Extract and straighten the four iPhone-style screens, remove all camera perspective, glare, browser chrome, laptop edges, and surrounding environment, and place the screens evenly spaced on a light gray canvas. Keep the same white/light theme, rounded phone cards, blue security branding, typography hierarchy, icons, illustrations, and CTA style. Produce exactly 4 onboarding screens from left to right: 1) authenticator accounts list with headline “Protect all your accounts with Authenticator” and CTA “Get Started”; 2) security alert notifications with headline “94% of users feel more secure with timely alerts” and CTA “Continue”; 3) shield/lock encryption illustration with headline “End-to-End Encryption” and CTA “Continue”; 4) Face ID quick setup with the portrait/scan graphic, headline “Quick Setup: Face ID Protection”, secure Face ID toggle card, small privacy note, and CTA “Continue”. Use {argument name="primary color" default="bright blue"} as the main accent color, keep the app name as {argument name="app name" default="Authenticator"}, and keep the status time as {argument name="status time" default="10:28"}. Make the result look like a polished Figma export/product presentation, crisp and high resolution, with no real-world photo artifacts.
Clean Authenticator Onboarding UI needs input media to work. Open it in the studio and these load alongside the prompt — pick whichever ones your chosen model can take.
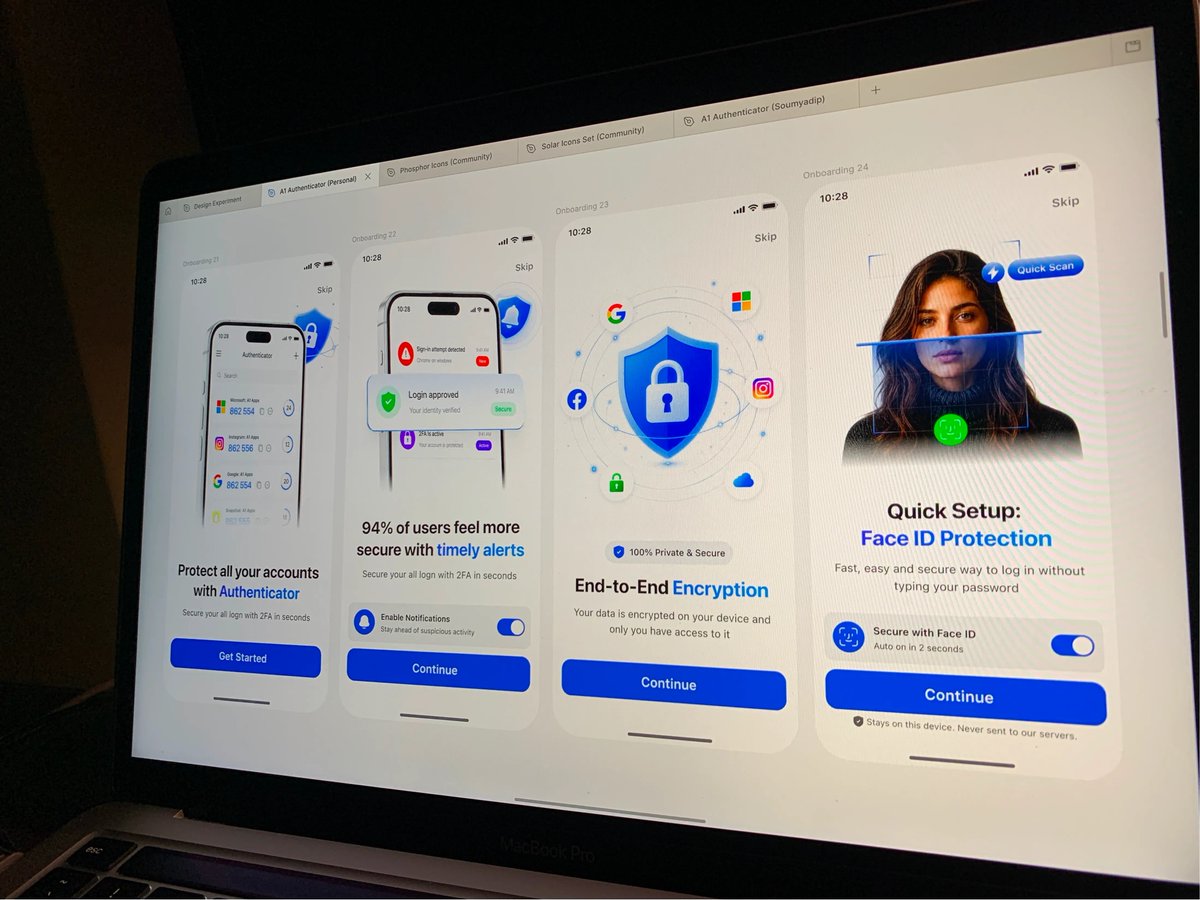
Choose the primary action to open PicX Studio with the available template settings. Review the model and format, personalize the creative direction, and generate when ready.
Yes. You can change the subject, setting, lighting, mood, format, and available model controls before creating your image.
This template is free to open and customize. Generation usage is shown in PicX Studio before you create.
Start with GPT Image 2, which is the model associated with this template. You can compare another compatible model for a different finish.
© 2026 PicX Studio. All rights reserved.

Follow a topic to a crawlable collection of related PicX Studio templates.
43,474 public templates available. Verified via the PicX Studio public templates API; refreshed hourly.

![Oversized Hero Product Fashion Editorial — [person], [pose], oversized product as main hero prop, playful fun energy, fashion editorial styling, clean minimal b](/_next/image?url=https%3A%2F%2Fcdn.picxstudio.com%2Fuploads%2Fmeigen_43b3d6f04208_a5c18968-9001-4977-a6d2-83d92ba0940f.jpg&w=828&q=100)
![Create minimalist product photo, clean warm studio scene, textured beige — [product setup],create minimalist product photo, clean warm studio scene, textured be](https://images.meigen.ai/tweets/2027544179560353948/0.jpg)
![Ultra-realistic 8K full body portrait wearing a clean and pressed white — Ultra-realistic 8K full body portrait of [PERSON’S FULL NAME], wearing a clean and pre](https://images.meigen.ai/tweets/2018389139826037141/0.jpg)
![Clean isometric miniature 3D diorama visualizing the evolution — Create a clean isometric miniature 3D diorama visualizing the evolution of [TOPIC] from [START](https://images.meigen.ai/tweets/2022178815955636413/0.jpg)
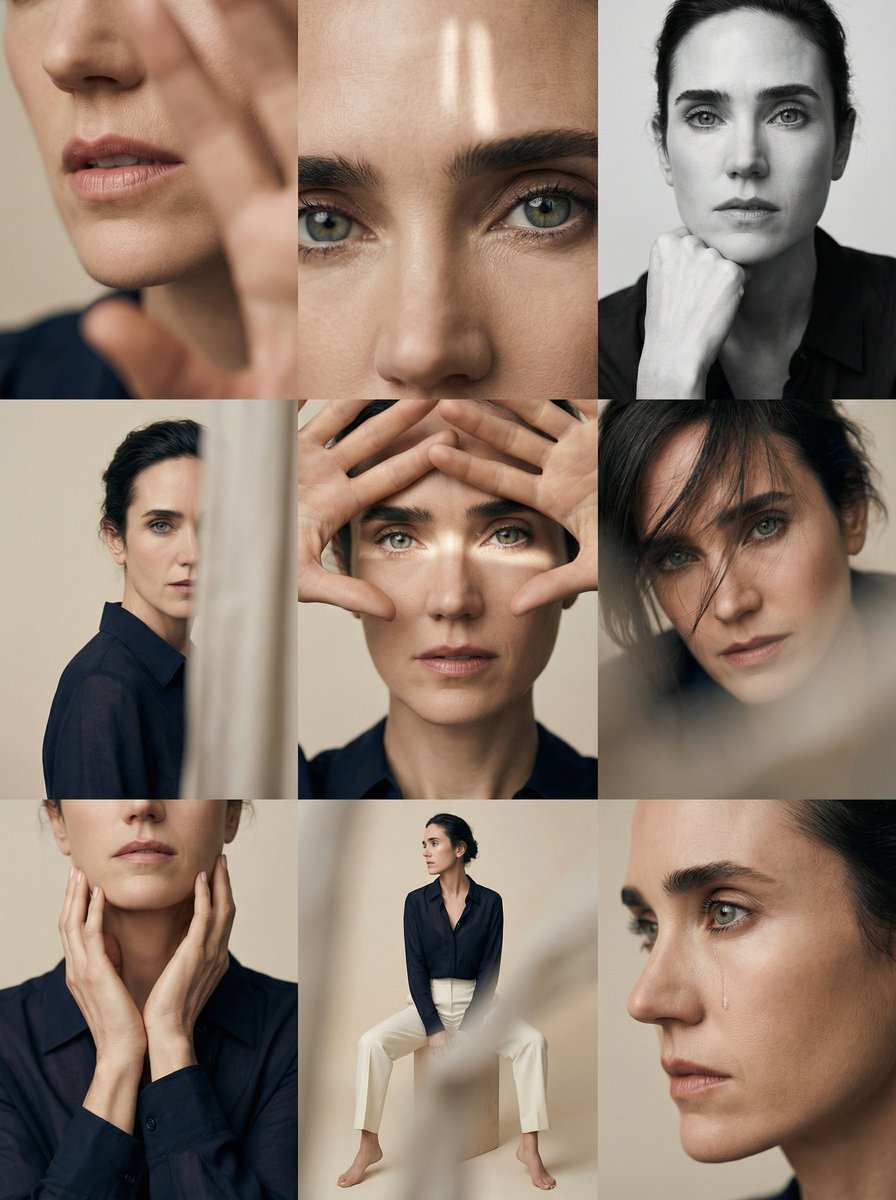
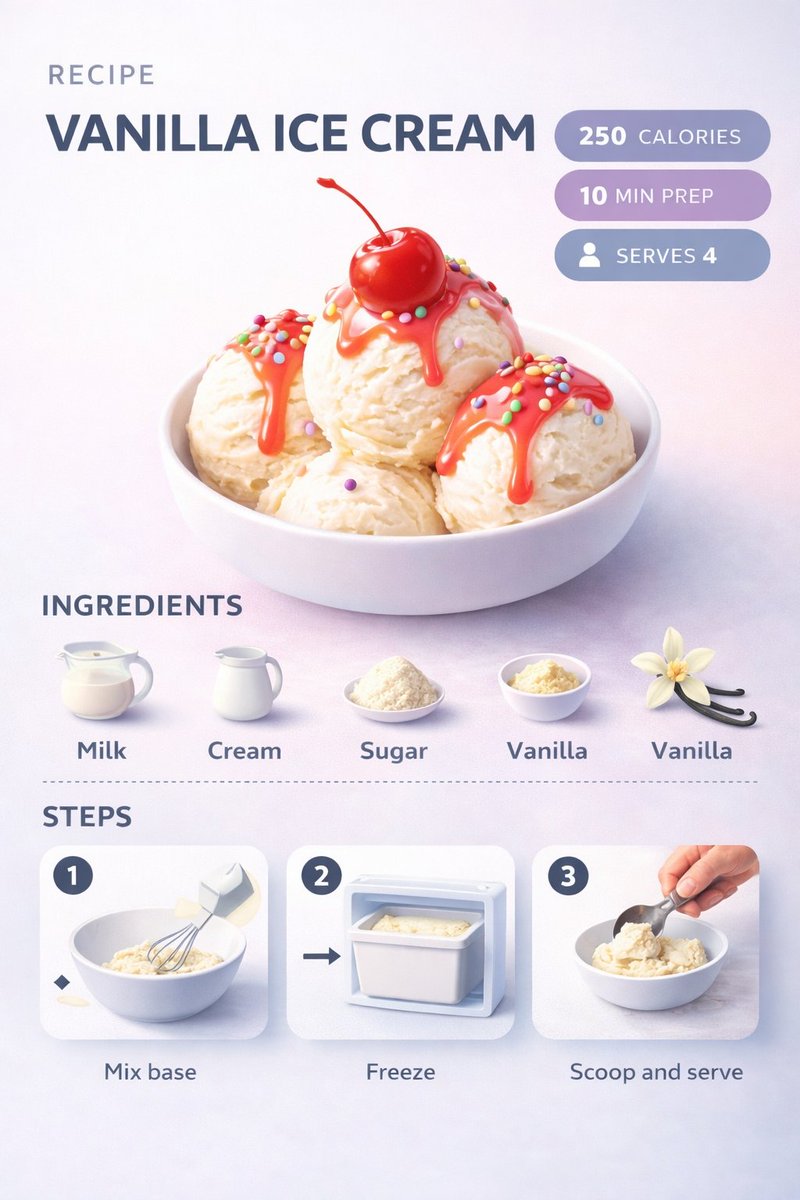
![Ultra-clean modern recipe infographic — Ultra-clean modern recipe infographic. Showcase [FOOD] in a visually appealing finished form—sliced, plated, or portione](https://images.meigen.ai/tweets/2012985517139255644/0.jpg)
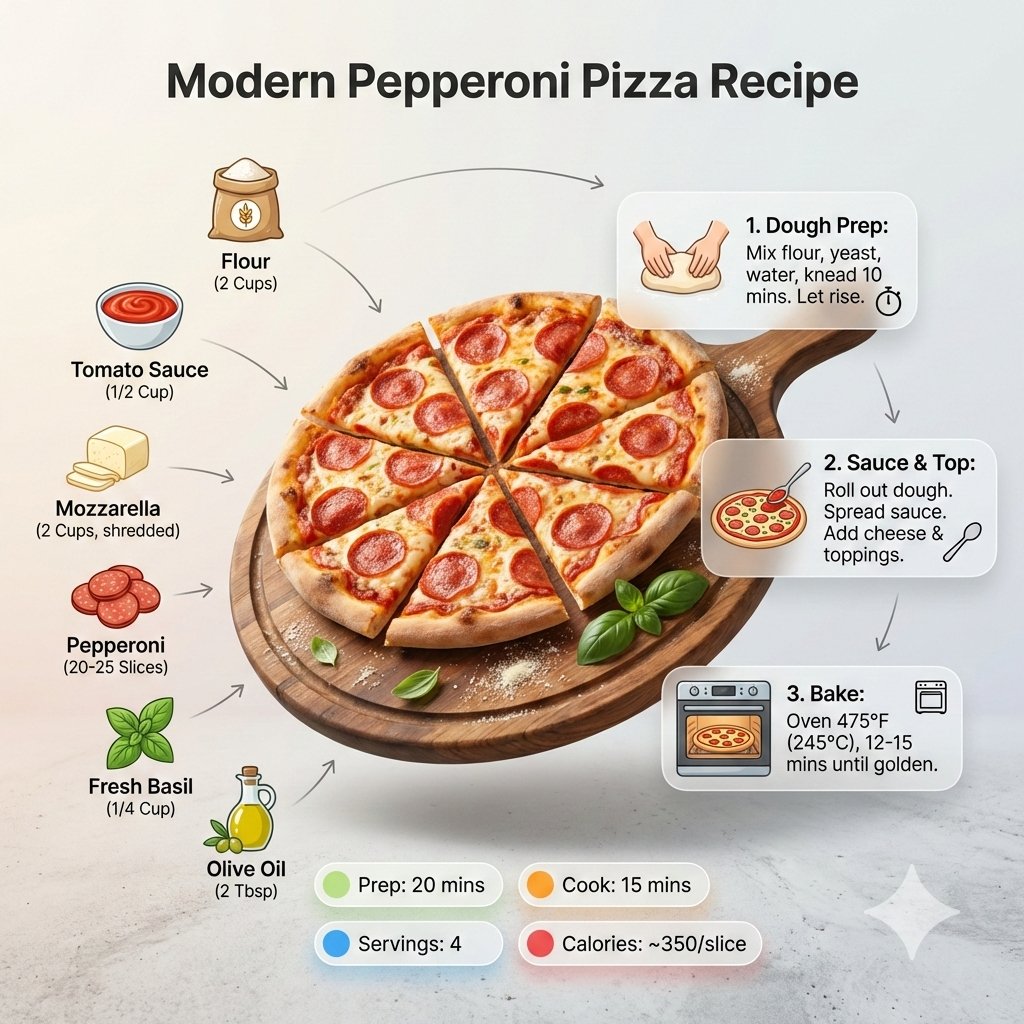
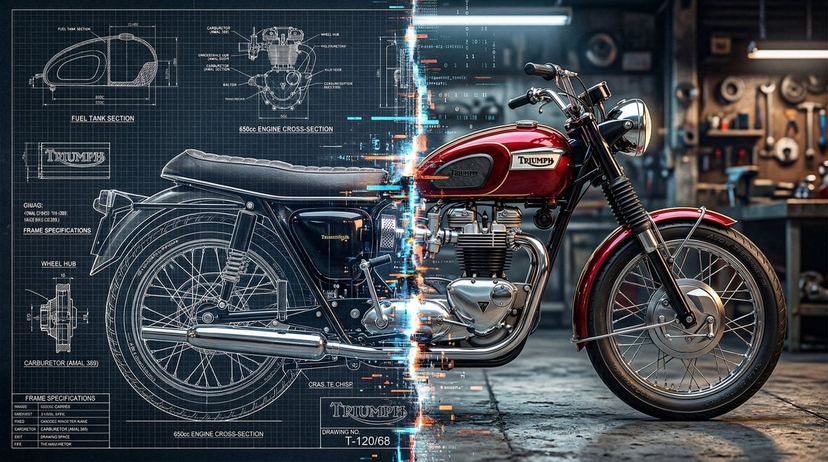
![Ultra-clean modern editorial infographic — Ultra-clean modern editorial infographic. The topic is [ROUTINE] routine. Base all visuals, colors, objects, mood, in](https://images.meigen.ai/tweets/2048044376366948849/0.jpg)
![Ultra-clean modern recipe infographic — Ultra-clean modern recipe infographic. Showcase [FOOD] in a visually appealing finished form—sliced, plated, or portione](https://images.meigen.ai/tweets/2013233539706233086/0.jpg)

![Ultra-realistic 8K full body portrait wearing a clean and pressed white — Ultra-realistic 8K full body portrait of [PERSON’S FULL NAME], wearing a clean and pre](https://images.meigen.ai/tweets/2011898760650170378/0.jpg)
![Ultra-clean top-down 90 flat lay infographic — Ultra-clean top-down (90° flat lay) infographic. Centered white plate or cup on a light background with [PRODUCT]](https://images.meigen.ai/tweets/2012957106433818777/0.jpg)


![Minimalist Flat Vector Travel Poster — Premium minimalist flat-vector travel poster for {argument name="city name" default="[CITY_NAME]"}, 3:4 vertical format.](https://cms-assets.youmind.com/media/1787917359711_3ug846_HQX205cbMAA6F6S-300x400.jpg)